


Material Library
Objective: Master the core workflow of the Material Library, including how to upload and sync materials, how to manage them, how to use materials in different business scenarios, and understand its billing rules.
1. Feature Overview
| Feature Info | Description |
|---|---|
| Feature Introduction | The Material Library is a unified material management center designed for business scenarios such as live streaming. It helps users build a reusable, unified resource library to centrally manage videos, audio, images, documents, and rich text content, thereby improving the efficiency of content creation and distribution. |
| Use Cases | 1. Prepare warm-up videos, audio, and promotional images for live streams. 2. Schedule videos for the "Simulated Live" feature to achieve unattended automated live streaming. 3. Centrally manage and store various documents (e.g., PPT, PDF) and brand logo materials needed during live streams. 4. Automatically archive live stream replays or product explanation videos for secondary editing or reuse. |
| Core Workflow | Upload/Sync Materials → Manage Materials → Use Materials |
2. Uploading and Syncing Materials
1. Uploading and Creating Materials
On the main Material Library interface, select the type of material you want to upload or create. The operations for different material types are as follows.
Uploading Videos
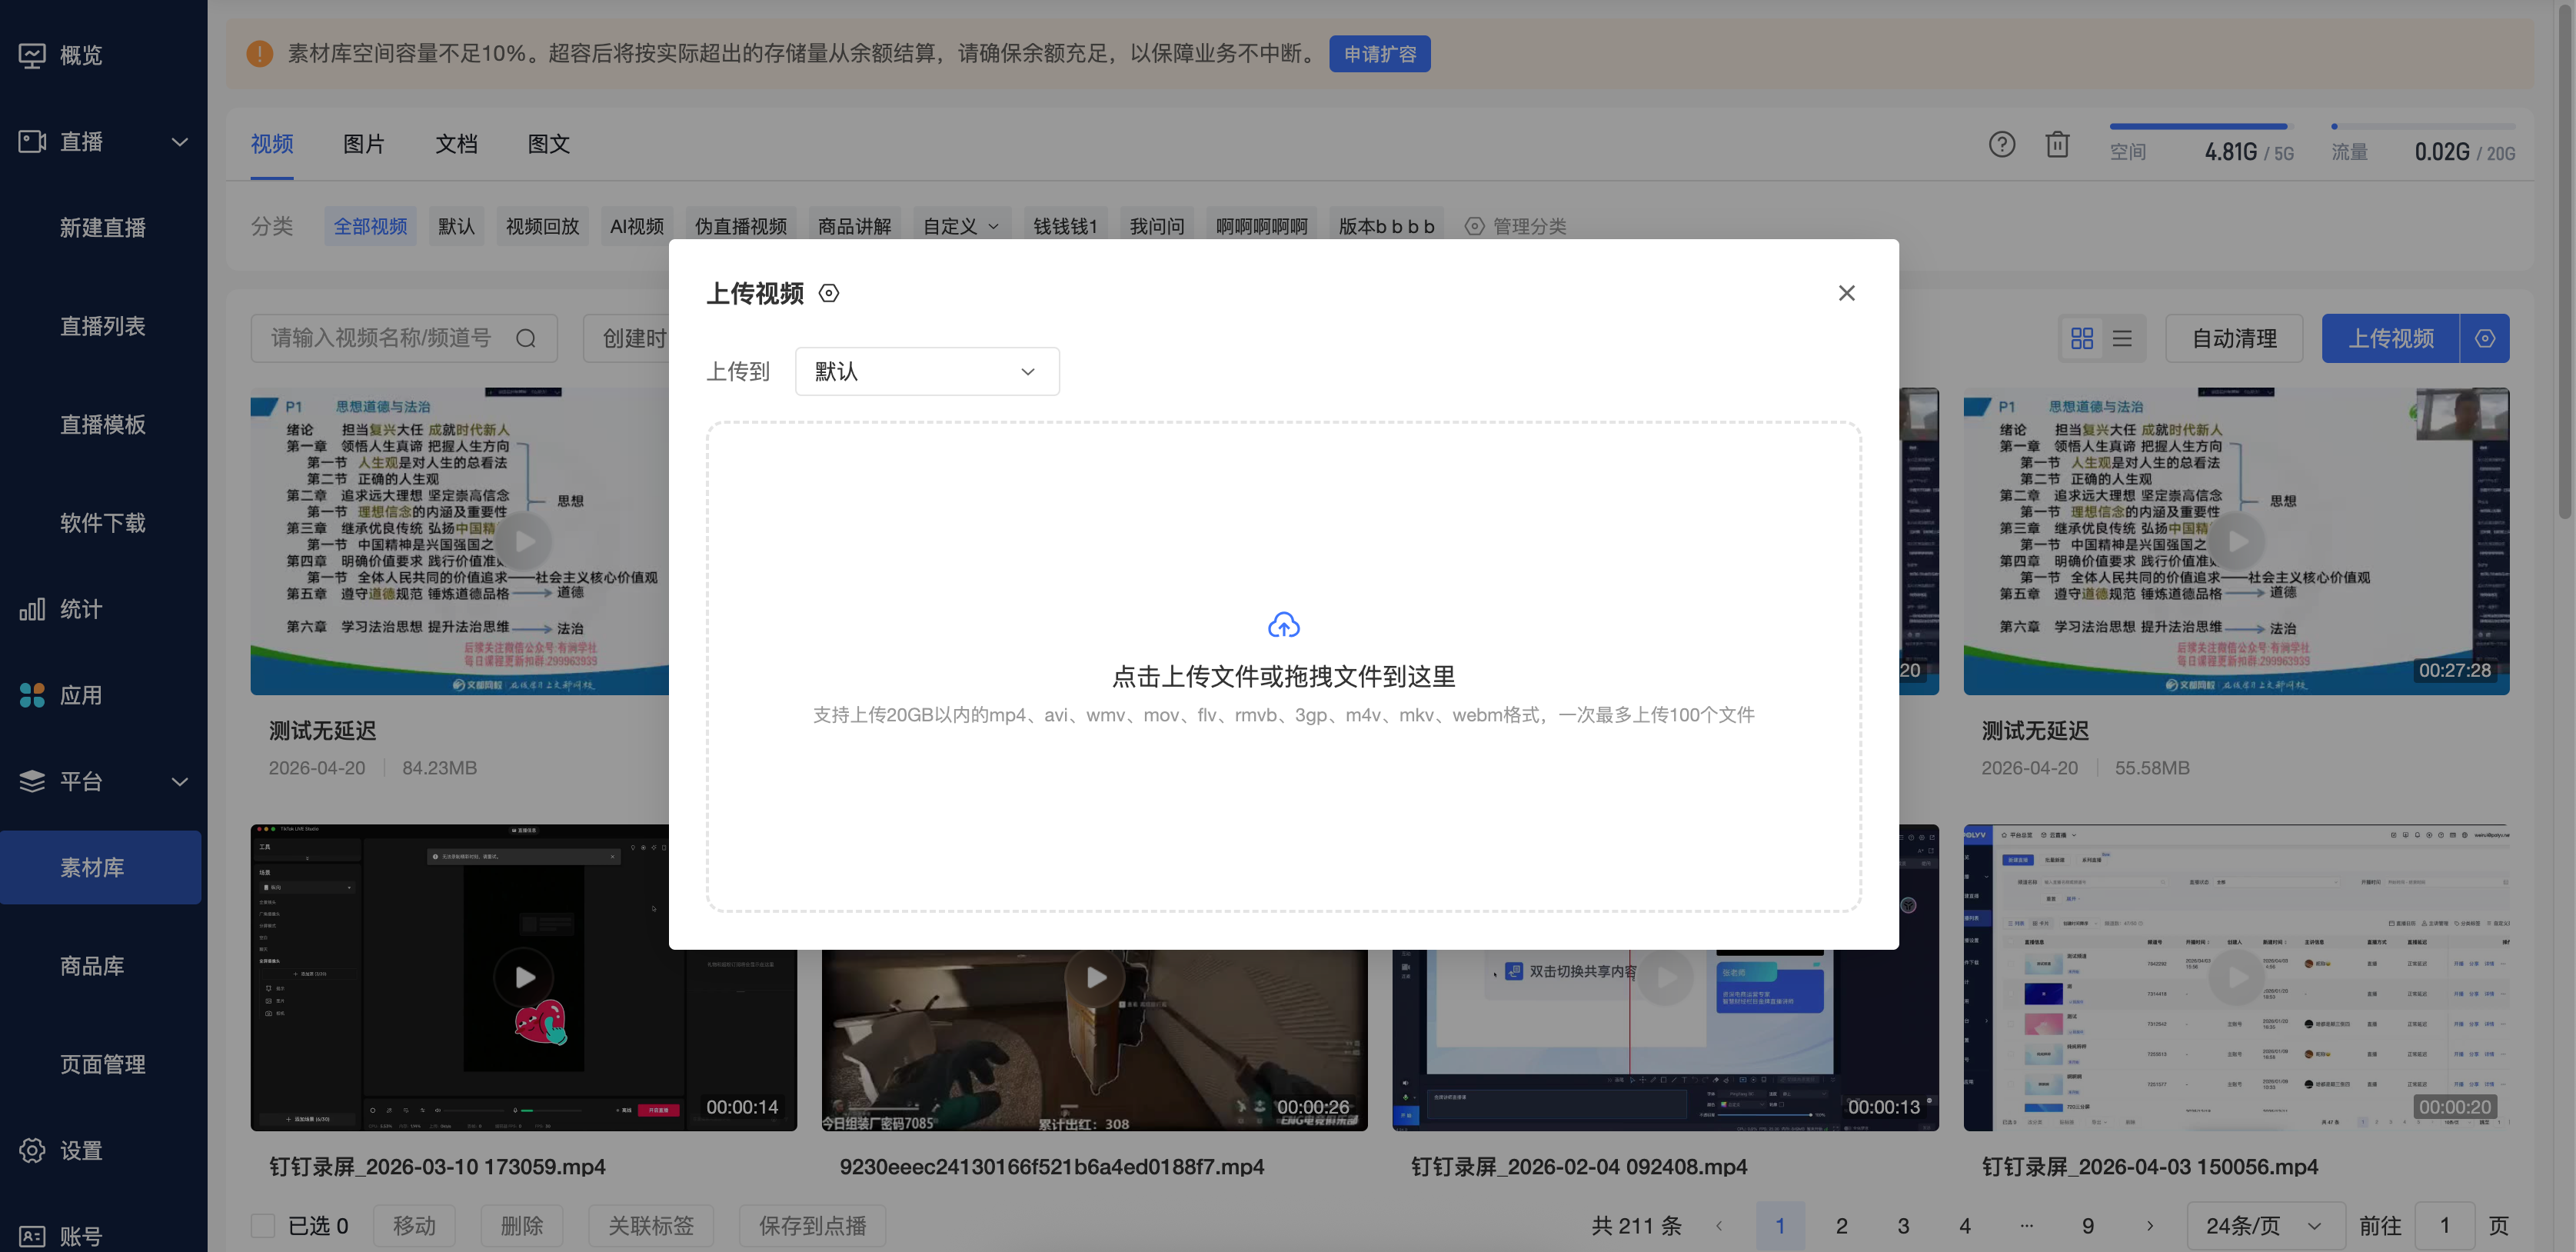
- Select [Video], then click [Upload Material] in the top right corner.
- In the "Upload to" dropdown, select the group for the video.
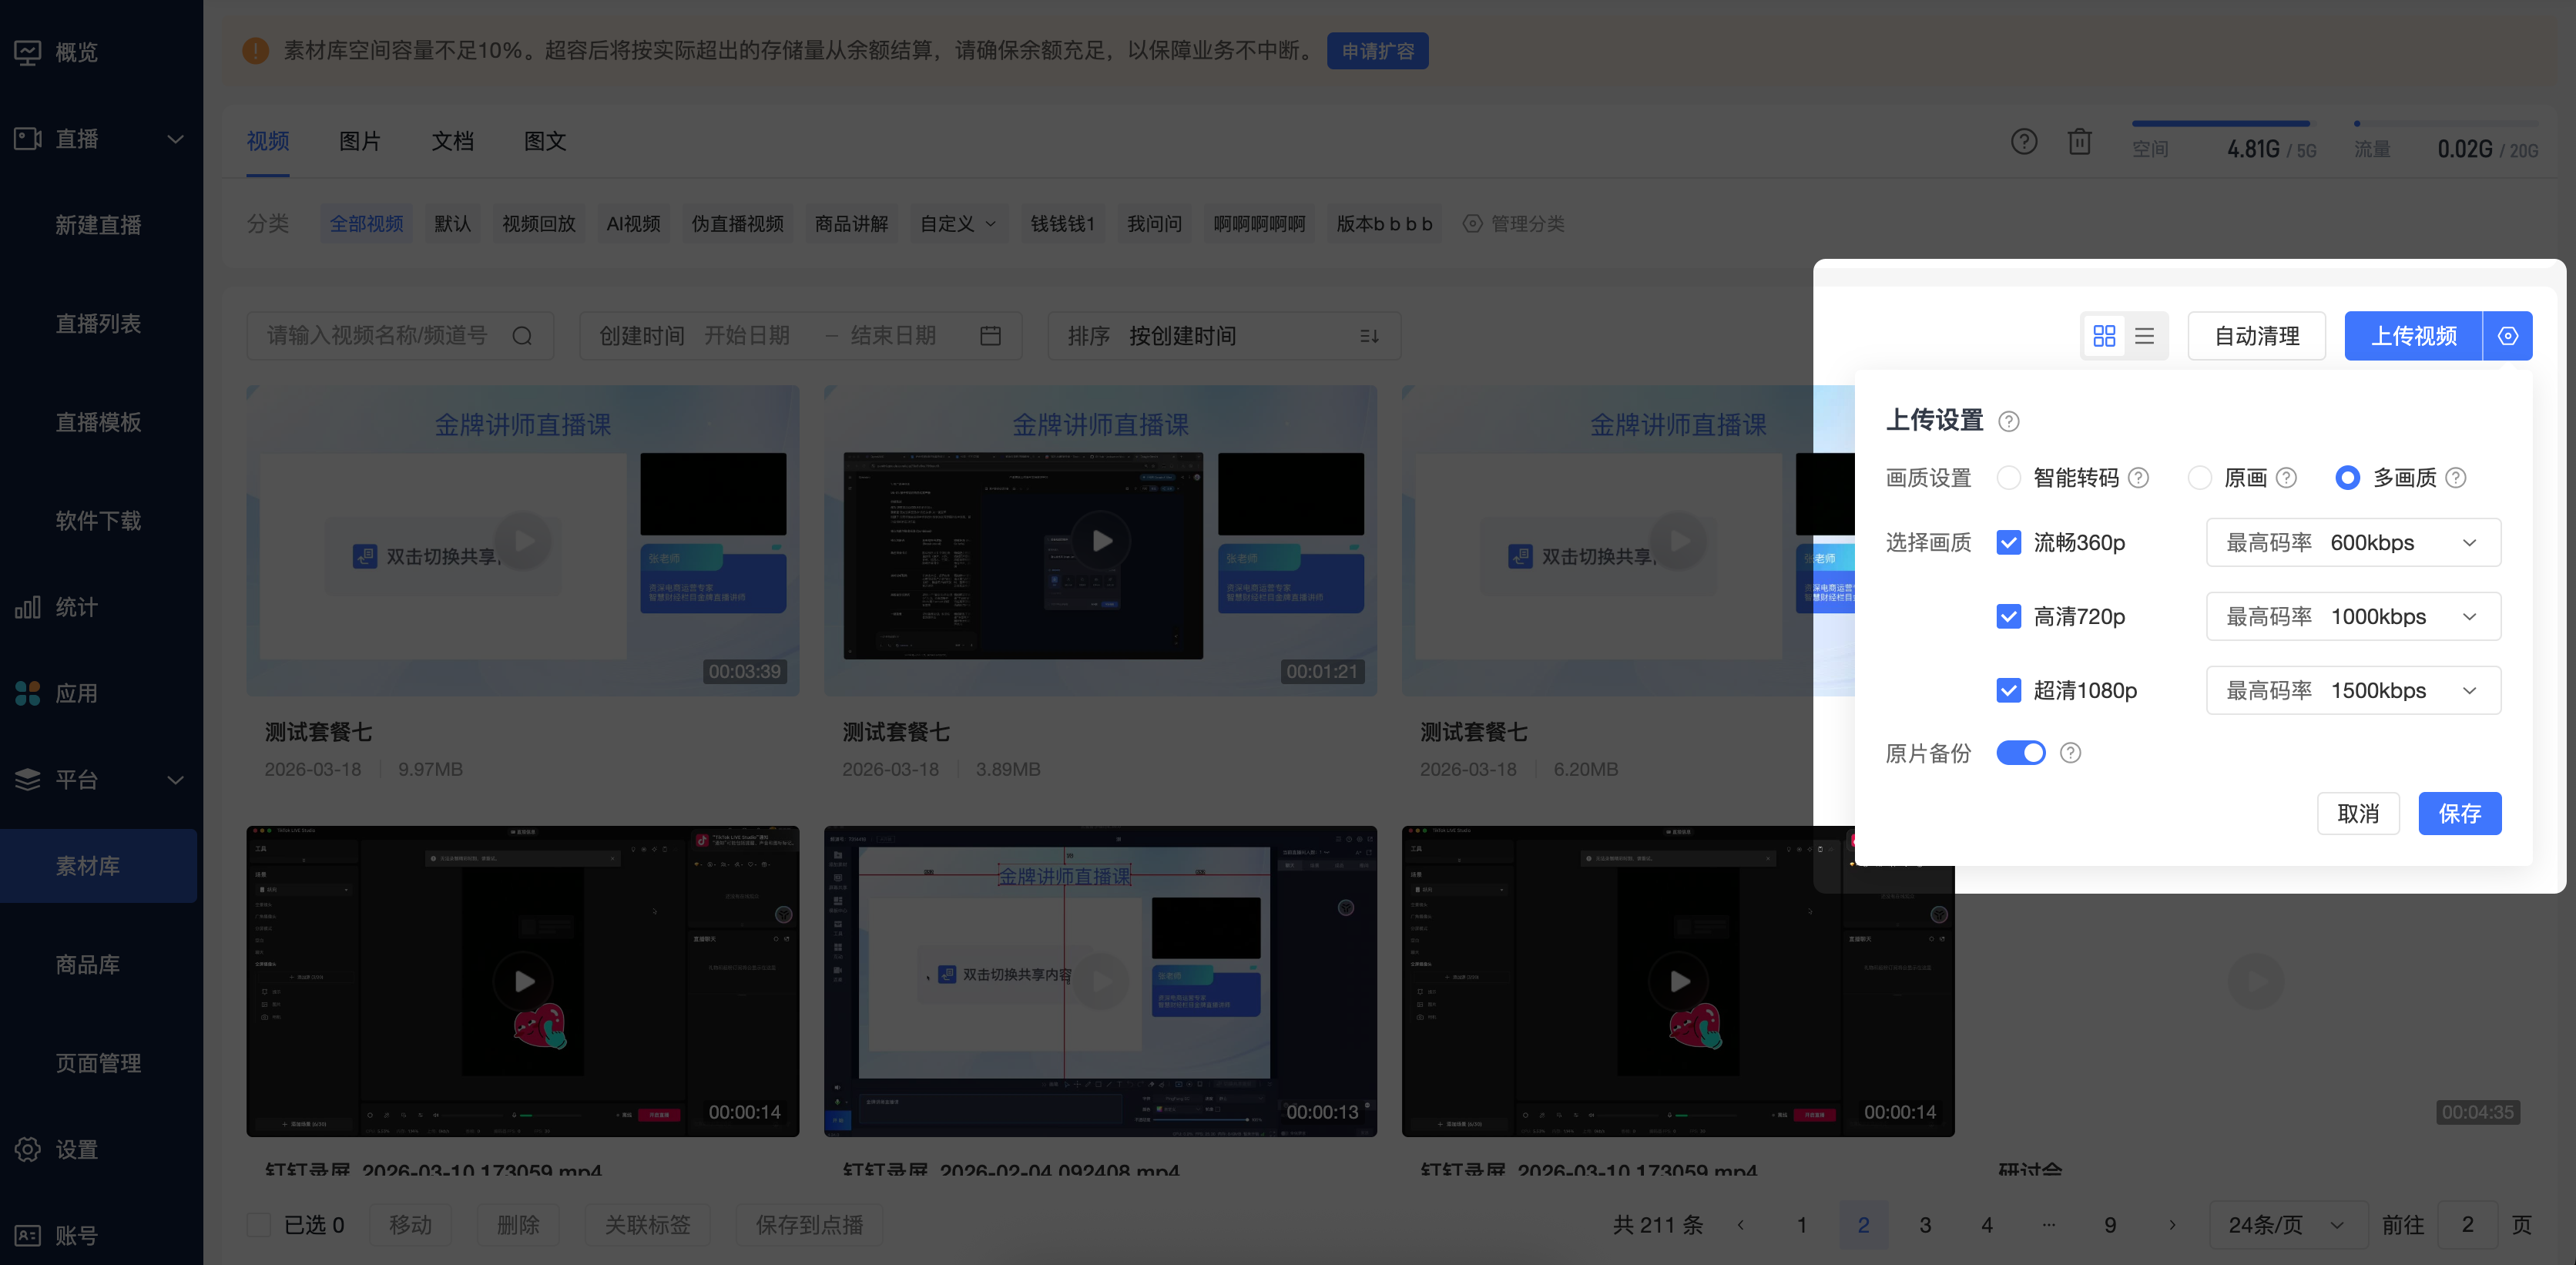
- Set the "Quality Settings" (Single Quality or Multi-Quality) and bitrate, and choose whether to enable [Original File Backup].
- Drag and drop the video file into the upload area, or click to select a file.
[Original File Backup] controls whether to retain the original uploaded video file. It applies to both single-quality and multi-quality videos.
| Original File Backup | File Retention Rule |
|---|---|
| Enabled | Retains the original uploaded video file |
| Disabled | Does not retain the original uploaded video file |
Uploading Audio
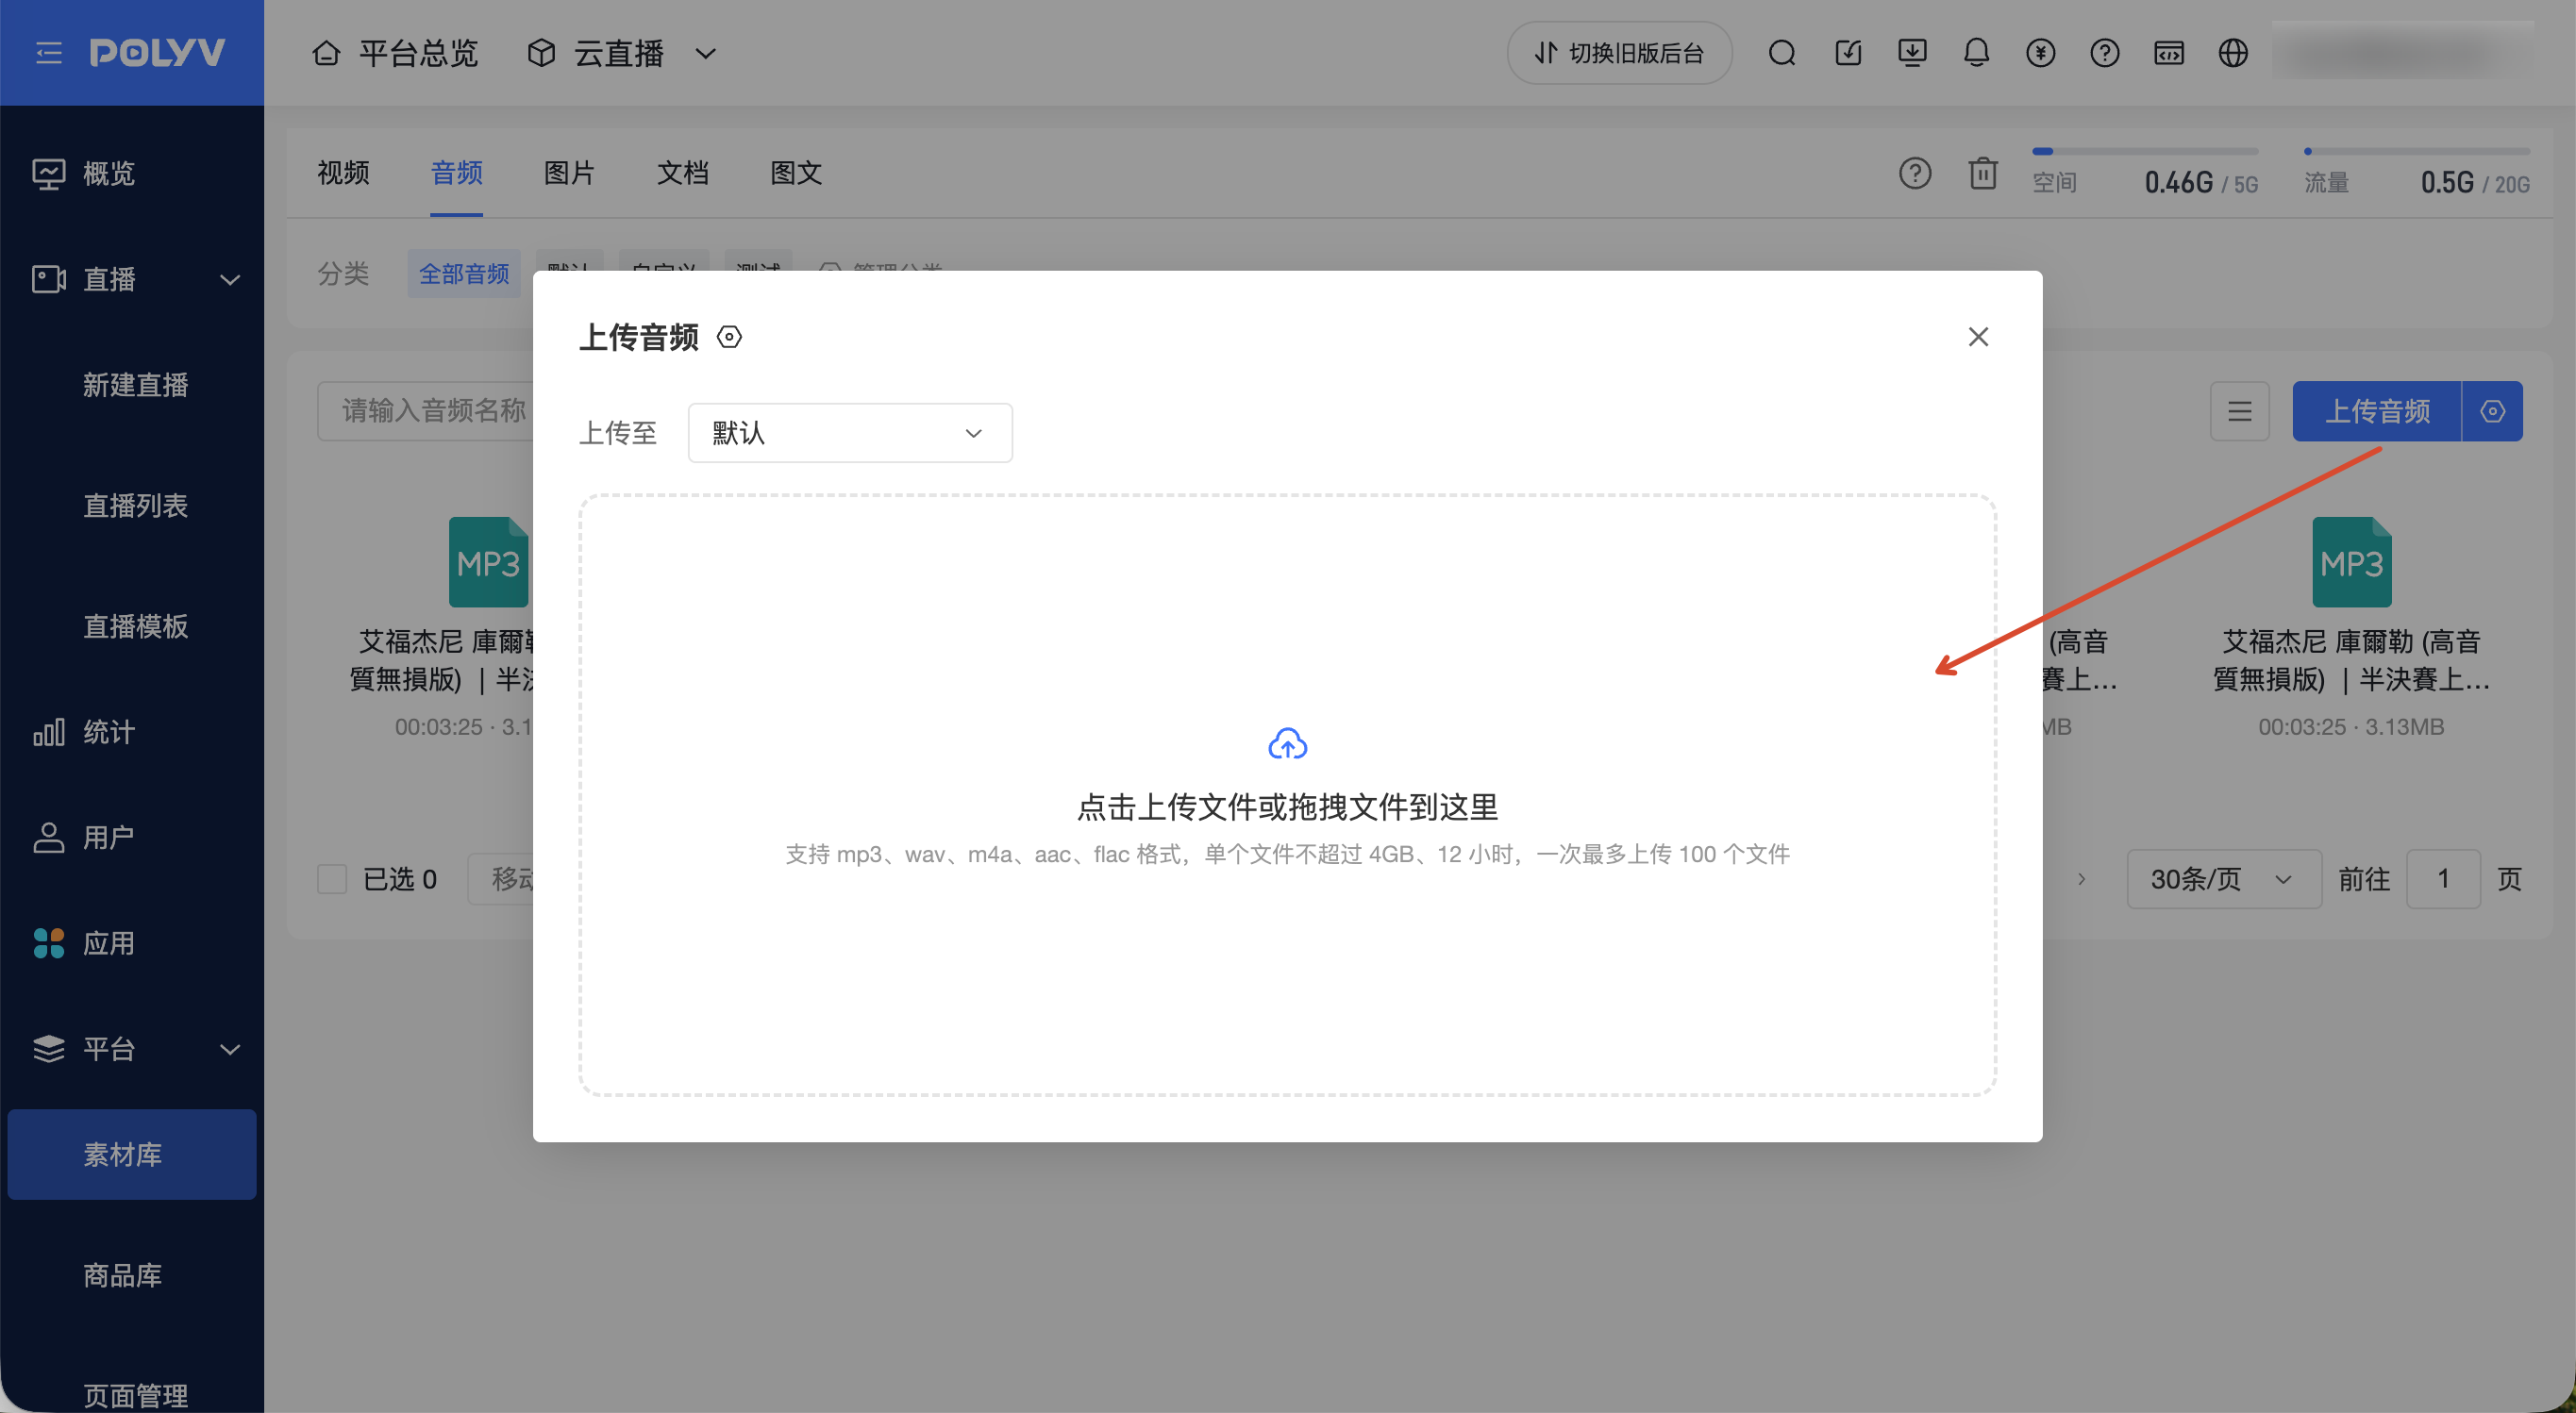
- Select [Audio], then click [Upload Audio] in the top right corner.
- In the "Upload to" dropdown, select the category for the audio.
- Set whether to enable [Original File Backup].
- Drag and drop the audio file into the upload area, or click to select a file.
When uploading audio, please note the following limitations:
- Supports
mp3,wav,m4a,aac,flacformats. The system verifies the actual file format; simply editing the file extension will not pass validation. - A single audio file must not exceed 4 GB, and its duration must not exceed 12 hours.
- A maximum of 100 audio files can be uploaded at once. During batch upload, the upload and processing results for each file are displayed separately; failure of one file does not affect the upload of others.
[Original File Backup] is enabled by default and operates independently of the video [Original File Backup] toggle.
| Original File Backup | File Retention Rule | Download File | Space Calculation Rule |
|---|---|---|---|
| Enabled | Retains the original uploaded file and the transcoded preview file | Original file | Both the original file and the transcoded preview file count towards the material library space |
| Disabled | Retains only the transcoded preview file | MP3 file | Only the transcoded preview file counts towards the material library space |
Changing this toggle only affects audio uploaded subsequently; it does not change existing audio files or their space usage.
Uploading Images
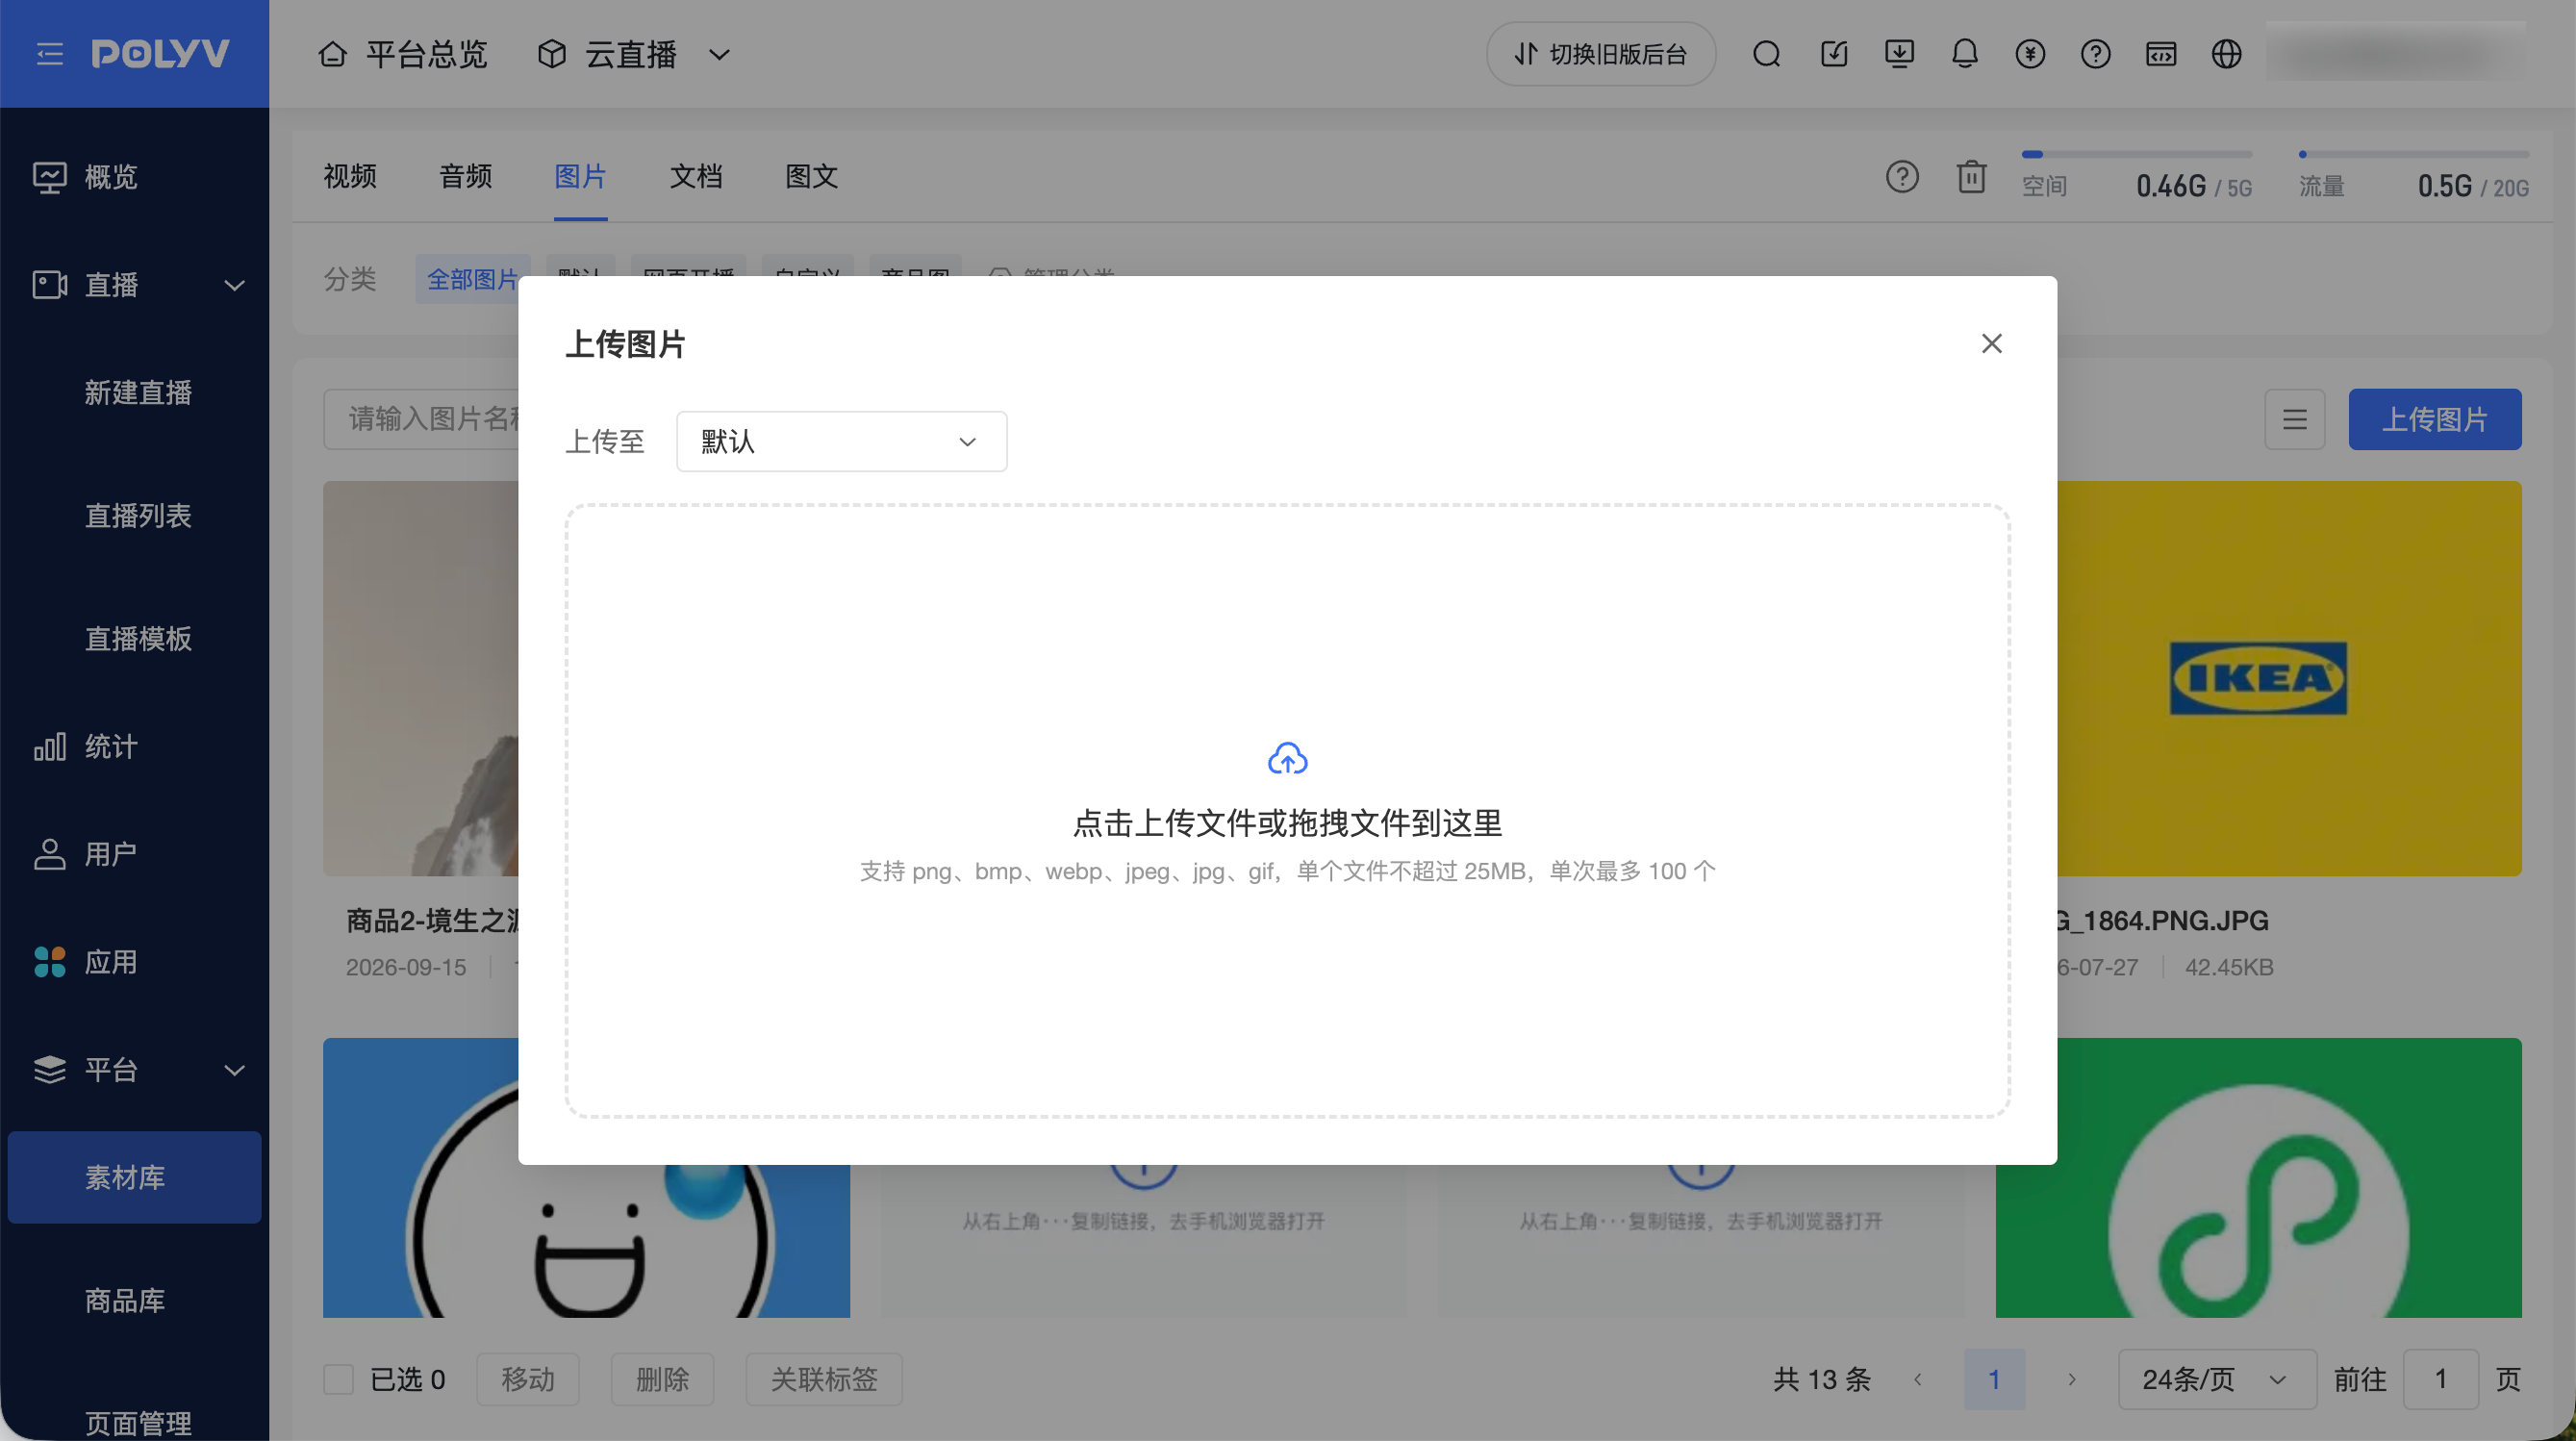
- Select [Image], then click [Upload Image] in the top right corner.
- In the "Upload to" dropdown, select the group for the image.
- Drag and drop the image file into the upload area, or click to select a file.
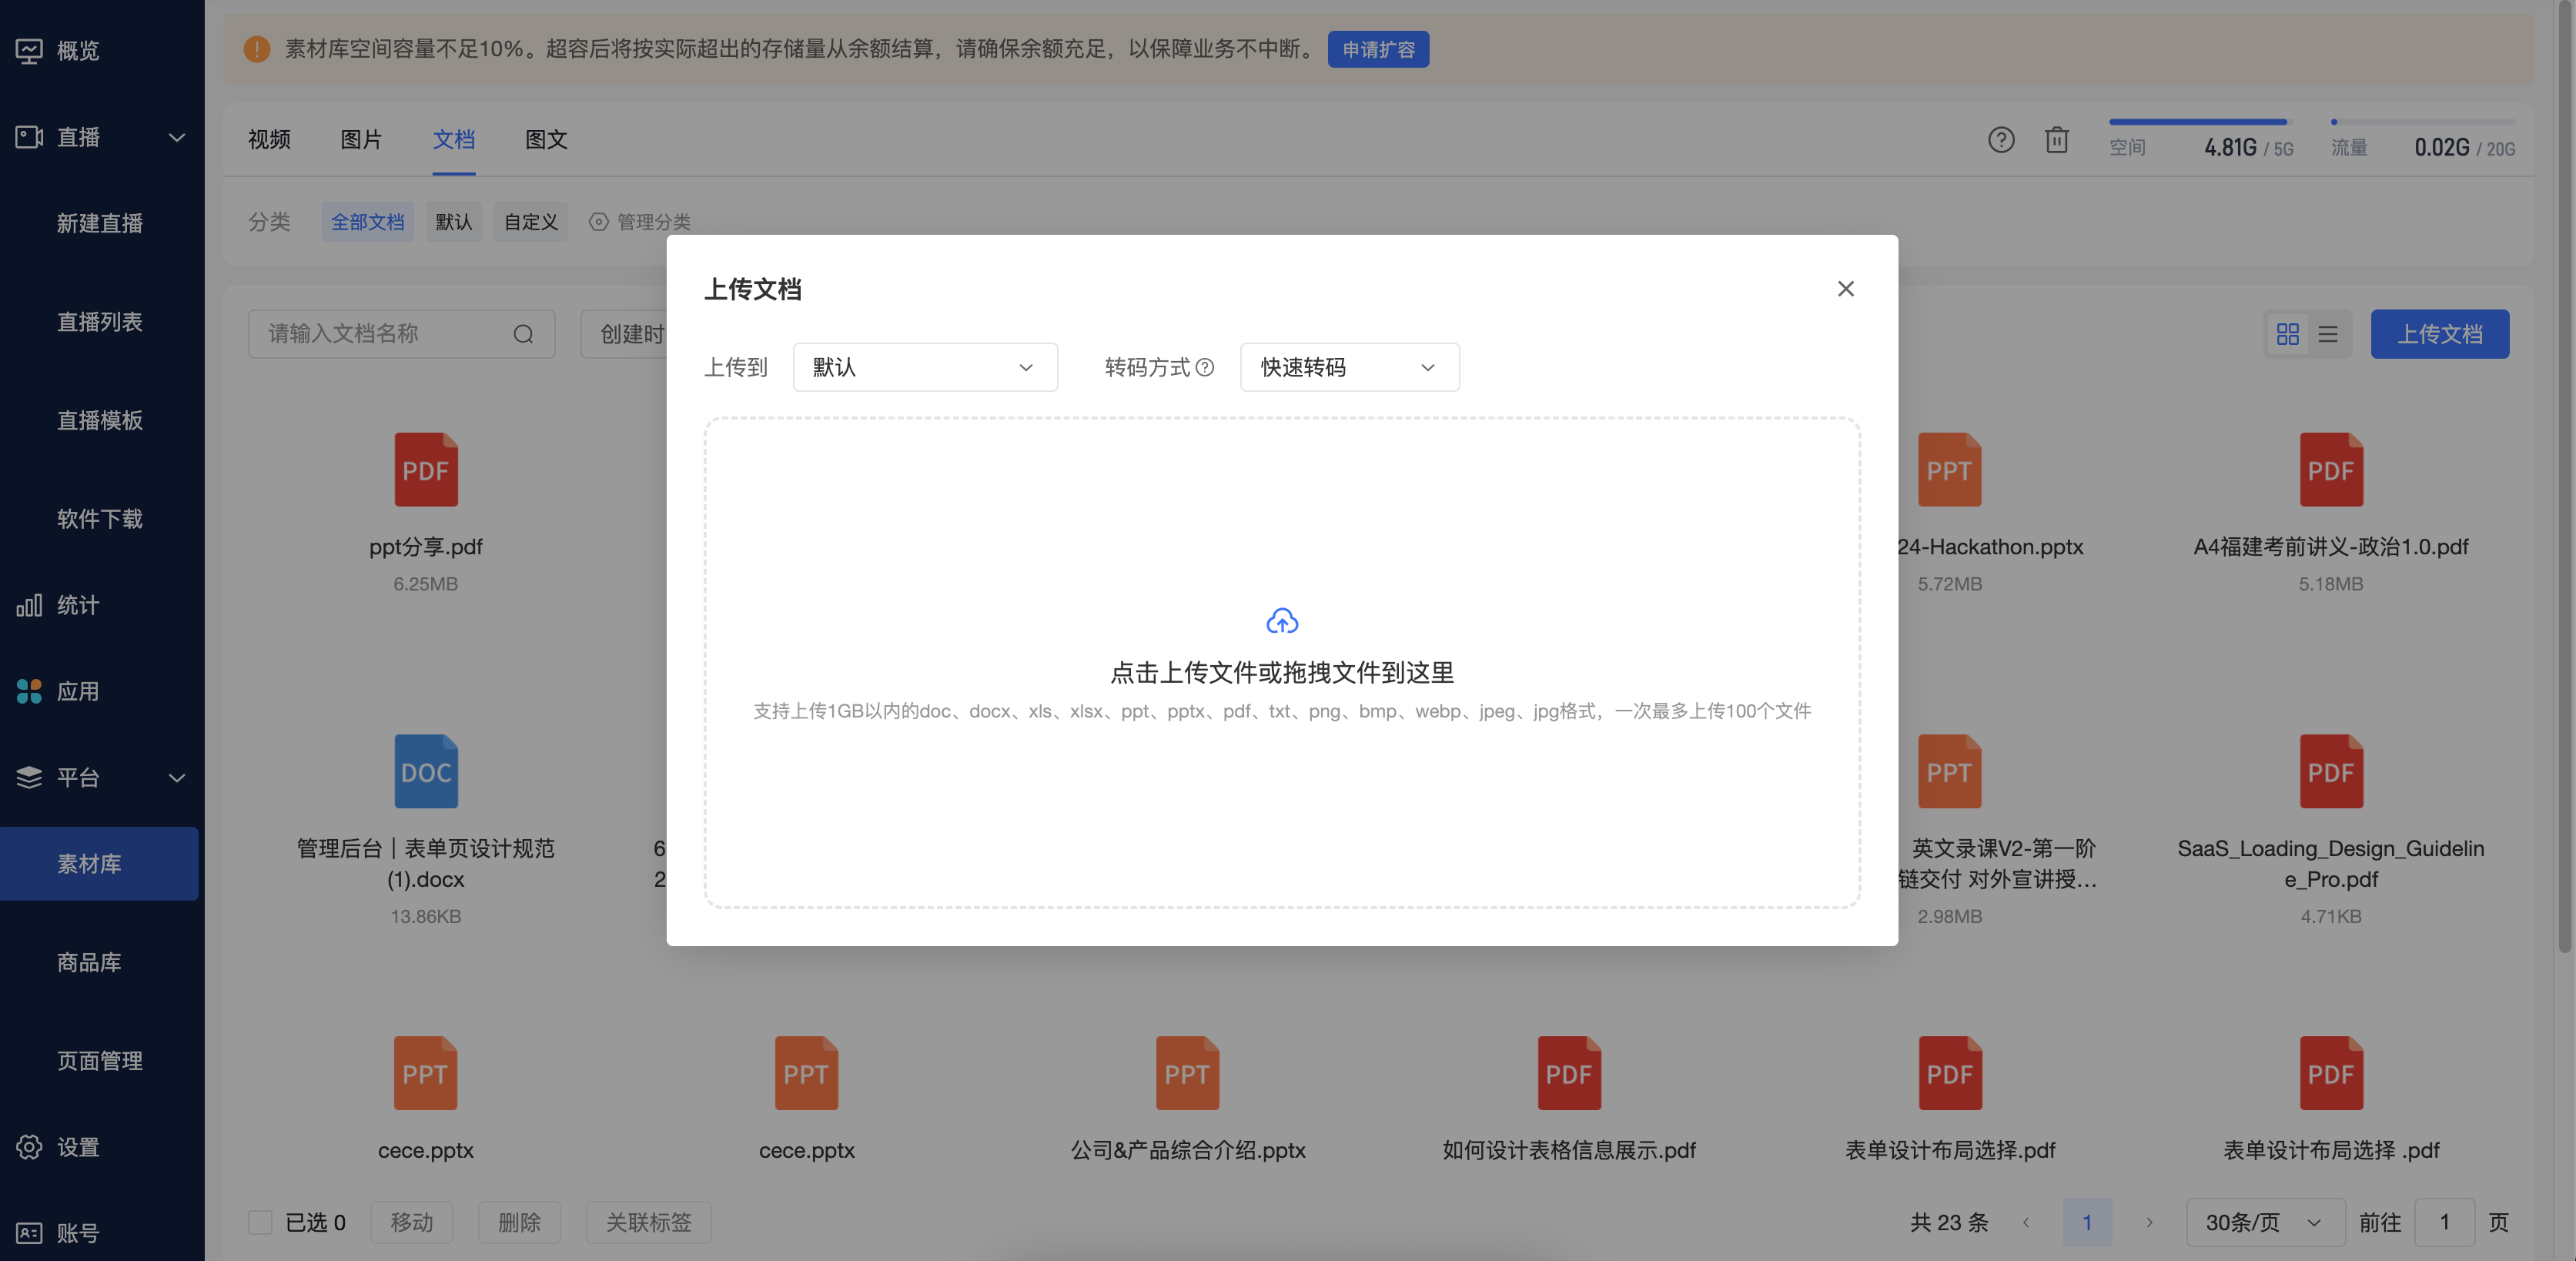
Uploading Documents
- Select [Document], then click [Upload Material] in the top right corner.
- In the "Upload to" dropdown, select the group for the document.
- Select the "Conversion Method" (Quick Transcoding or Animation Transcoding).
- Drag and drop the document into the upload area, or click to select a file.
Creating Rich Text
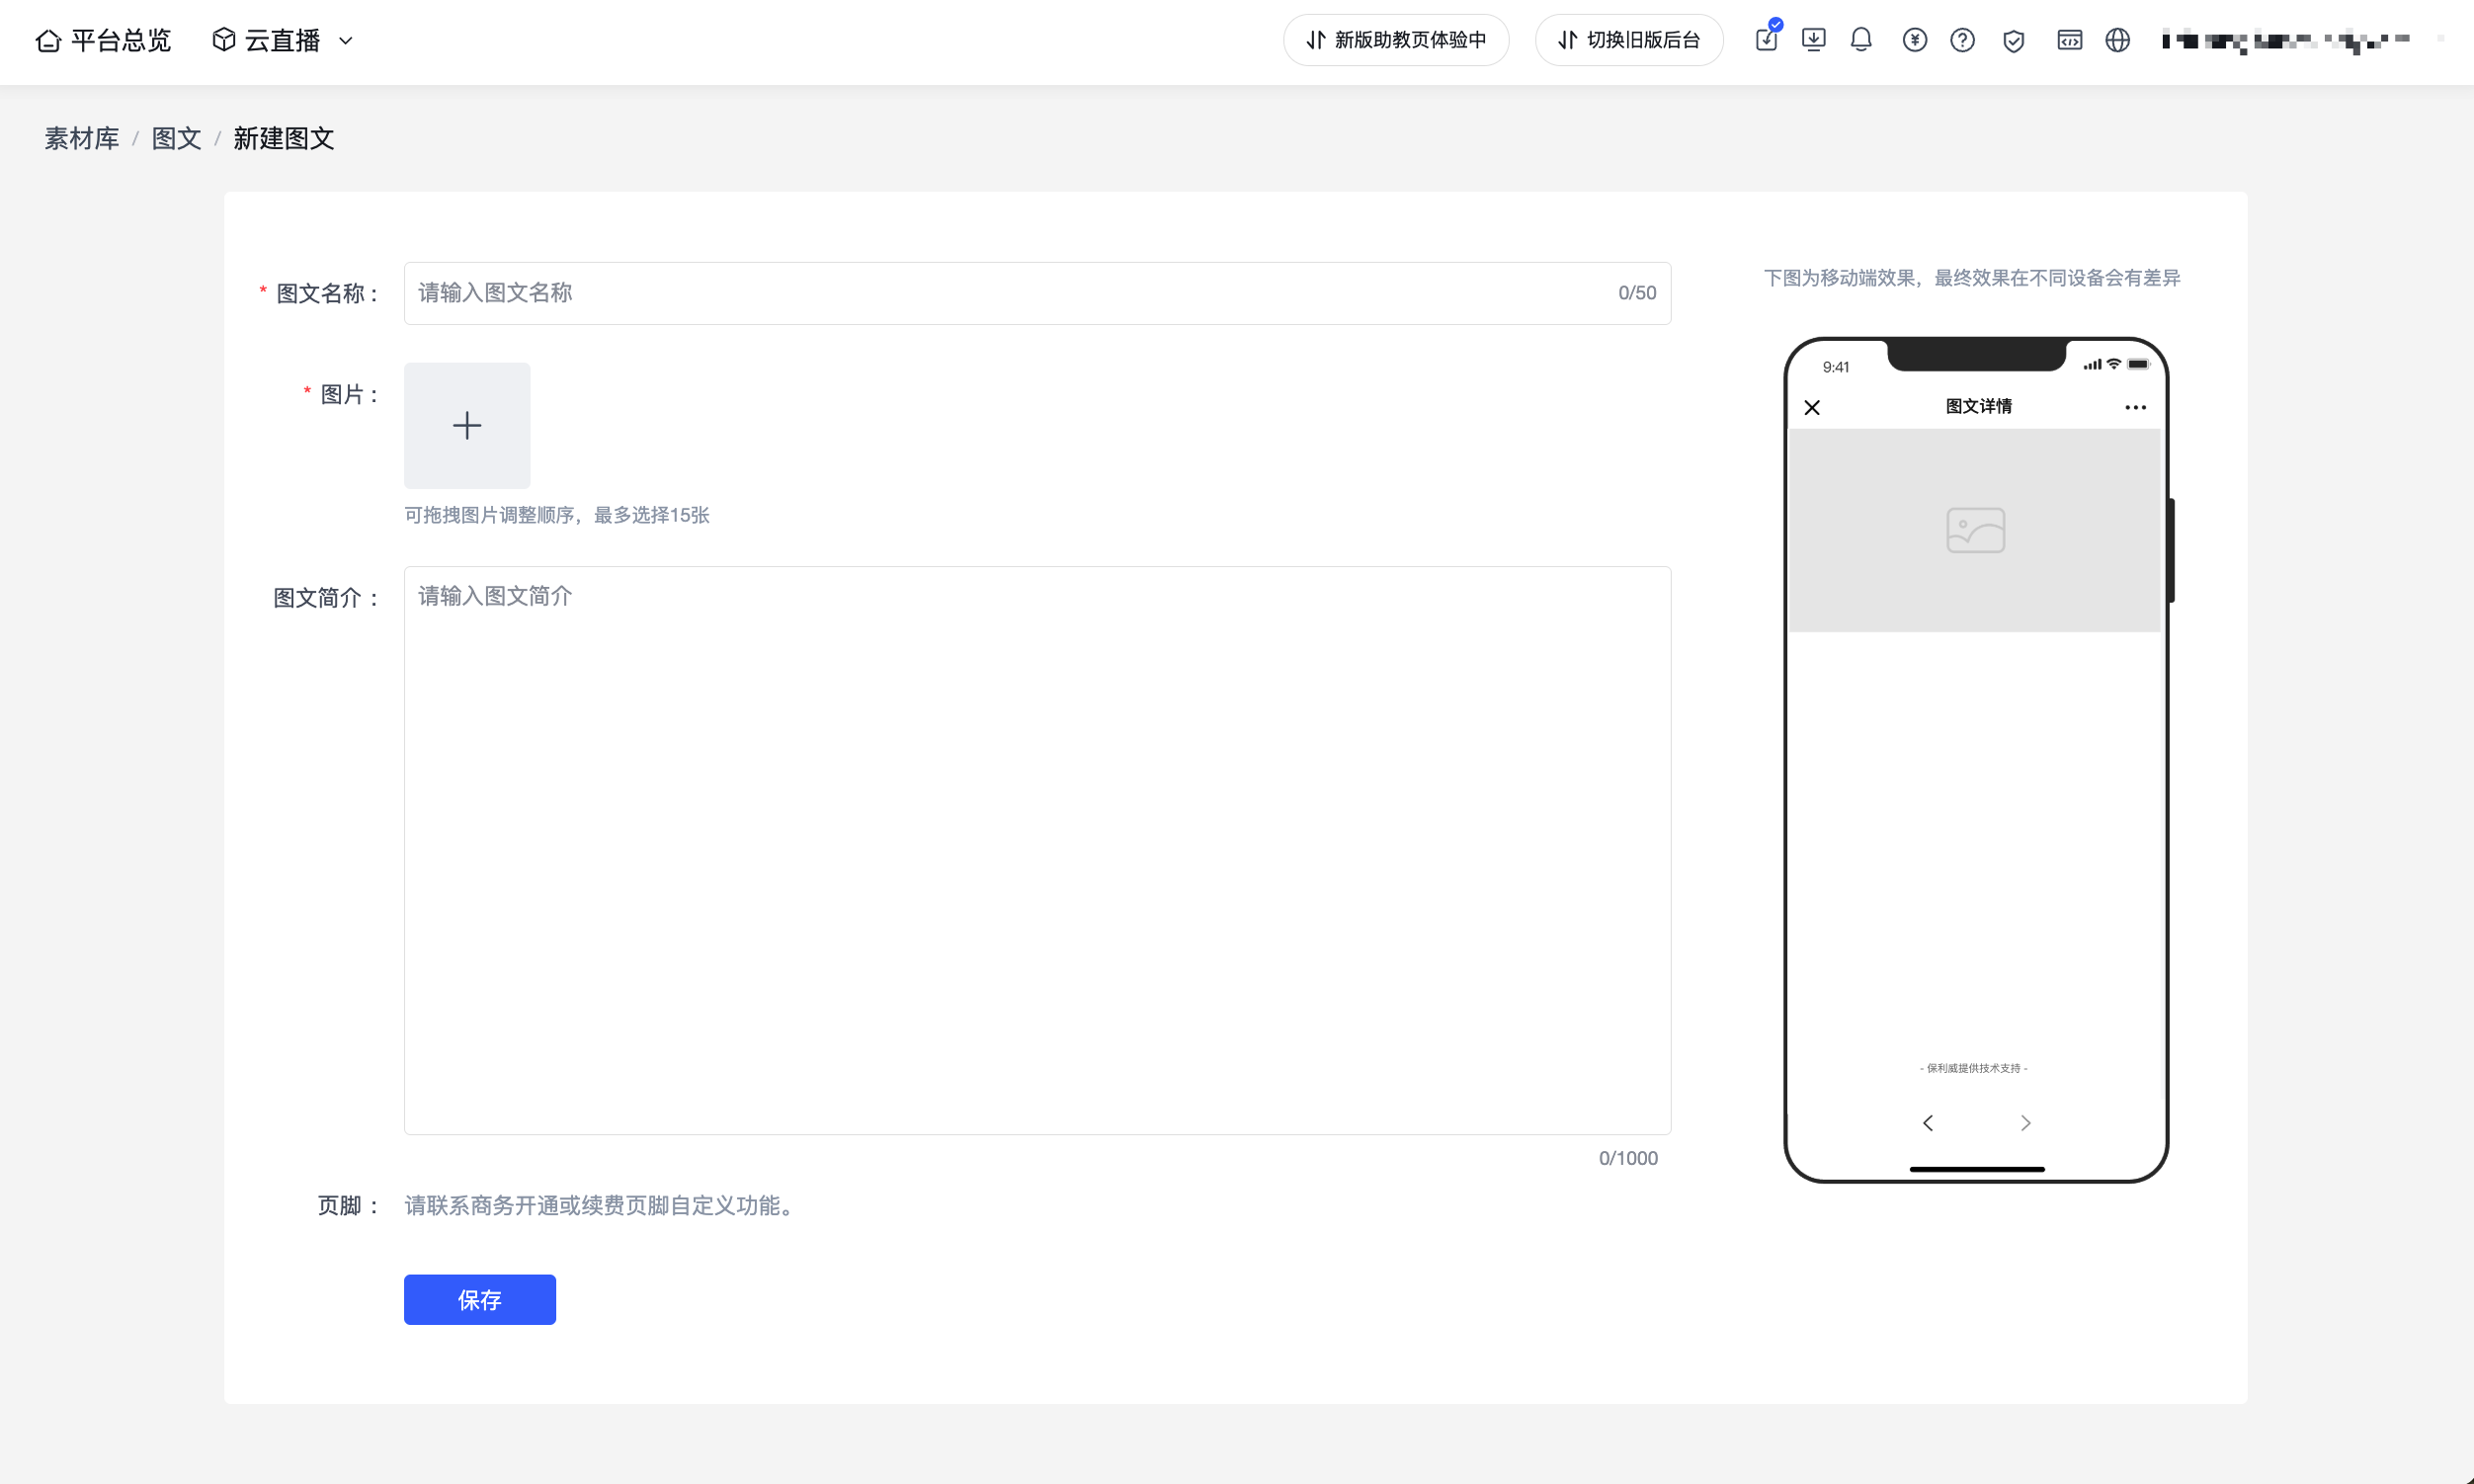
- Select [Rich Text], then click [New Rich Text] in the top right corner.
- Fill in the rich text name and upload images (up to 15 images).
- Fill in the rich text description, then click [Save].
⚠️ Note: Do not close the current page during upload, as this will cause the upload to fail. Videos, images, and documents support batch upload, with a maximum of 100 files per batch.
2. Transcoding/Review Process
After a material is uploaded, the system performs a series of background processes. You do not need to take action but can monitor its status.
- Processing (Transcoding/Review) : Newly uploaded videos, audio, images, or documents enter the corresponding processing workflow. During this time, the material is temporarily unavailable.
- Audio Transcoding : After an audio file is uploaded, the system performs transcoding. The audio will sequentially enter "Uploading", "Processing", and "Normal" states. While uploading, you can check the progress in the upload task list; after the upload is complete, the audio appears in the material list with a "Processing" status. The audio cannot be previewed or downloaded until transcoding is complete.
- Transcoding Failed : Usually caused by an incorrect file format or corrupted content. It is recommended to correct the issue and re-upload. When audio transcoding fails, the page displays the reason for failure; failed audio cannot be reprocessed and can be deleted and re-uploaded.
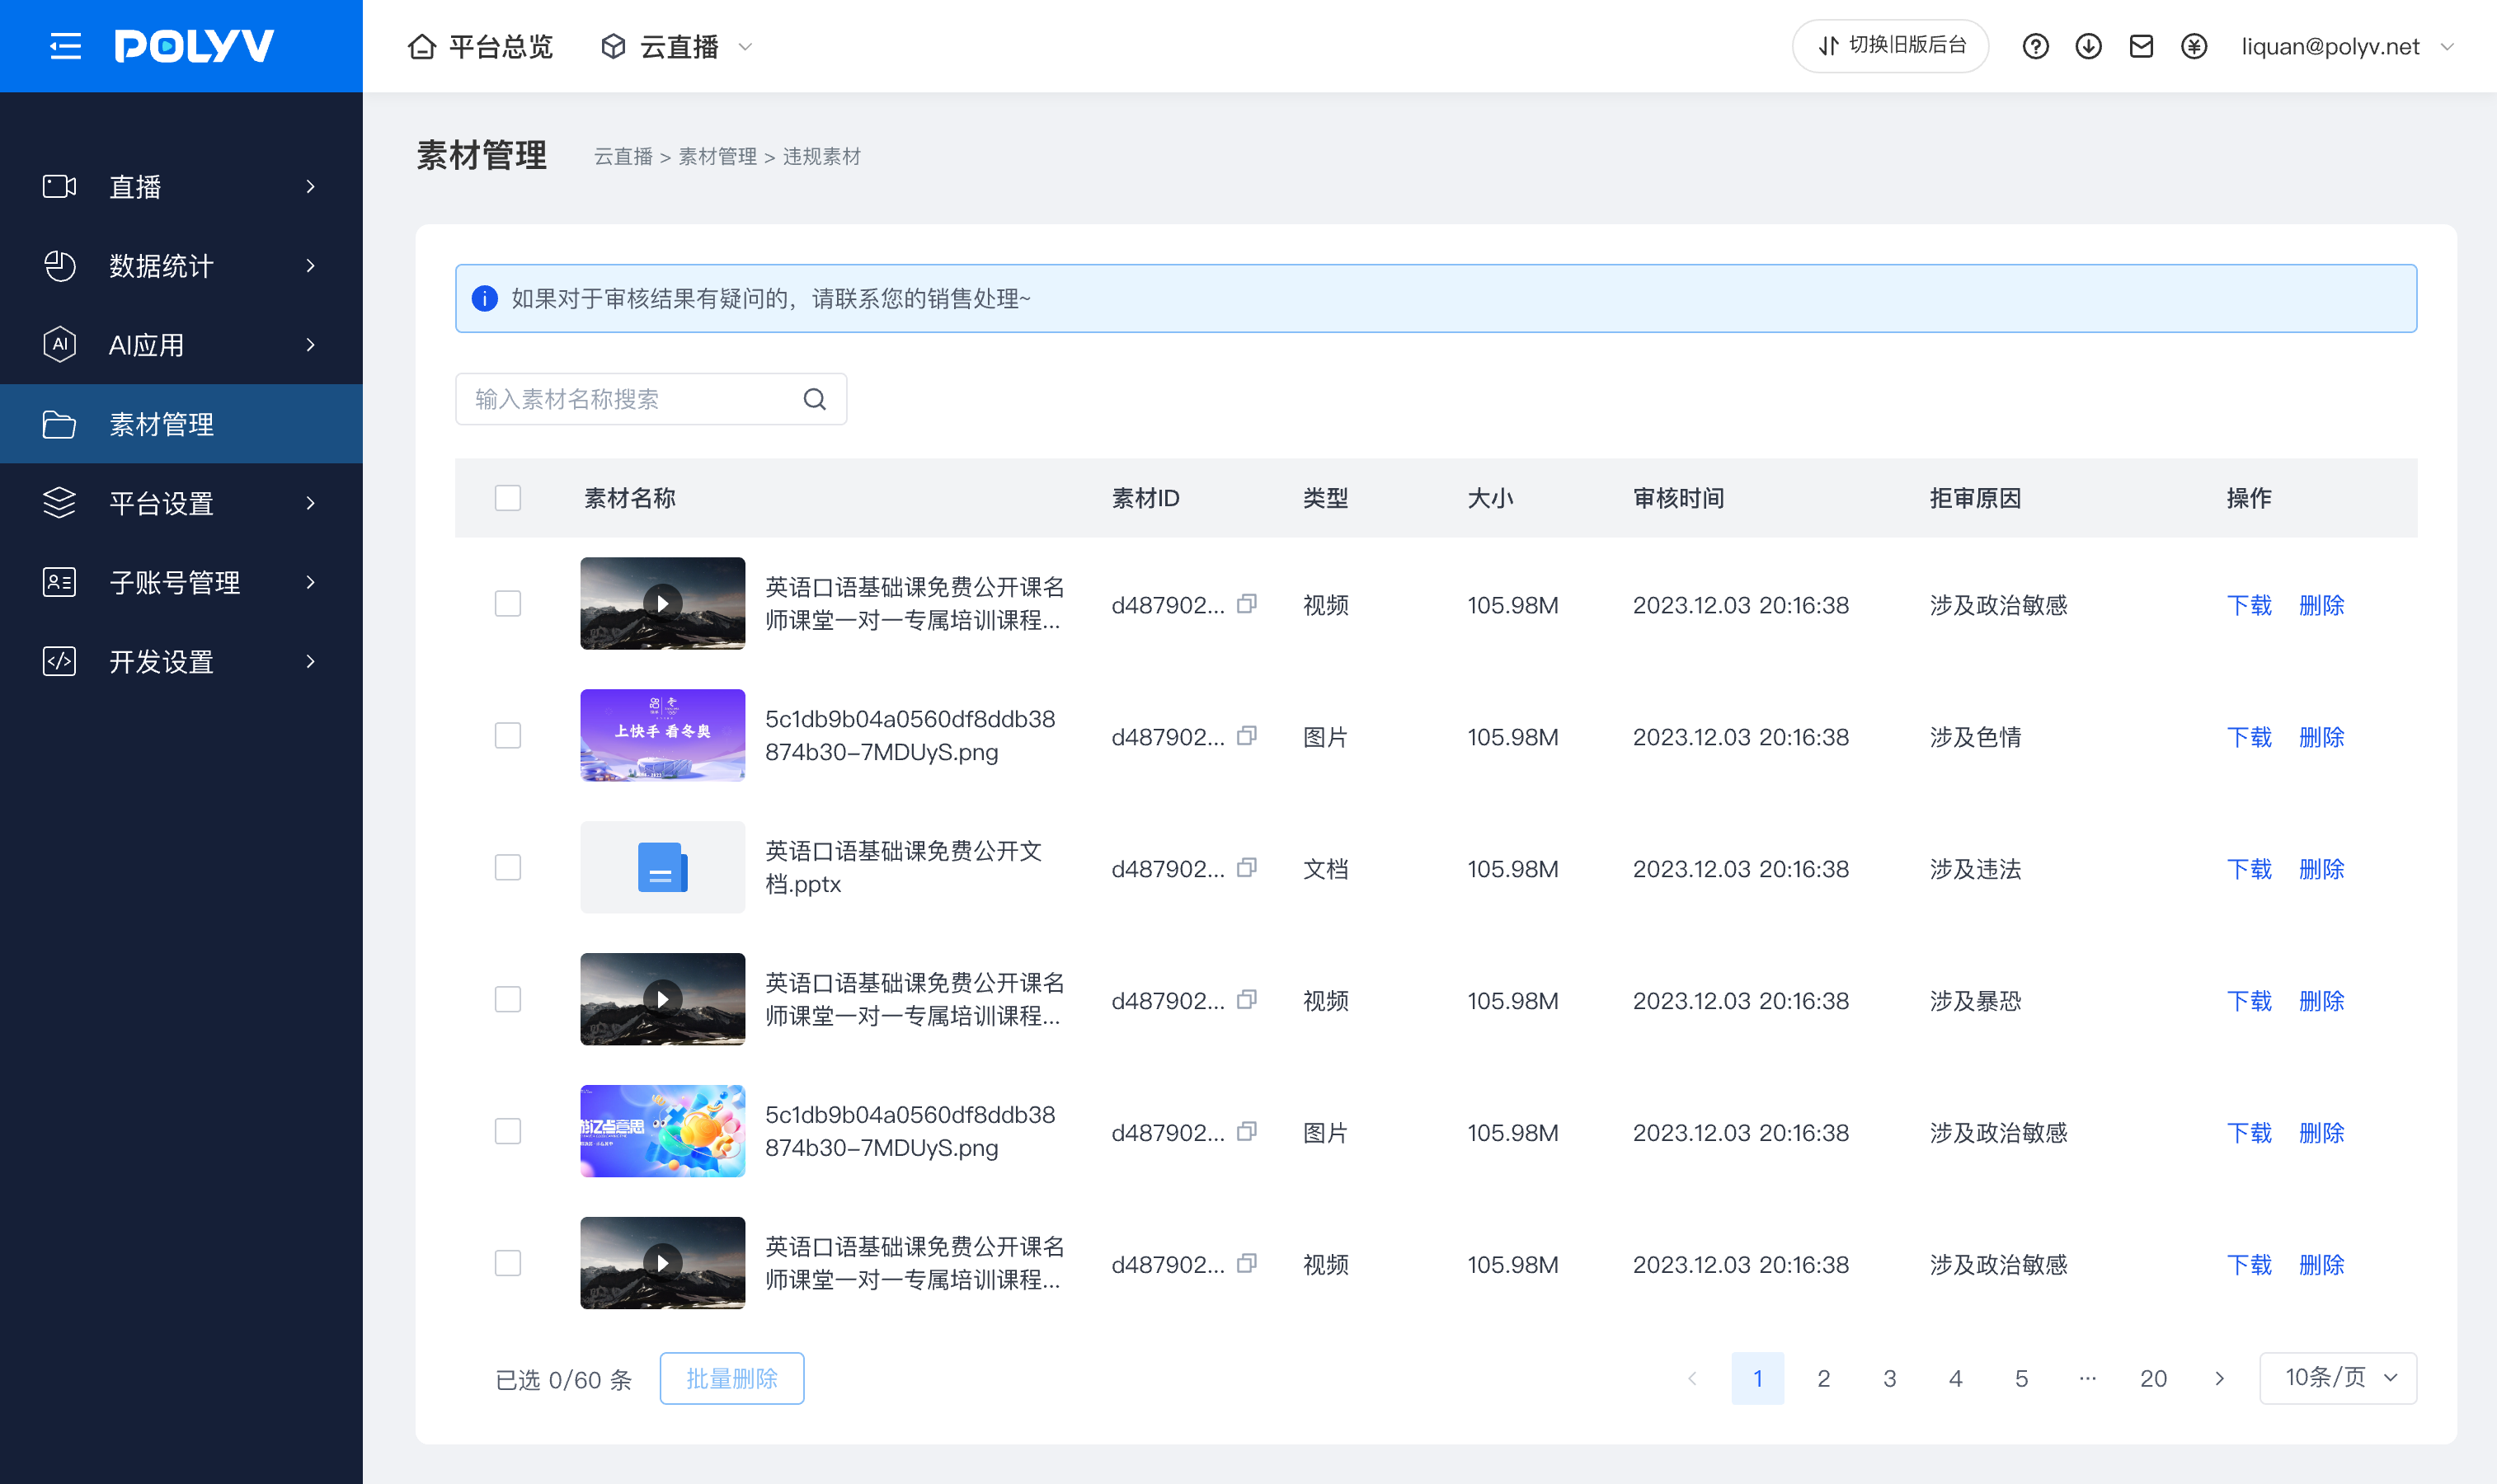
- Review Failed : If a material fails review due to content violations or other reasons, it can be handled on the dedicated [Violation Material] page.
- Access the Page: Under the "Material Management" main menu, click the [Violation Material] entry next to the "Recycle Bin".
- View and Operate: On this page, you can view all materials that failed review along with their "Rejection Reason", and perform [Download] or [Delete] operations on individual or multiple materials.
- Normal: Indicates that the material has finished processing and can be used and called normally.
3. Automatic Material Syncing
The system supports automatically syncing video resources generated in other business modules to the Material Library for unified management.
Sync Sources: Currently supports automatic syncing of videos generated from modules such as Live Replay, Video Creation, Product Explanation to the corresponding groups in the Material Library.
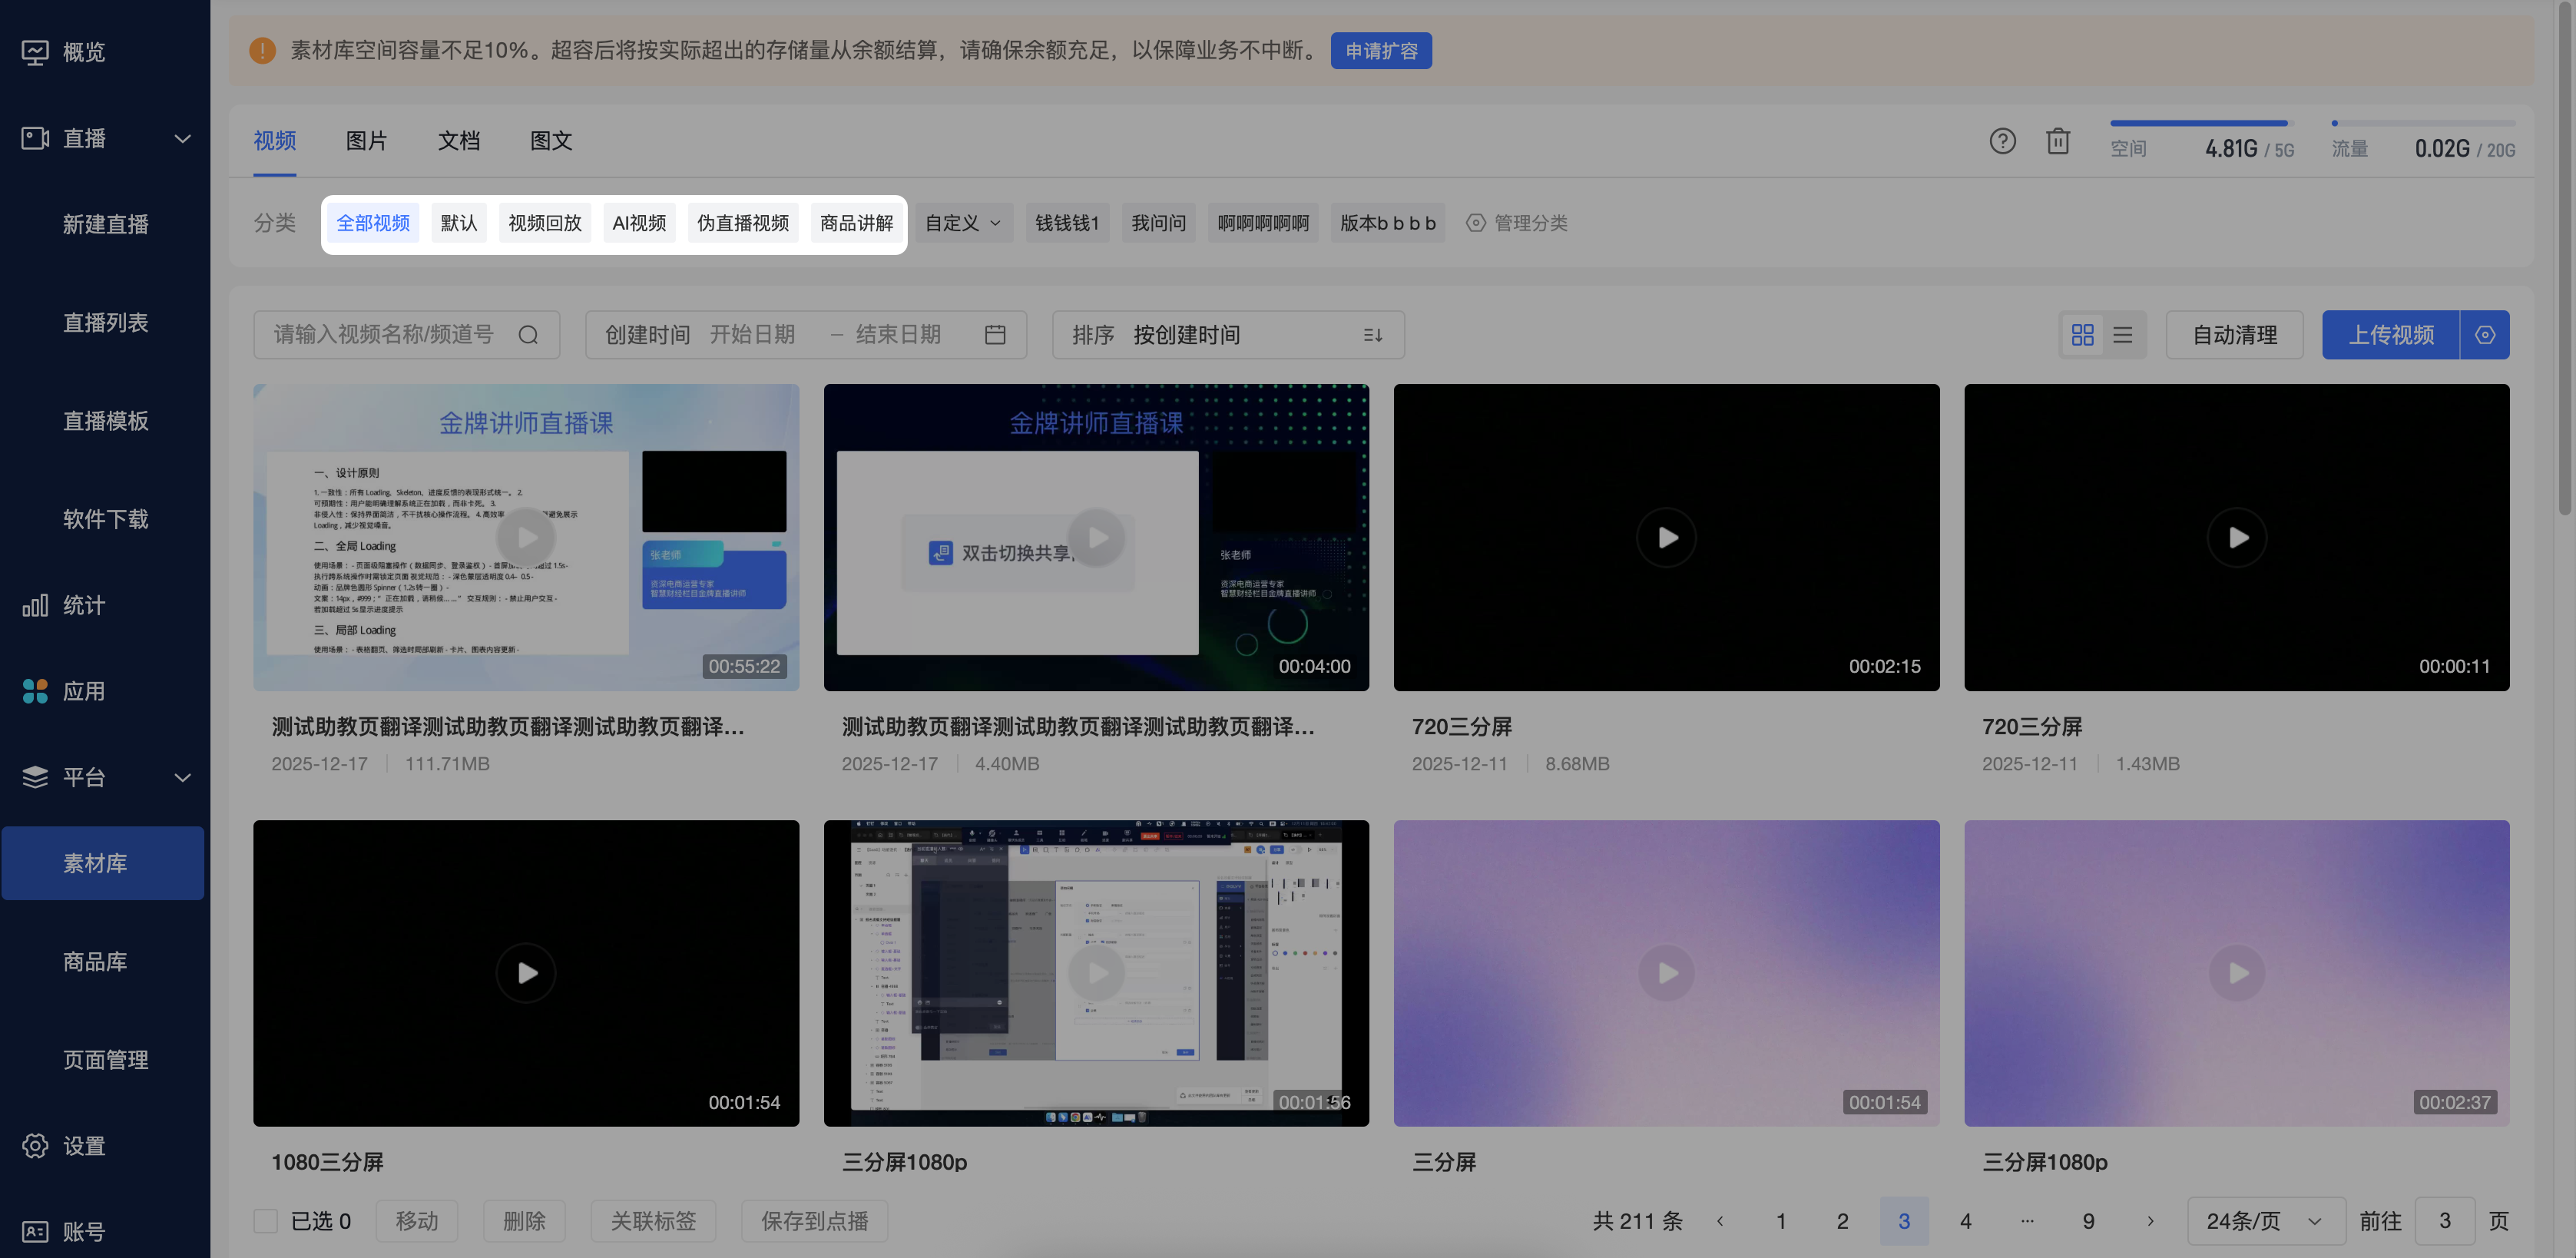
Operation Instructions: This process is triggered automatically and requires no manual action. For example, after a live stream ends, the generated replay video will automatically appear in the "Live Replay" group in the Material Library.
3. Managing Materials
1. Adding and Managing Groups or Categories
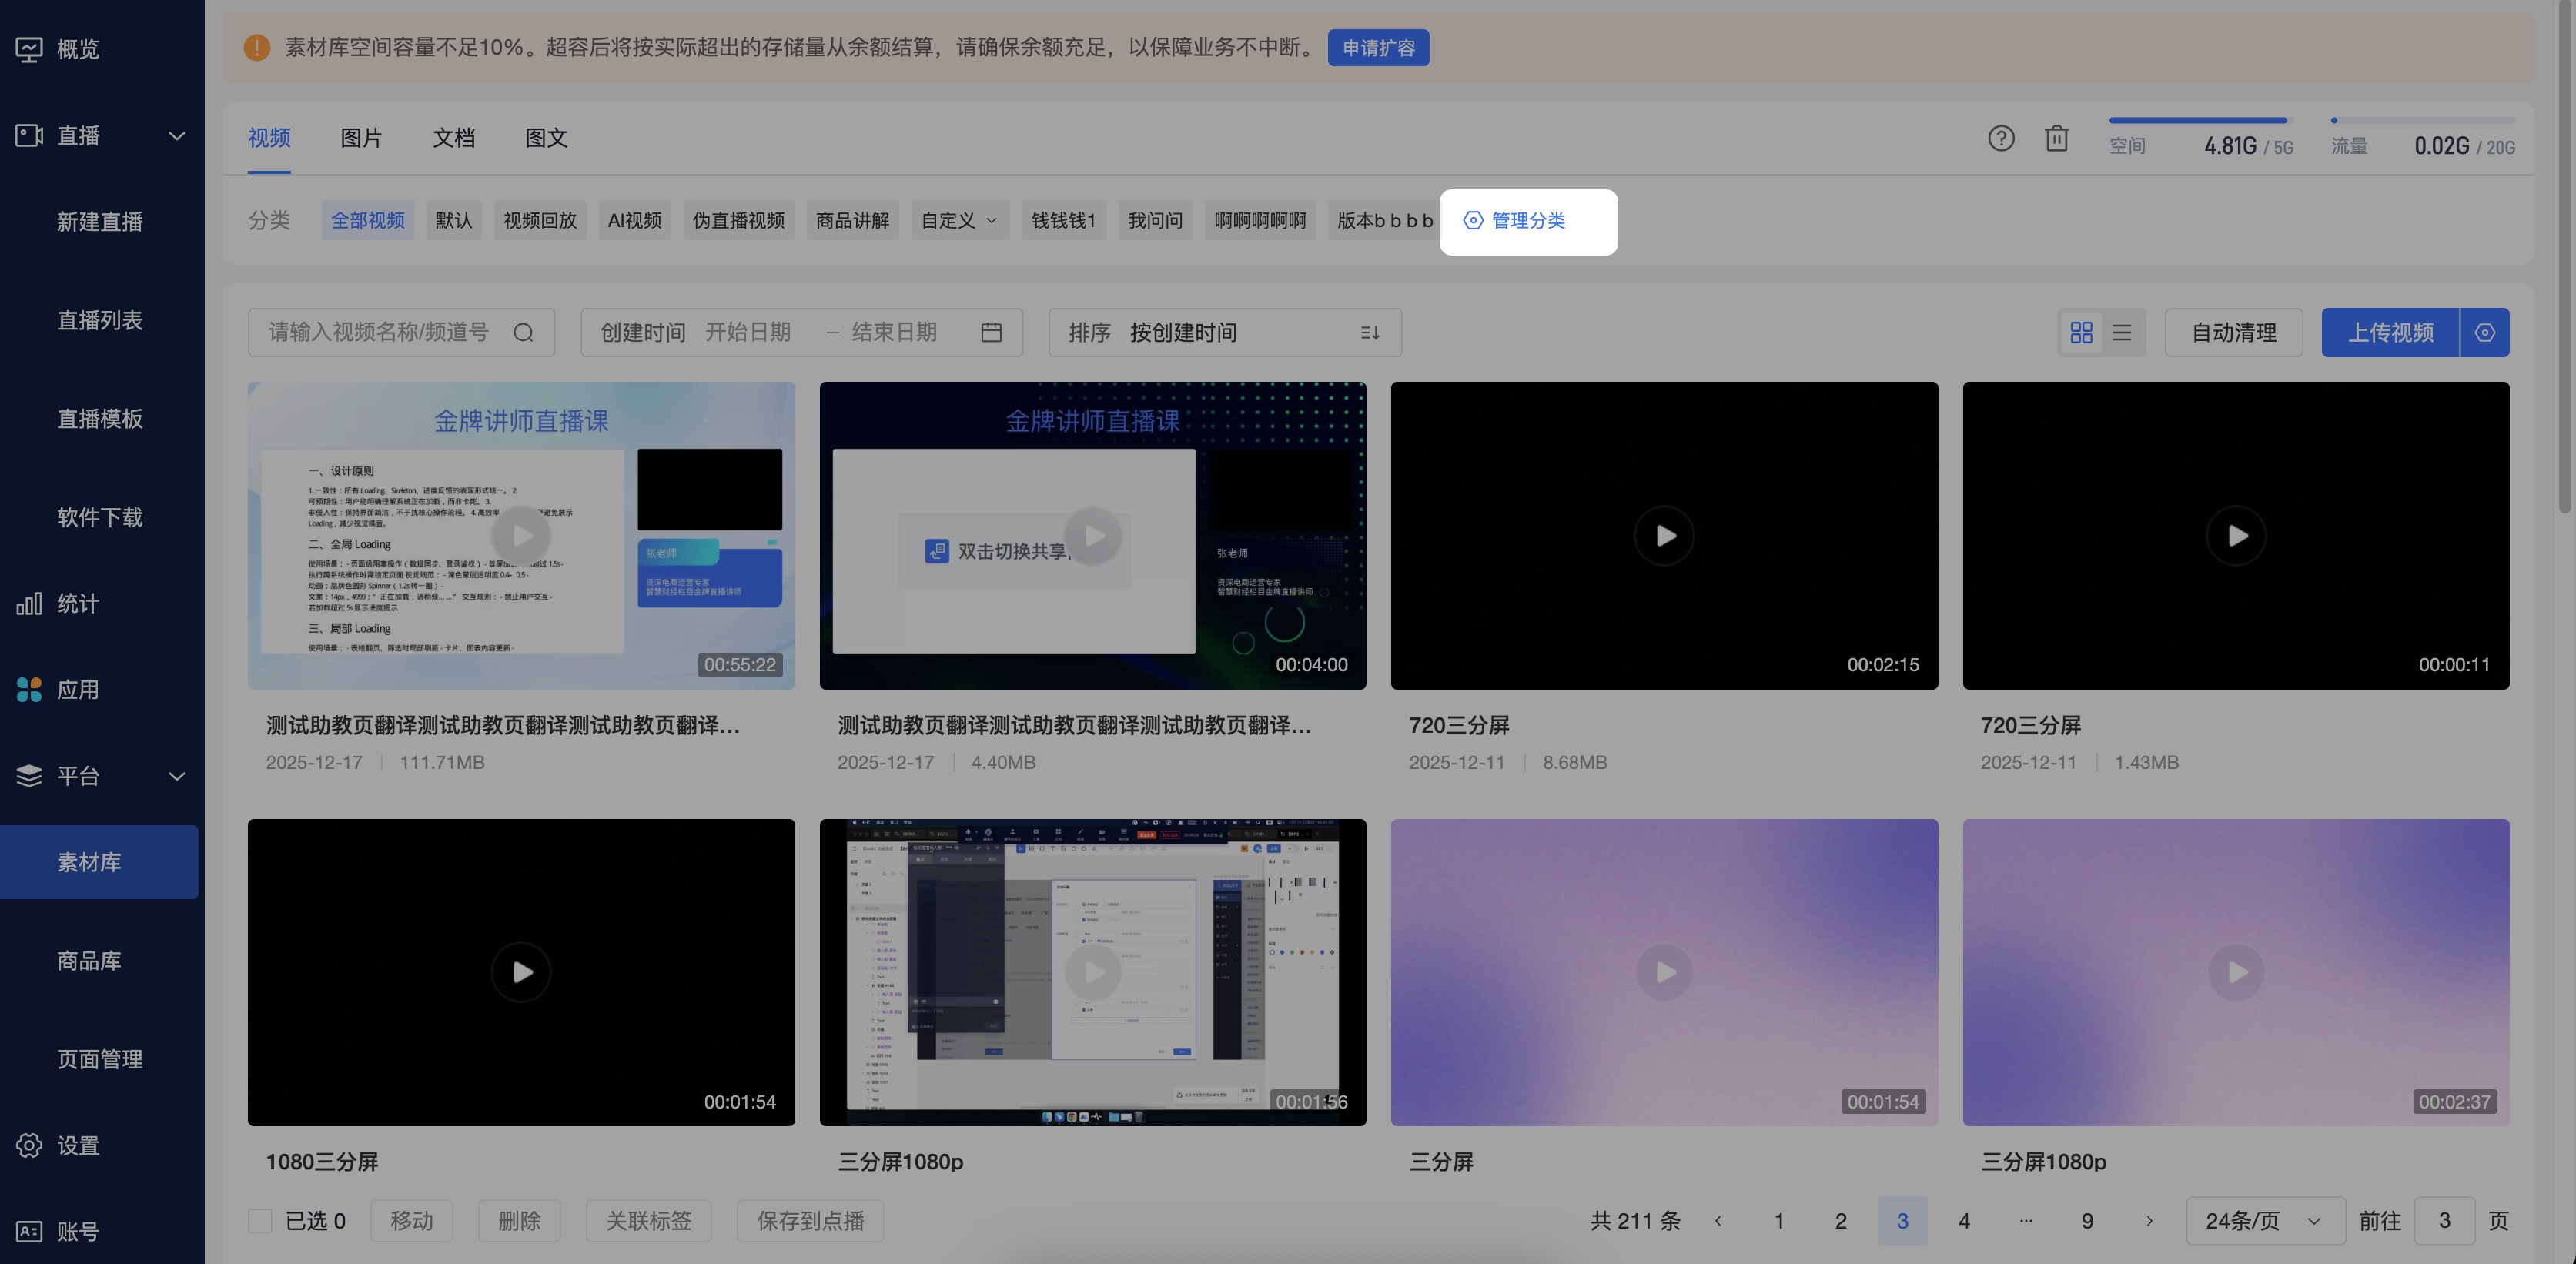
On the left side of the Material Library, first select a material Type (e.g., "Image"), then click the [New Group] button under that type, enter a group name, and a new Group will be created under that type.
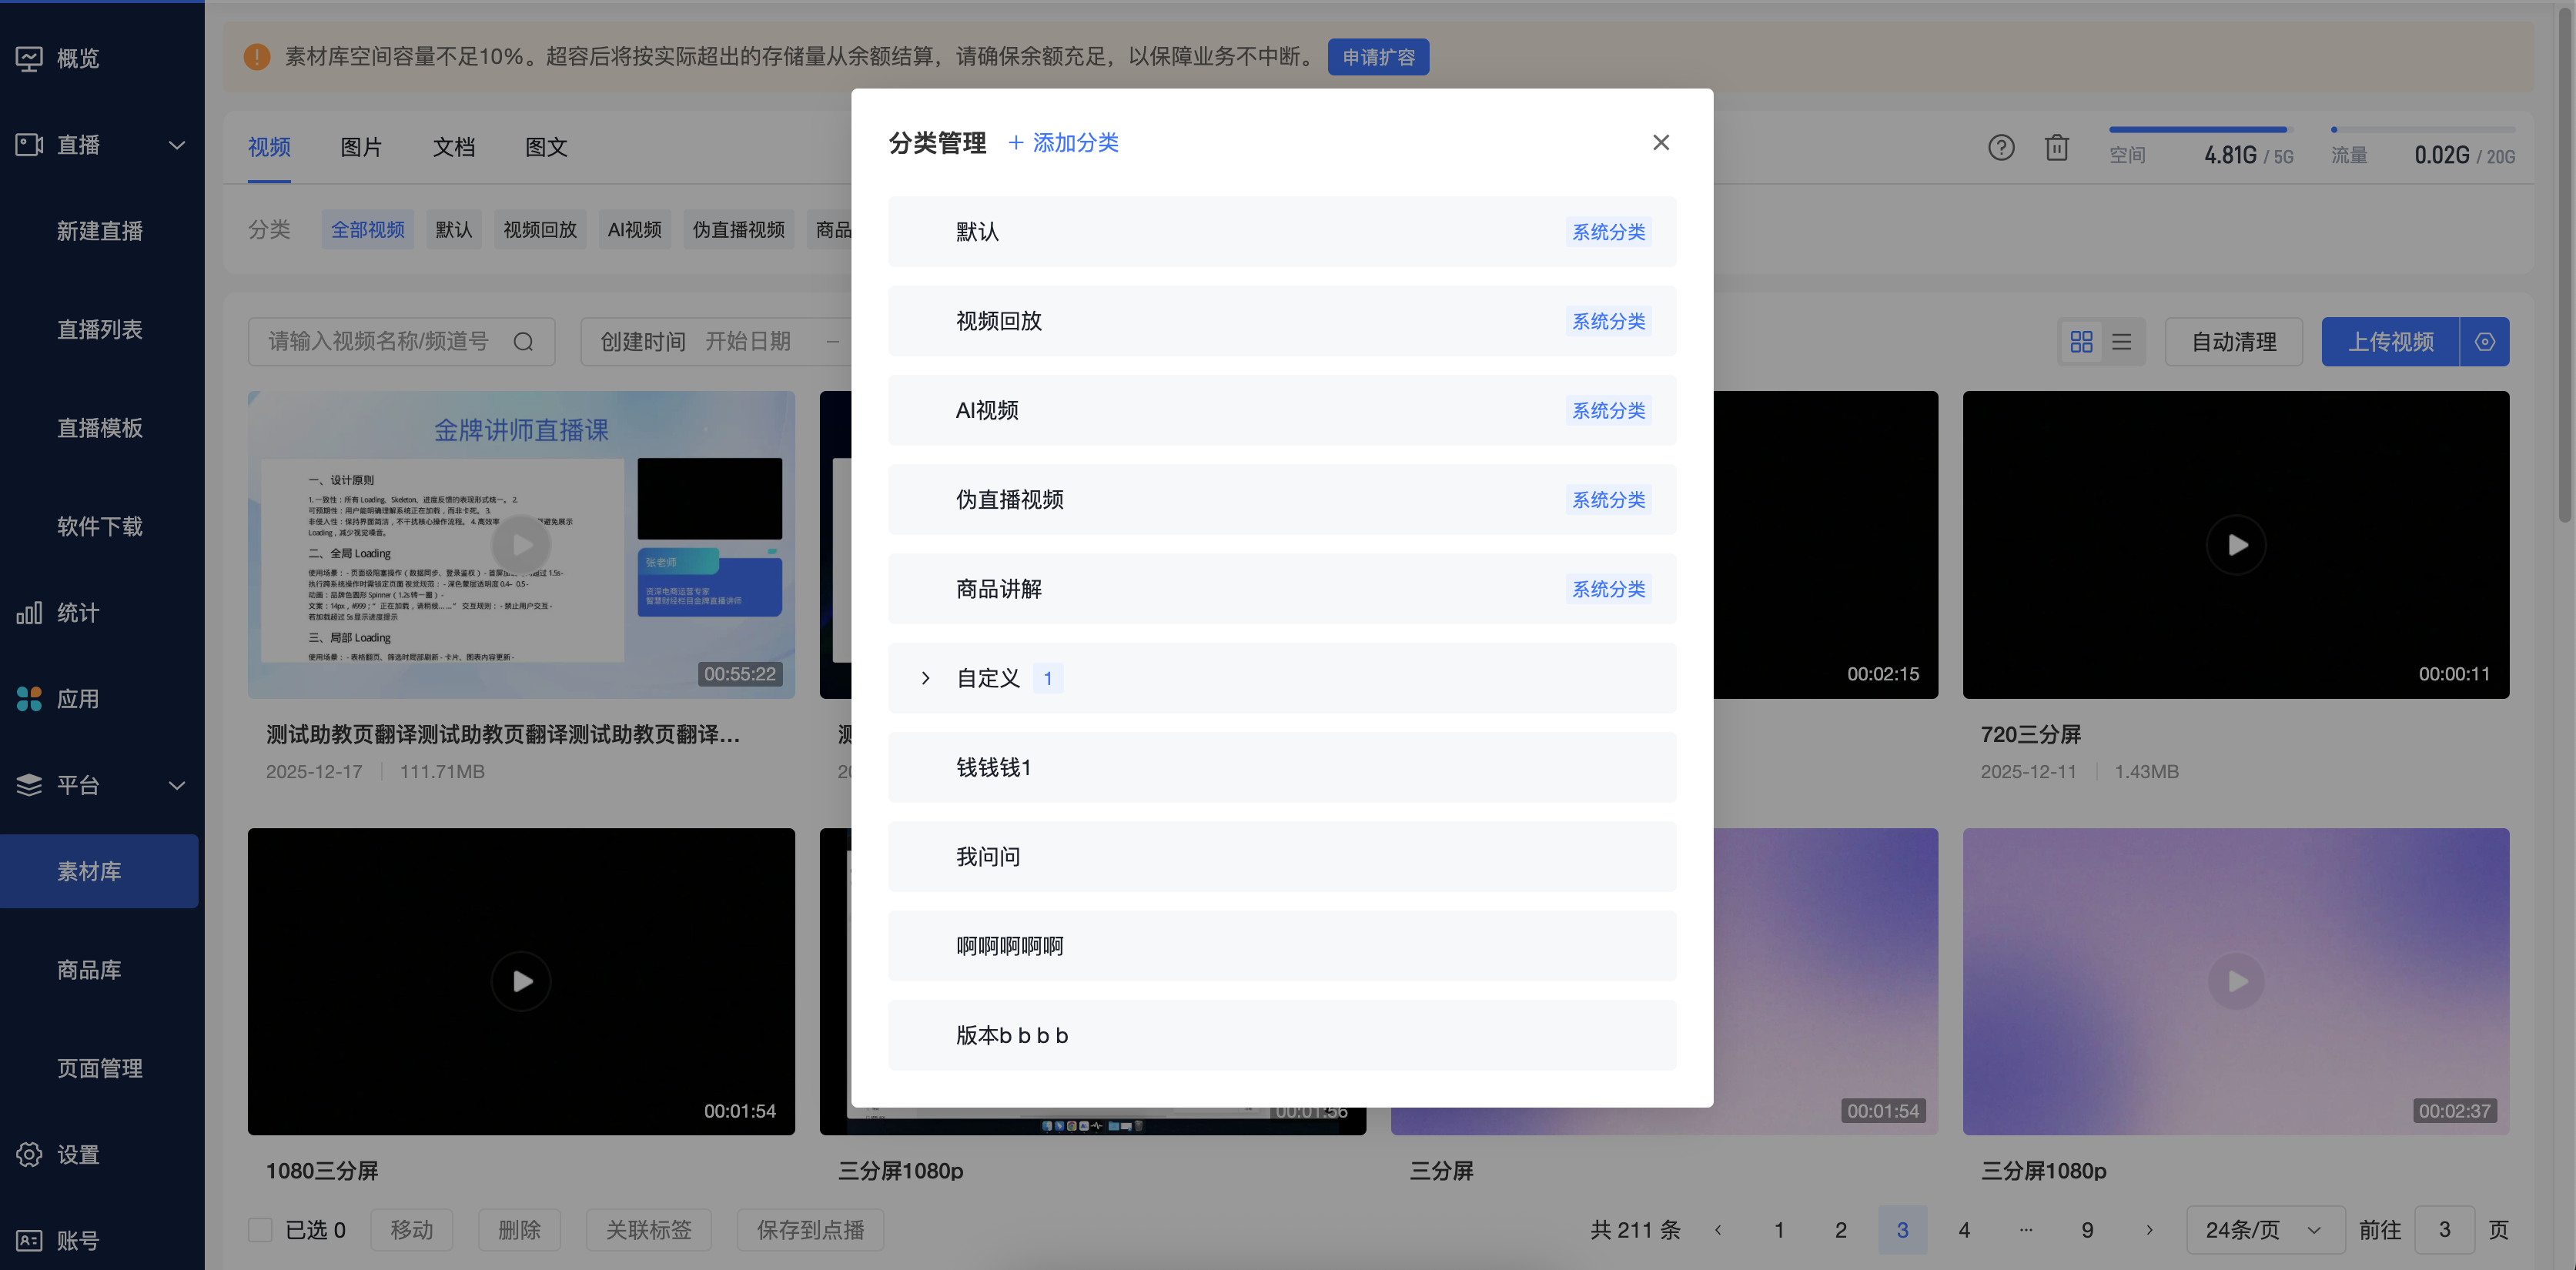
Audio categories include [All Audio], [Default], and custom categories:
- [All Audio] displays all audio files under the current account.
- The [Default] category retains only one and cannot be deleted.
- Supports creating, renaming, and deleting custom categories, with operational rules consistent with other custom categories in the Material Library.
When uploading audio, you can save it to the [Default] category or an existing custom category. After the audio processing is complete and it enters the "Normal" state, it can also be moved to other categories.
2. Searching and Sorting
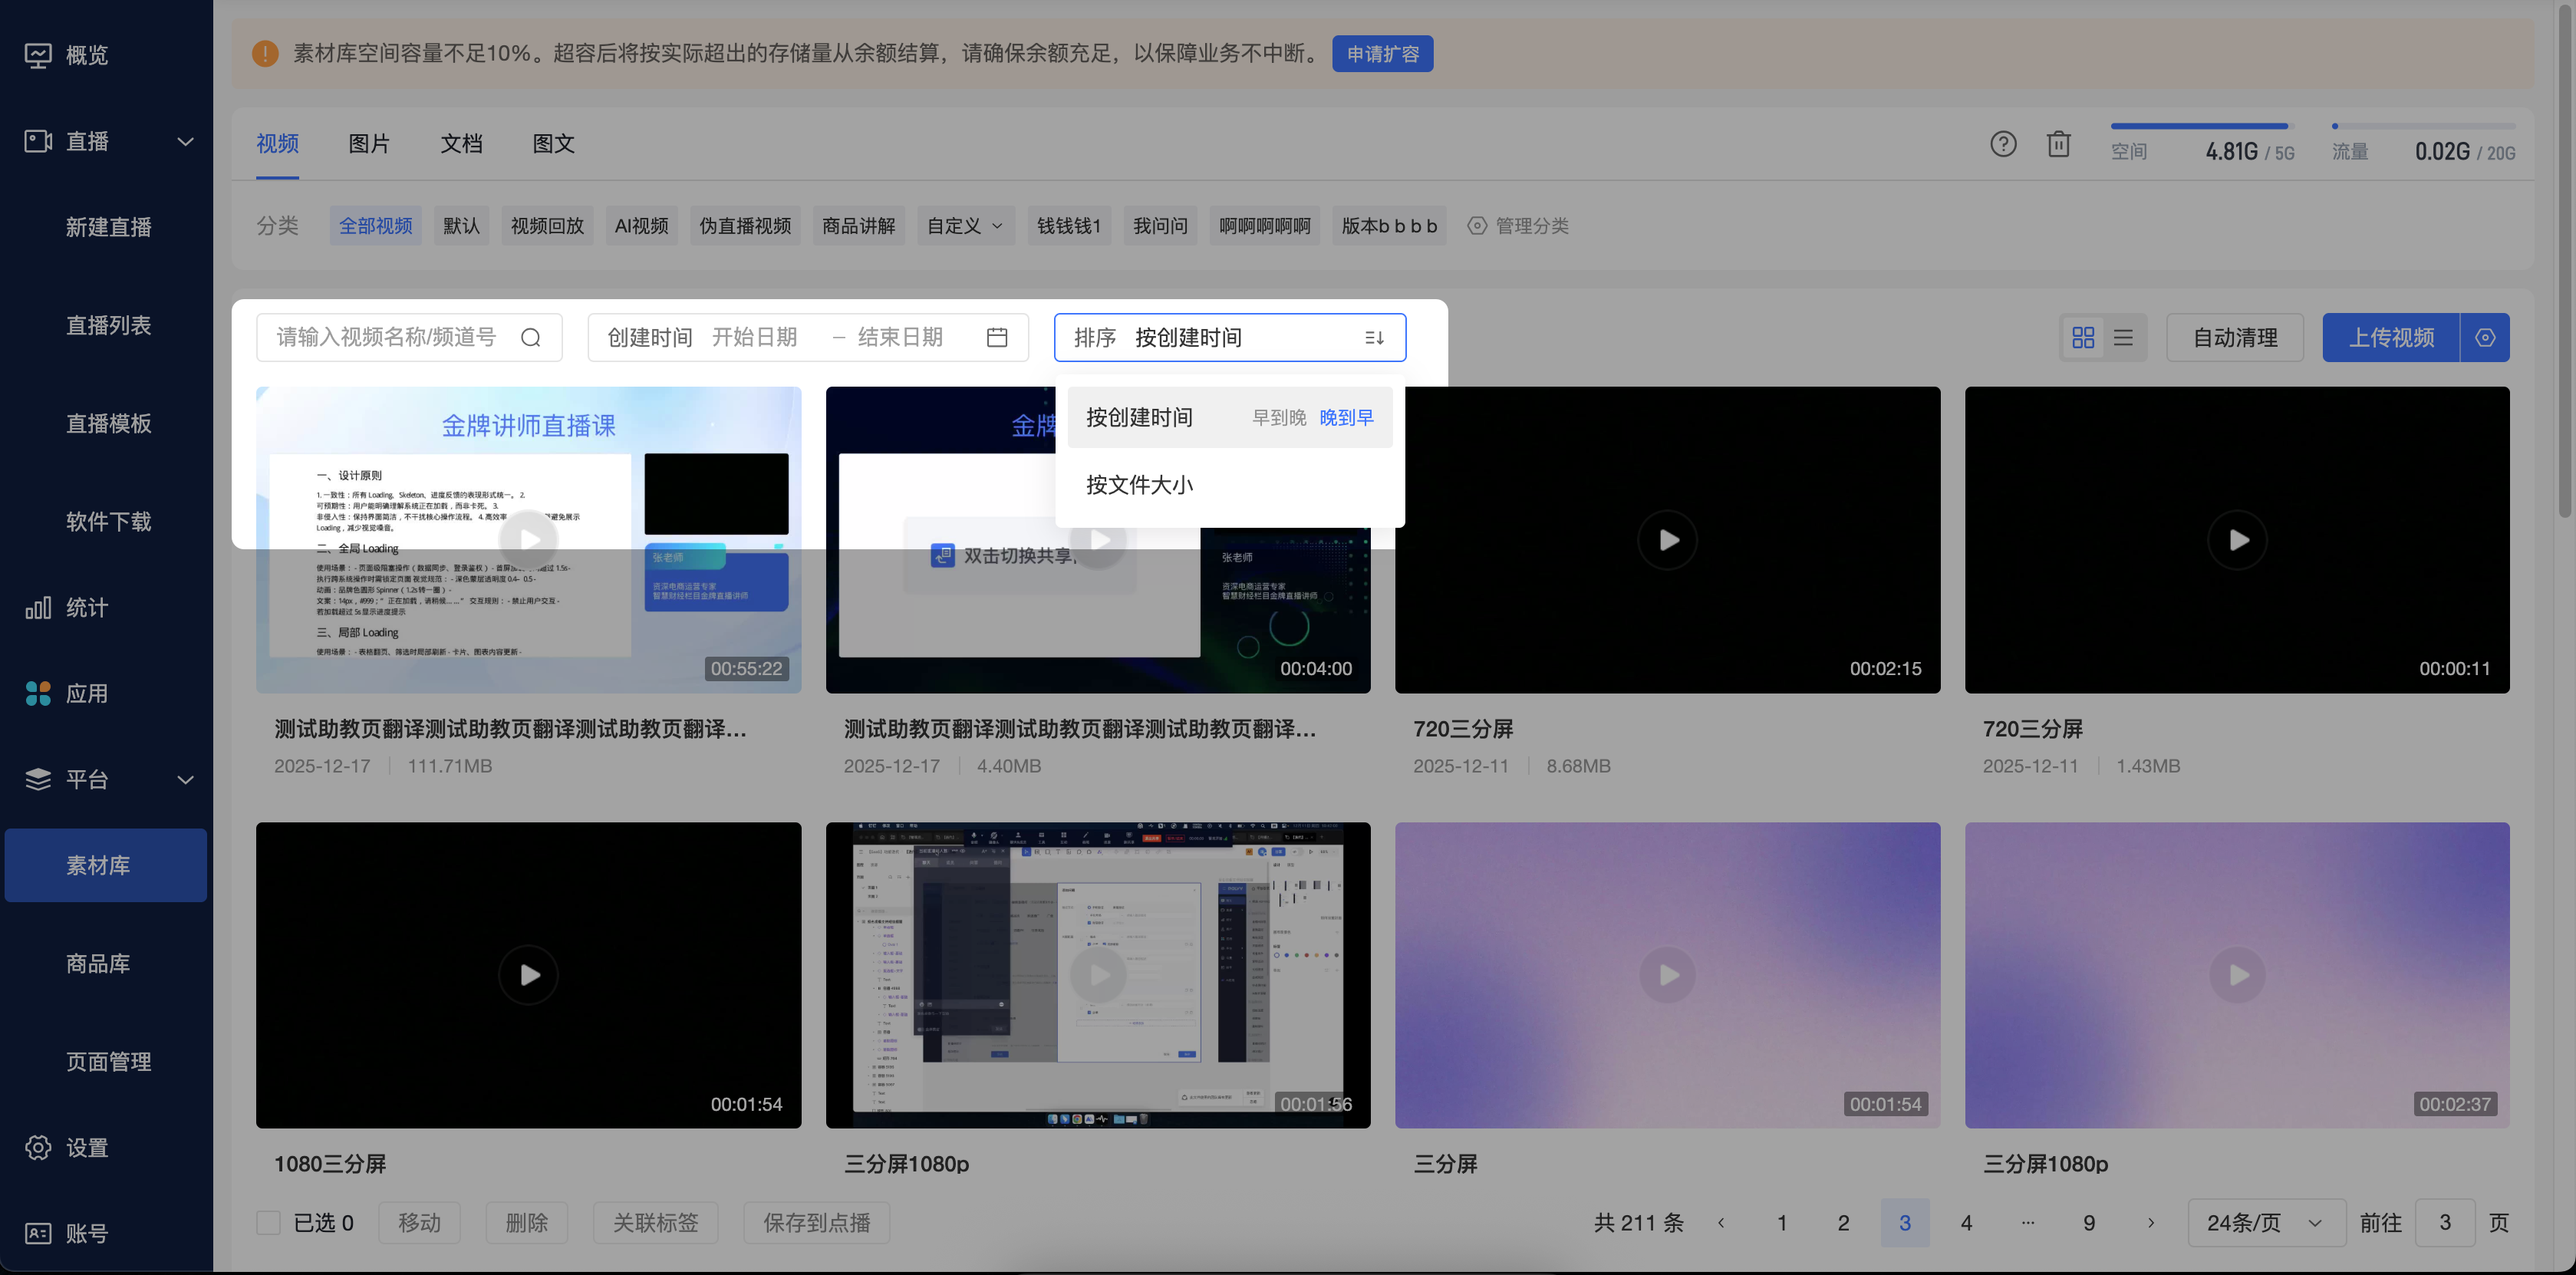
You can use the search box at the top to perform a fuzzy search by material name, or filter by creation time period. Additionally, you can sort the material list by creation time or file size using the sorting dropdown. Audio also supports sorting by audio duration.
3. Editing Materials
- Edit Video: Click the [Edit] action for a video material. You can modify the video name, change the video cover, and use the rich text editor to add a detailed text and image description for the video.
- Edit Audio: You can modify the audio name. Changing the name does not change the material ID, file format, or audio content.
- Edit Rich Text: Click the [Edit] action for a rich text material. You can modify the rich text name, add or adjust images (up to 15), and write a rich text description.
4. Viewing Video Details and Editing
Click the [Details] action or the title of a video material to enter the video details page. On this page, you can preview and play the video, and view basic information such as video duration, size, and upload time. The page also provides a [Video Editing] entry; clicking it allows you to enter the online editing tool to process the video.
5. Viewing and Previewing Audio
Audio supports both grid and list display modes:
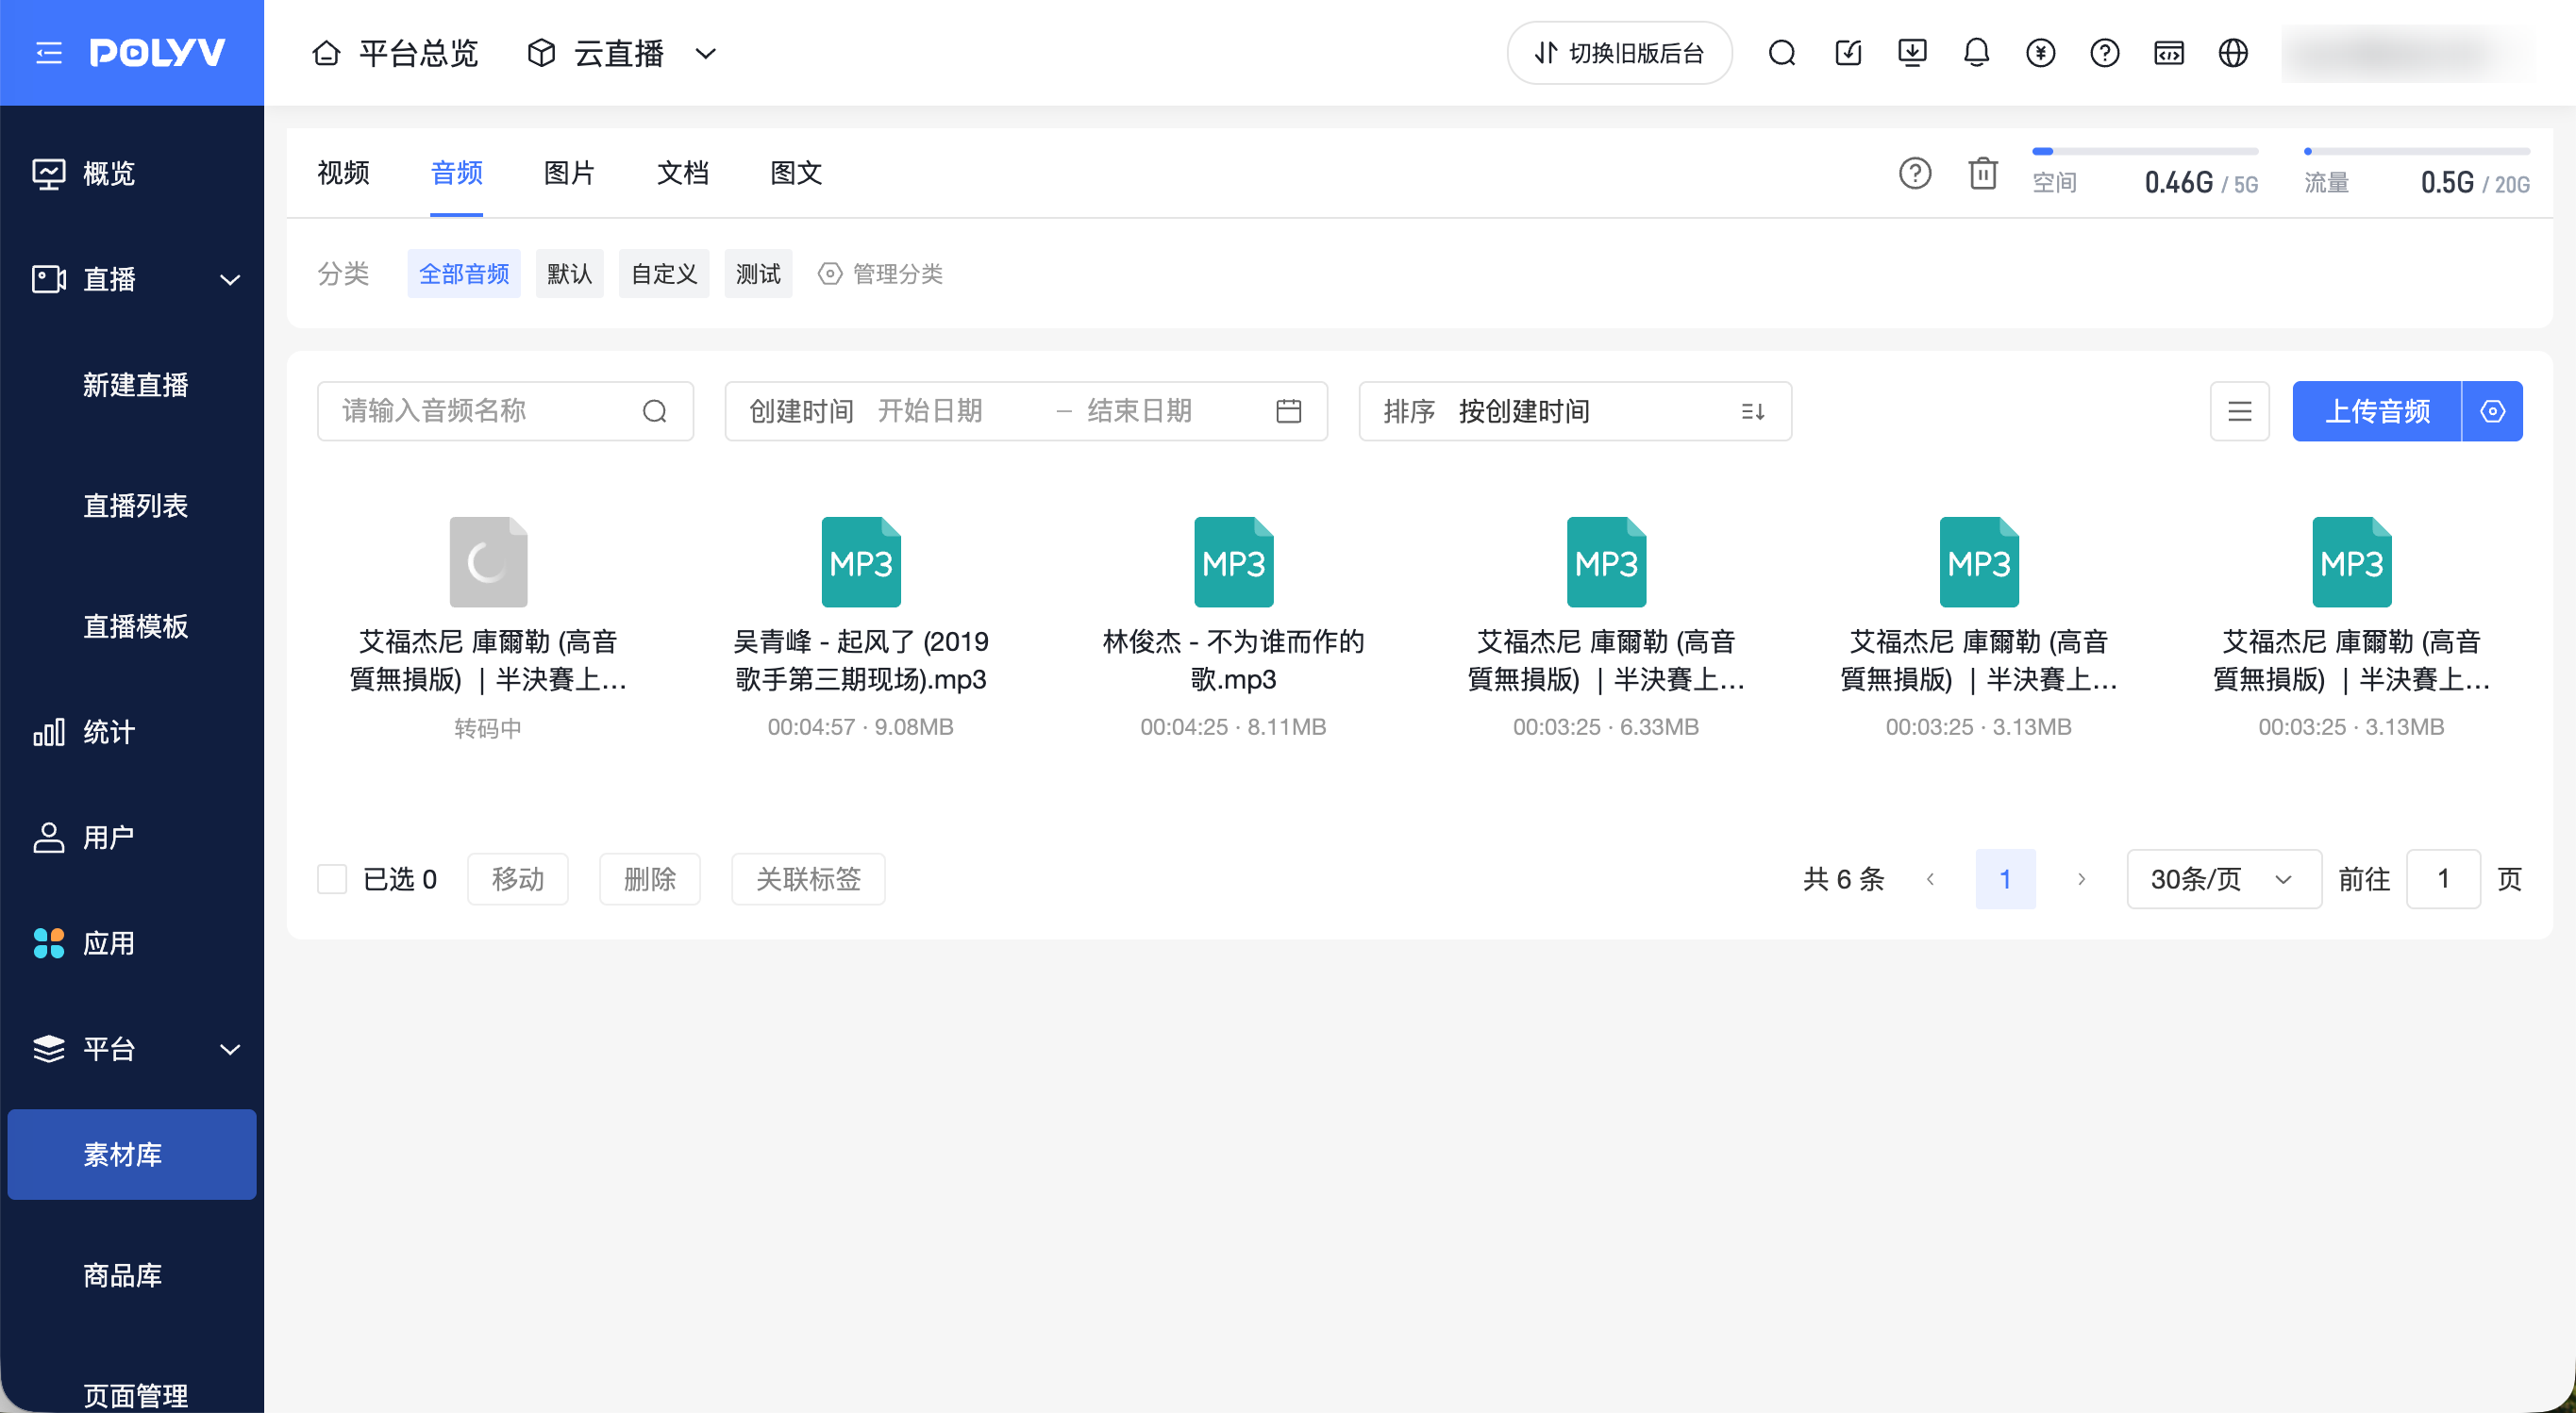
- Grid Mode: Displays audio file icons based on the file format, along with the audio name, duration, file size, and status. Custom audio covers are not supported.
- List Mode: Displays the audio name, material ID, creator, creation time, file size, audio duration, format, tags, status, and actions.
Clicking the audio name or [Details] opens the [Audio Details] drawer, showing the player and information such as audio name, format, file size, duration, creator, creation time, material ID, category, status, and tags.
Audio in the "Normal" state supports play, pause, dragging the playback progress bar, viewing the current playback time and total duration, and adjusting volume. Only one audio can be previewed at a time on the same page; playing a new audio will automatically pause the previously playing audio.
6. Auto-Cleanup for System Group Videos
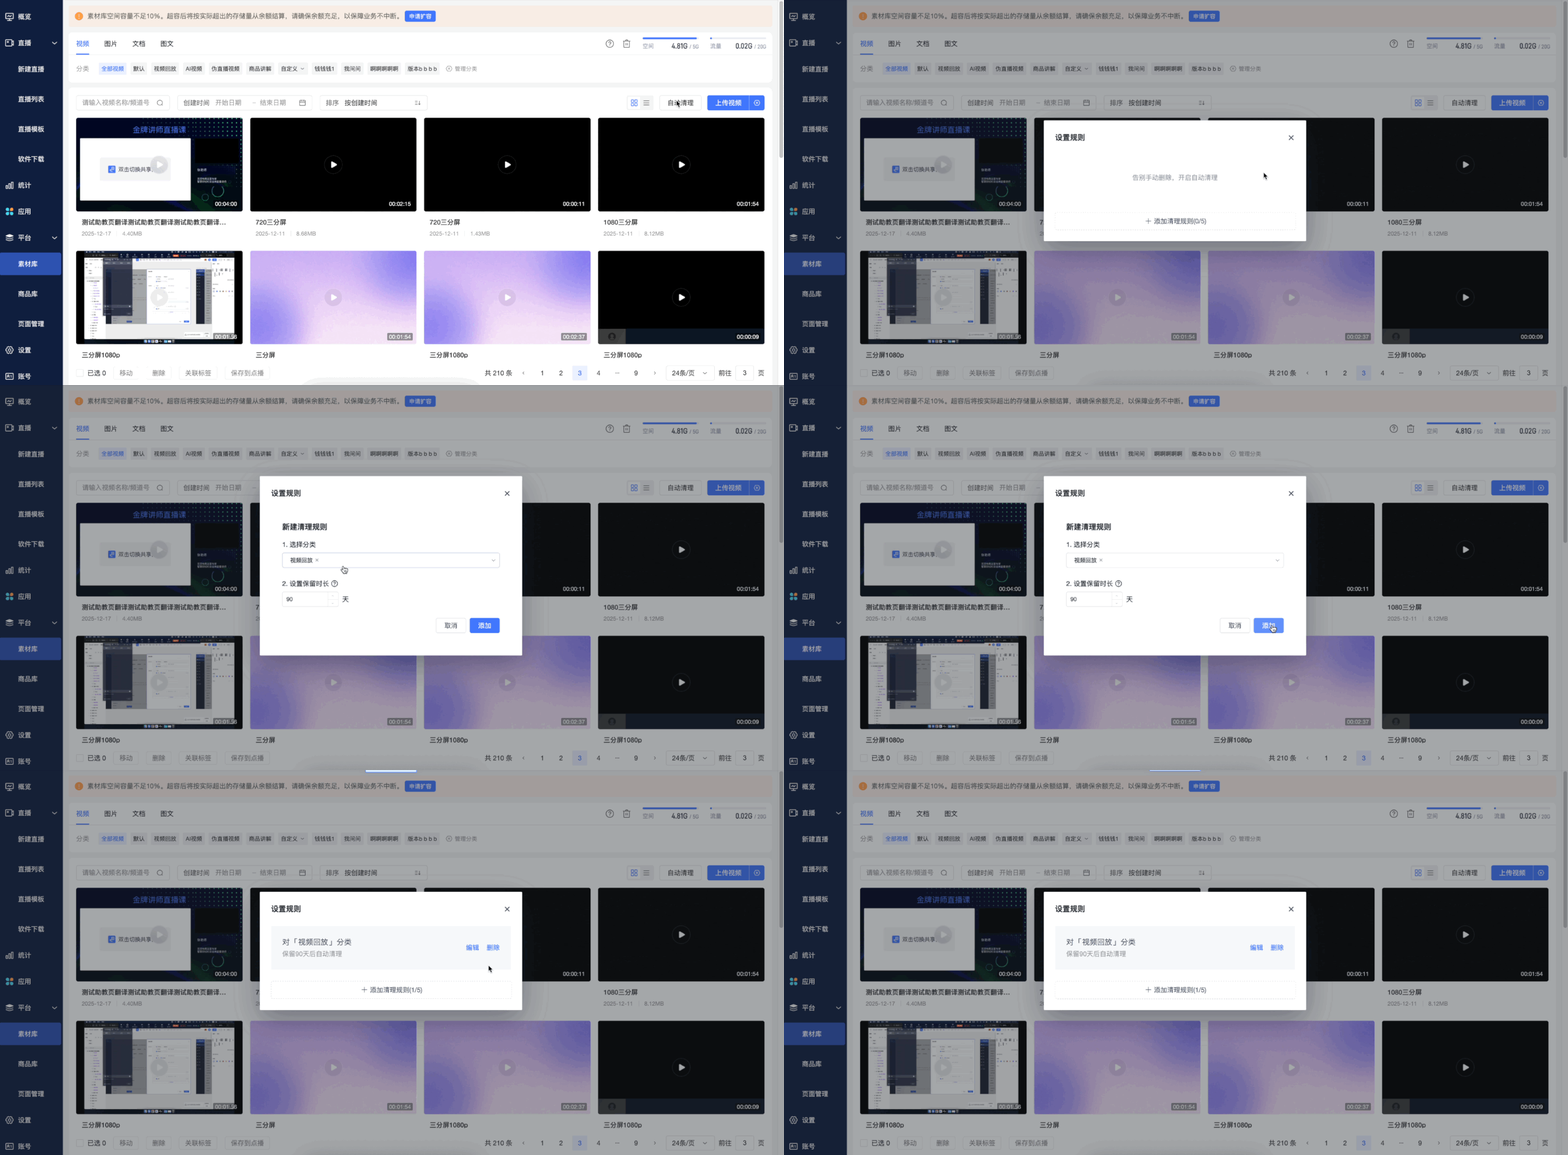
You can set auto-cleanup rules for the following system groups: Default, Video Replay, AI Video, Simulated Live Video, Product Explanation. A maximum of 5 rules can be added. One rule can select multiple groups, and one group can only be under one rule. Once set, existing videos in the group will also follow this rule.
7. Sharing, Downloading, and Deleting
Depending on the material type, the supported operations are as follows:
- Video: Supports [Details], [Edit], [Share], [Download], [Delete].
- Audio: In the "Normal" state, supports [Details], editing the name, [Download], [Delete], moving categories, and associating tags. After selecting multiple audio files, you can batch move categories, delete, or associate tags. Generating share links or batch downloading is not supported.
- Rich Text: Supports [Edit], [Share], [Delete].
- Image/Document: Supports [Download], [Delete].
💡 Tip: The "Share" function can generate an independent share link for external users to view video or rich text content.
4. Deleting Materials and the Recycle Bin
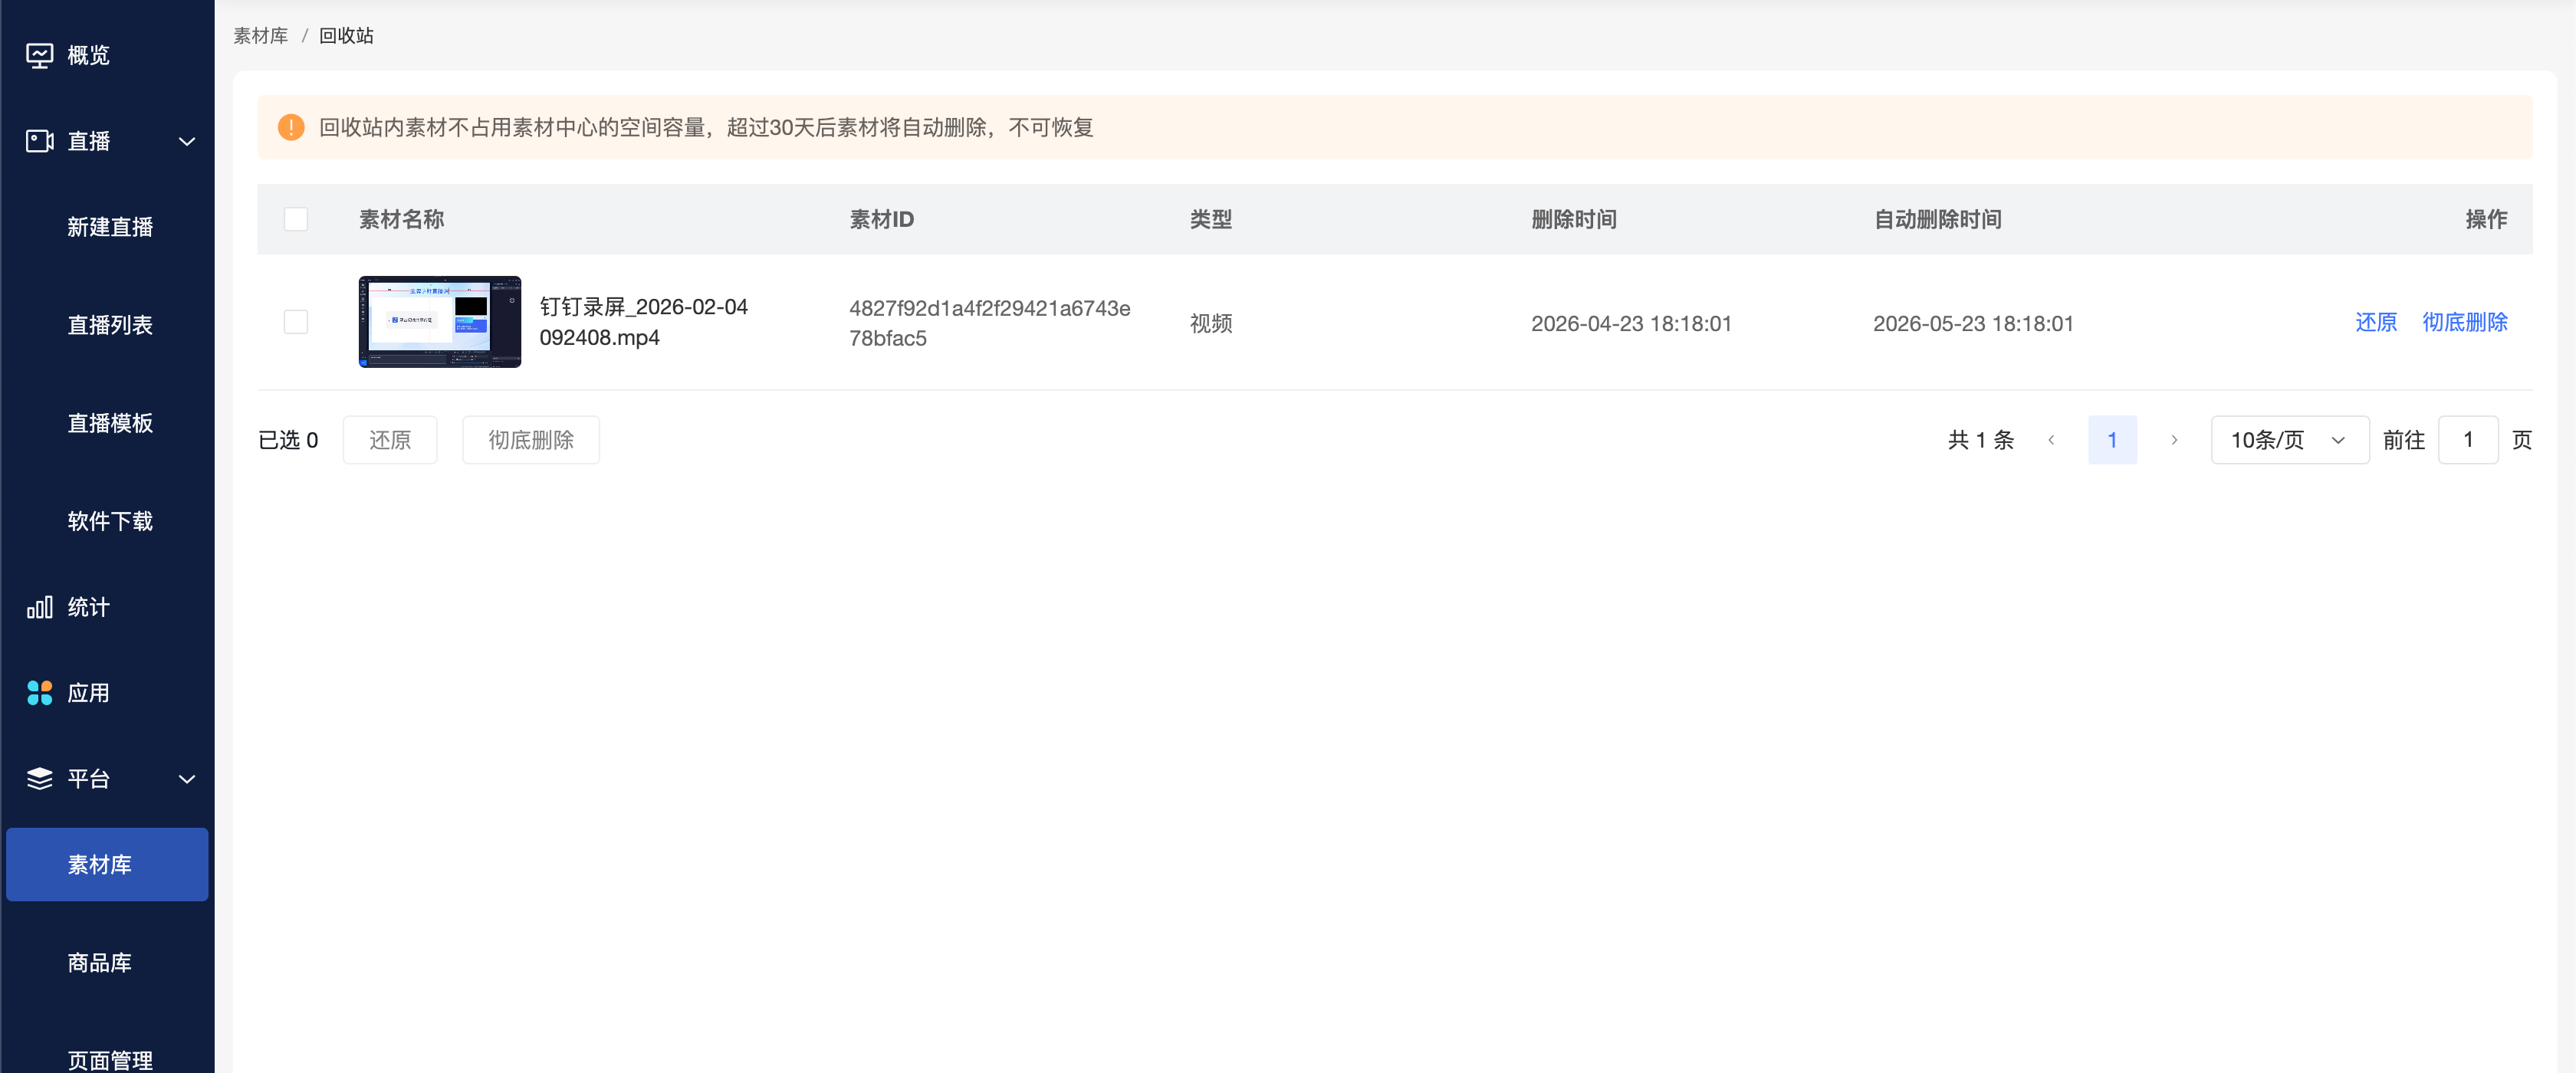
Clicking the [Delete] action for a material moves it to the Recycle Bin; it is not permanently deleted immediately.
- Recycle Bin Mechanism: Materials in the Recycle Bin do not occupy your material library space. Materials are retained in the Recycle Bin for 30 days, during which you can [Restore] or [Permanently Delete] them at any time.
- Audio Restoration: If the original category still exists, the audio is restored to its original category; if the original custom category has been deleted, the audio is restored to the [Default] category.
- Auto-Cleanup: After 30 days, the system will automatically and permanently delete materials in the Recycle Bin. Deleted materials cannot be recovered. When permanently deleting audio, both the original file and the transcoded preview file are deleted together.
5. Billing Instructions
Using the Material Library involves billing for Space and Traffic. Please consult sales for specific unit prices.
1. Audio Space and Traffic Calculation
- Space: When [Original File Backup] is enabled, both the original file and the transcoded preview file count towards the material library space. When disabled, only the transcoded preview file counts towards the material library space. When audio enters the Recycle Bin, the material library space it occupied is immediately released.
- Traffic: Uploading audio and internal system transcoding do not count towards customer traffic. Previewing, repeated previewing, loading audio after dragging the playback progress, and downloading the original file or transcoded file count towards the material library traffic based on the actual downstream data volume. If playback fails and no downstream traffic for the audio file is generated, it does not count towards the material library traffic.
The overage billing and feature restriction rules for audio space and traffic follow the existing Material Library rules.
2. Space Overage Billing Deduction
- Billing: At midnight daily, the system compares the used space against the total capacity. The excess portion is billed at n RMB/GB/day.
- Billing Formula: Daily overage fee = (Used Space - Total Capacity) GB × n RMB
- Deduction Method: Resource Points
3. Traffic Overage Billing Deduction
- Billing: At midnight daily, the system calculates the traffic exceeded in the past day. The excess portion is billed at n RMB/GB.
- Billing Formula: Daily overage fee = Traffic exceeding the daily quota (GB) × n RMB
- Deduction Method: Resource Points
Note: If the first deduction fails, a "Pending Payment" bill is generated, and the space or traffic enters a "Feature Restricted" state.
