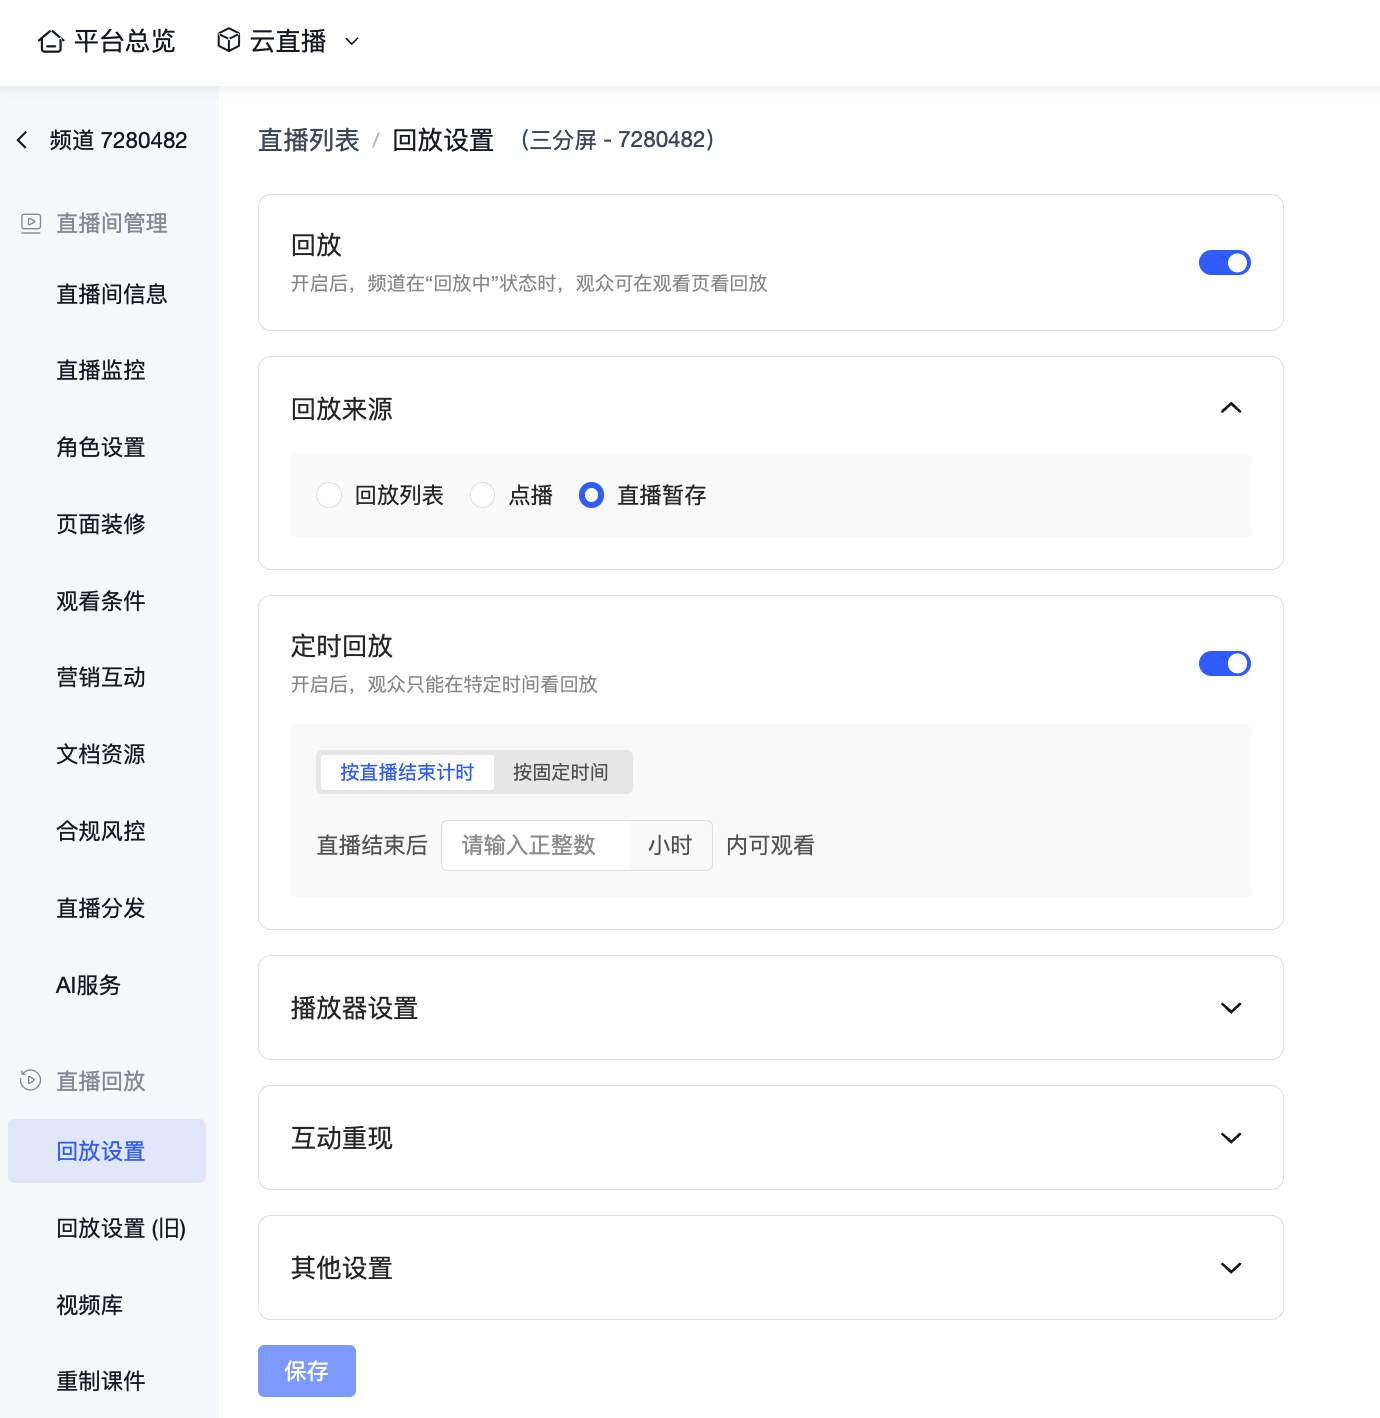
Playback Settings
I. Feature Overview
Feature Info |
Description |
|---|---|
| Feature Name | Live Playback Settings |
| Feature Description | A module for comprehensive management of playback content after a live stream ends. Supports custom video sources, viewing time restrictions, player interaction configuration, interactive atmosphere restoration, and automated transfer settings. |
| Purpose | Extend the lifecycle of live content, allowing users who missed the live stream to watch it later. Meanwhile, through detailed configuration of the player and interactive features, it meets viewing experience and operational needs in different business scenarios. |
| Use Cases | 1. Standard Playback: Automatically generates playback after the live stream ends for viewers to watch anytime. 2. Mandatory Learning/Training Assessment: Disable the "Progress Bar" and "Fast Forward" features to ensure learners watch the entire video and prevent skipping key content. 3. Flexible Content Arrangement: Flexibly choose the "Entire List" for continuous playback, or specify a "Single Selected Video" as the sole playback content, catering to different display needs for series courses or individual premium events. |
| Feature List | 1. Global Toggle: One-click control to enable/disable the playback function. 2. Playback Source: Supports multiple sources like playback list, media library, and VOD videos. 3. Timed Playback: Supports viewing based on "Countdown from live stream end" or "Specified fixed time period". 4. Player Configuration: Progress bar, playback speed, fast forward/rewind, pause/play, loop playback. 5. Interactive Restoration: Chat, cards, check-in, surveys, quizzes, product library restoration. 6. Other Settings: Supports three-screen chapter markers and automatic transfer to VOD categories. |
II. Detailed Operation Guide
Step 1: Enter the Settings Page
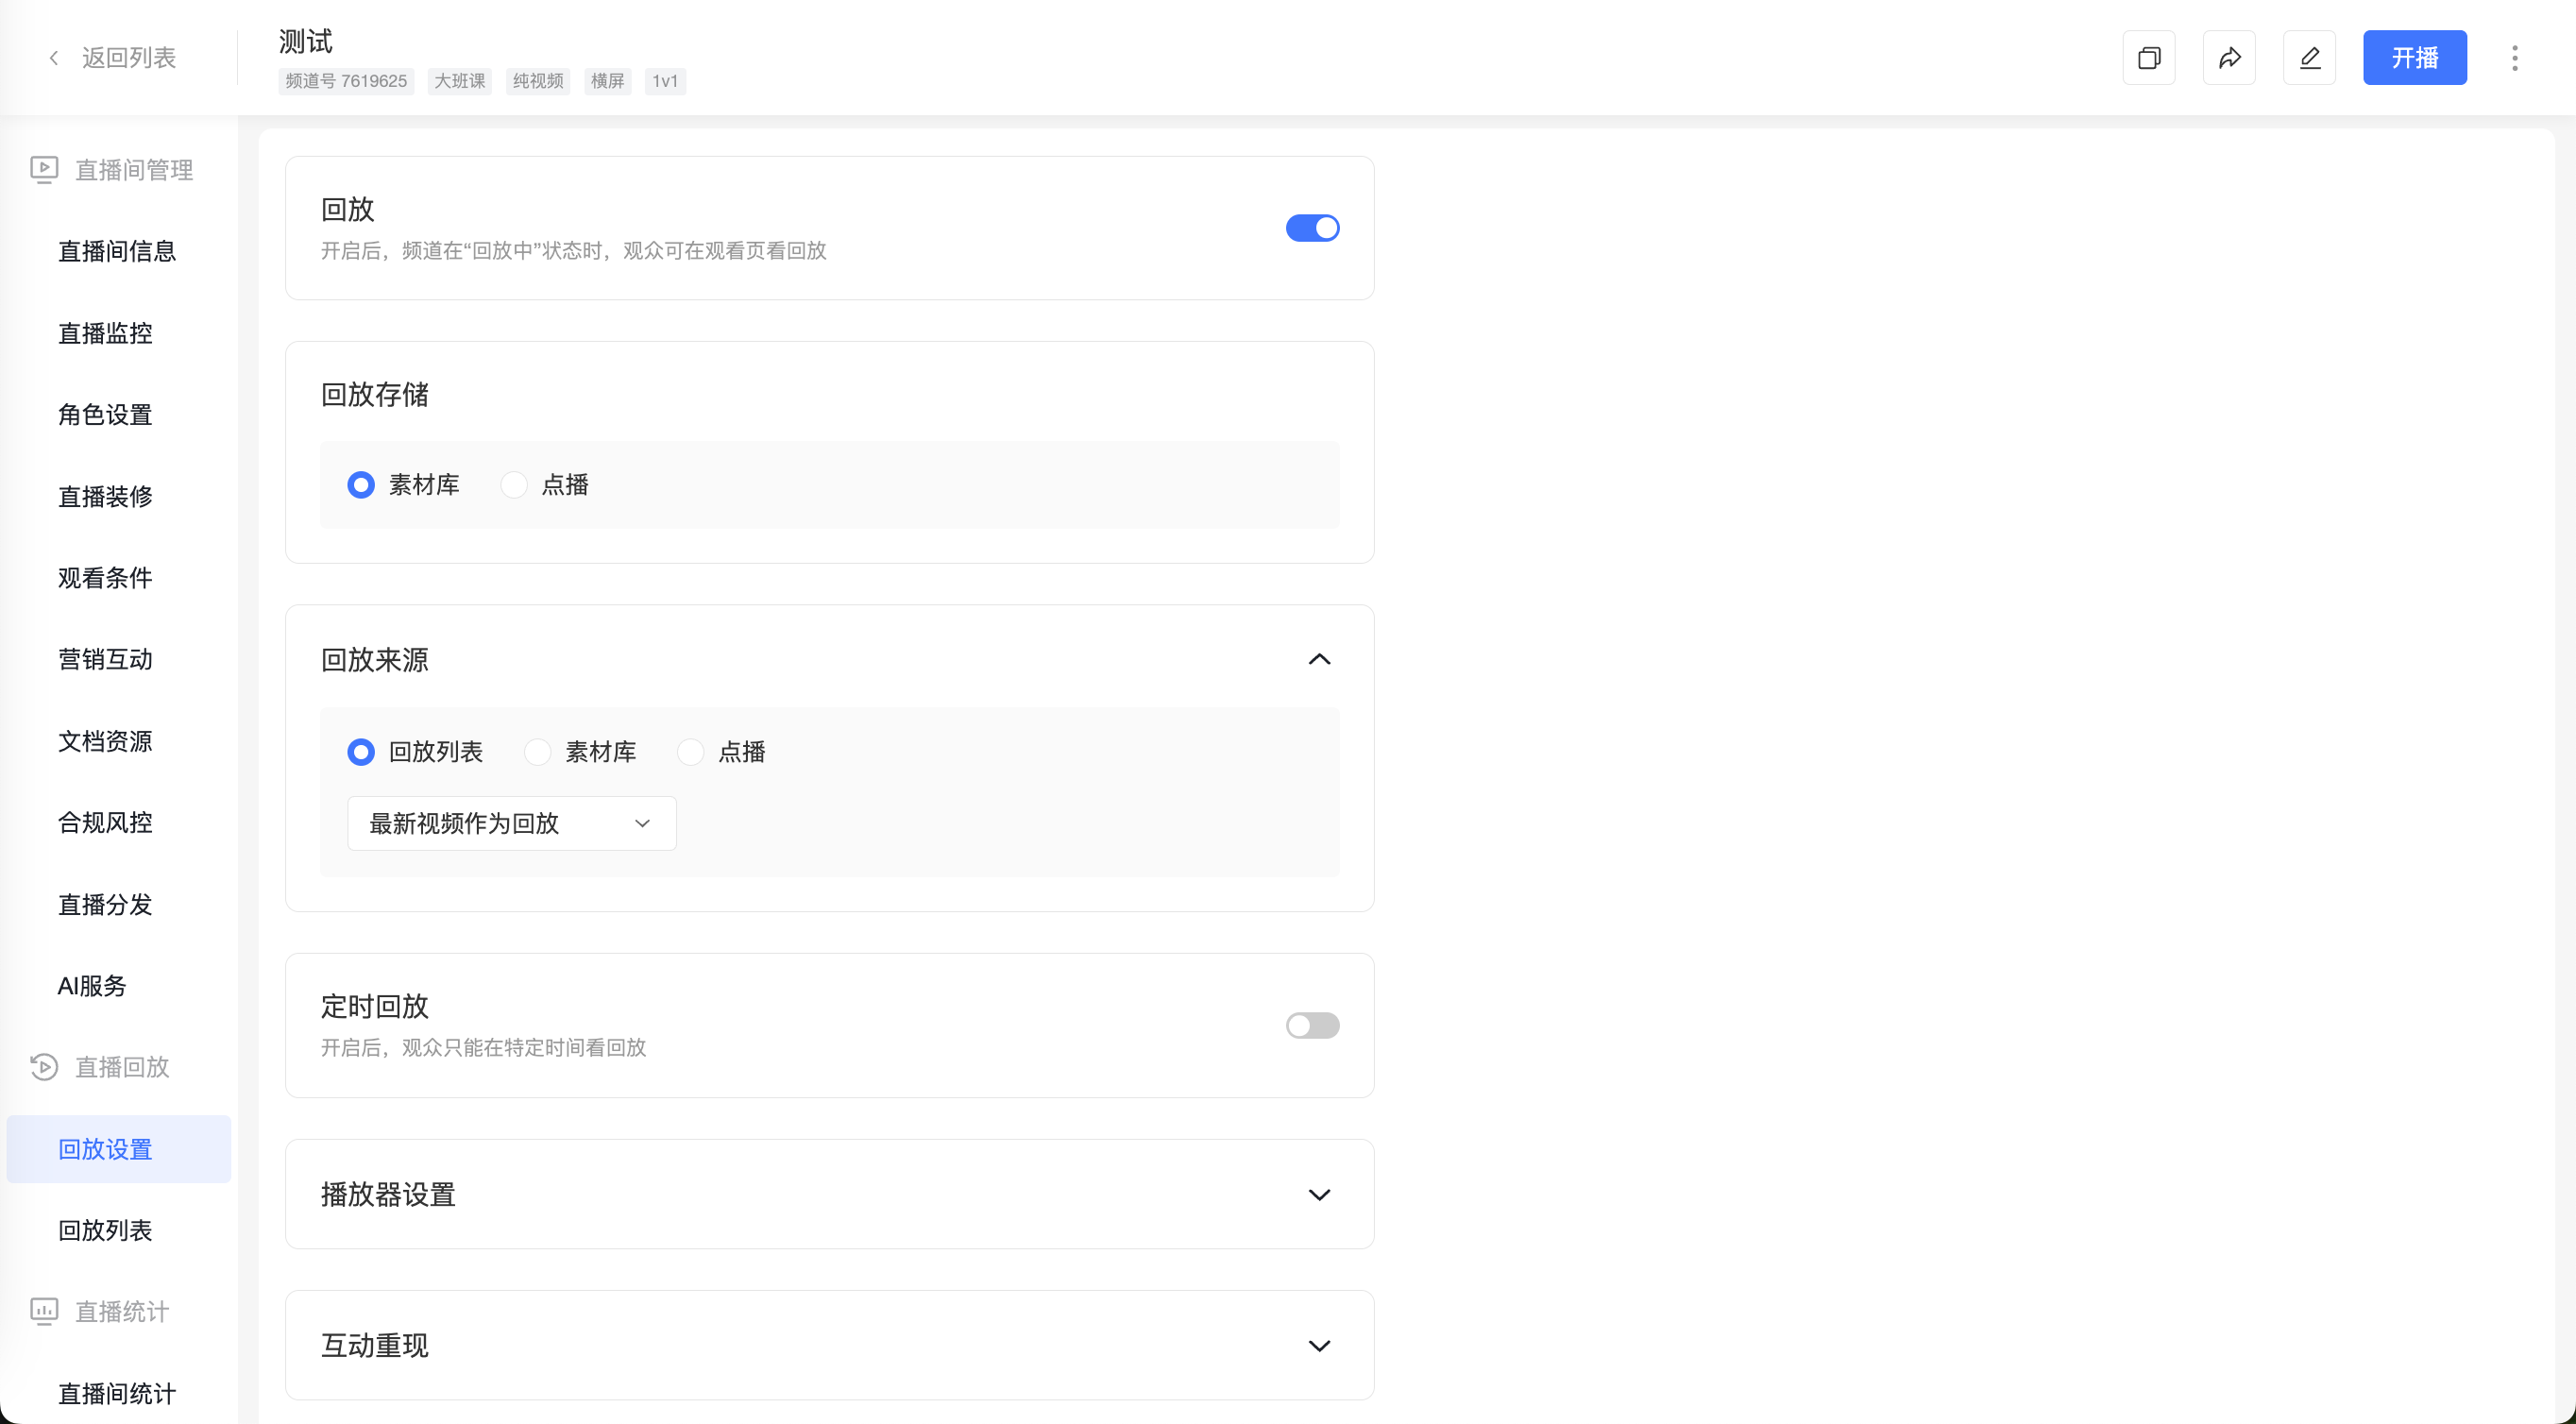
Go to the [Live Management] backend, select the corresponding channel, and click "Playback Settings" in the left menu.
Step 2: Enable the Playback Function
In the "Playback" card at the top of the page, click the toggle switch to enable the playback function.
After enabling: When the channel is in the "Playback Active" state, viewers can see the playback video on the viewing page.

Step 3: Configure Playback Storage
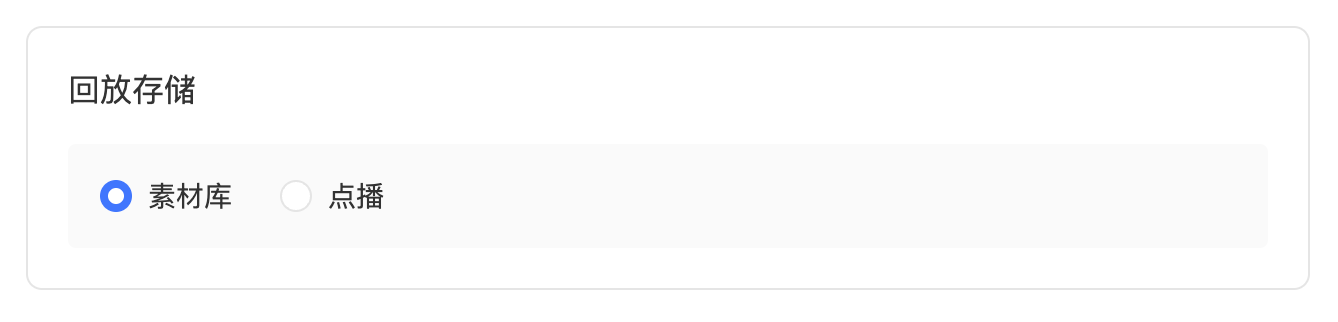
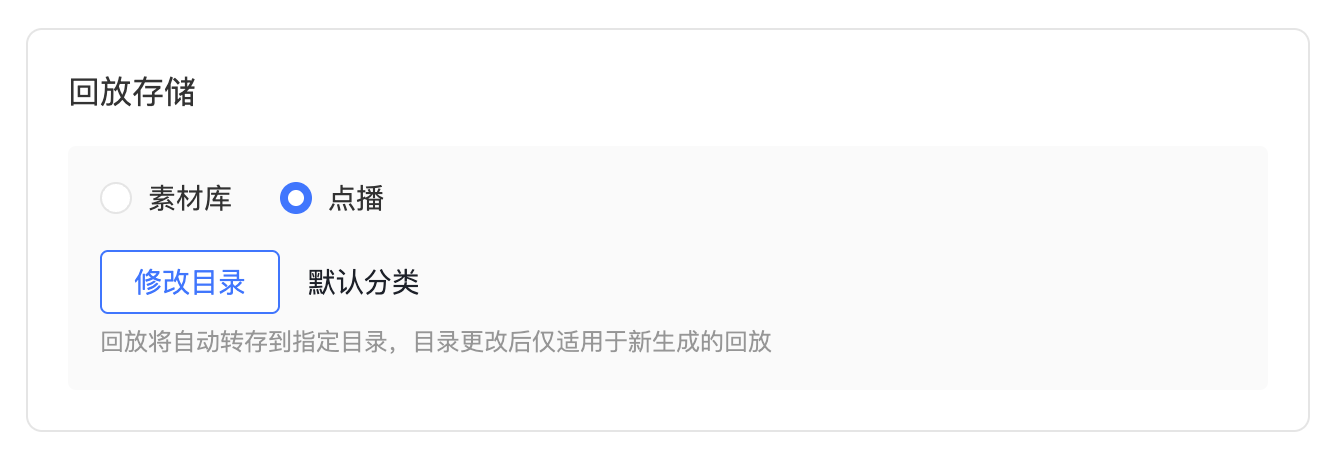
This operation requires both the Media Library and VOD to be activated. The system provides two storage path options: Media Library and VOD.
- Select Media Library as the storage path. Playback will be automatically synced to the Media Library - Video Playback category:
- Select VOD as the storage path. You can specify the corresponding category in VOD for storage:
Step 4: Configure Playback Source
Click to expand the "Playback Source" card. Depending on your channel type (whether the Media Library is activated), the interface options and logic will differ.
Scenario A: Non-Media Library Channel
The system provides three source options, each supporting different configuration methods:
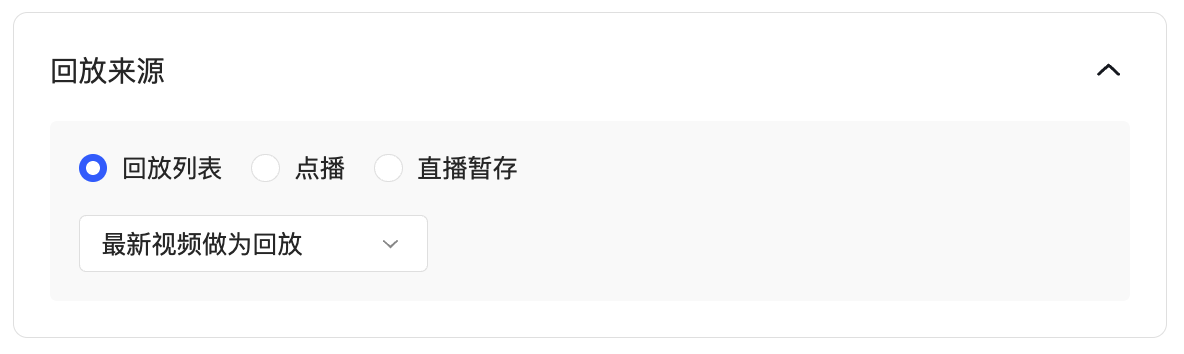
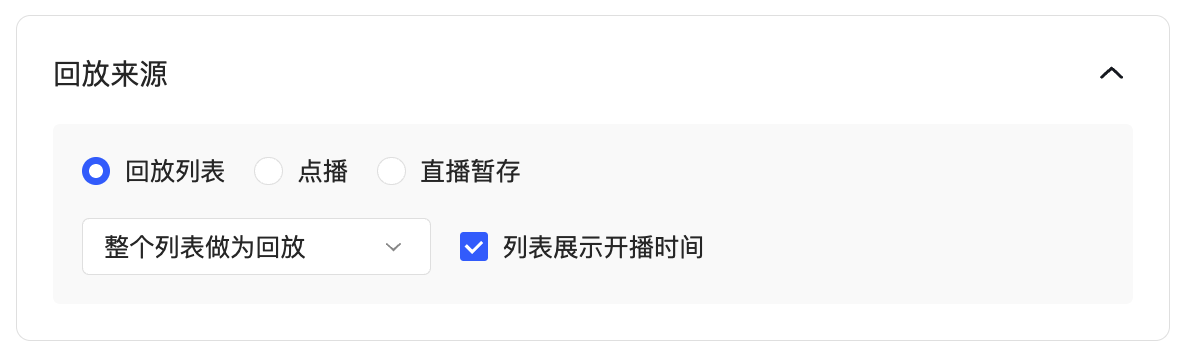
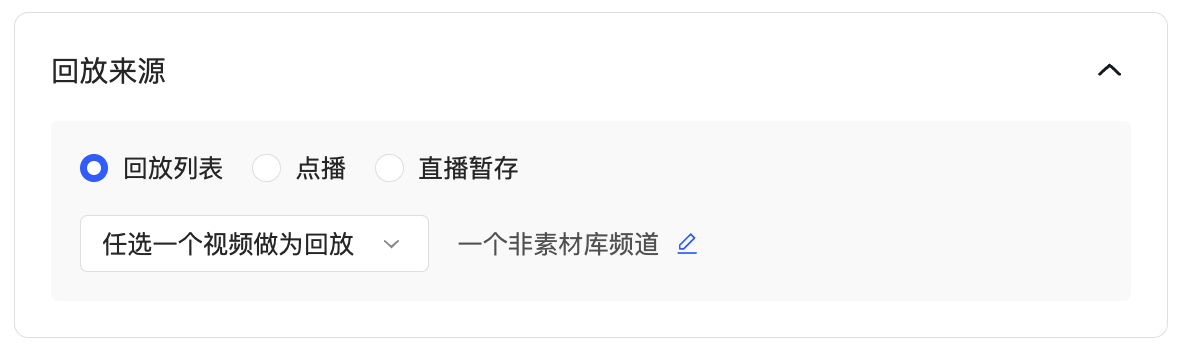
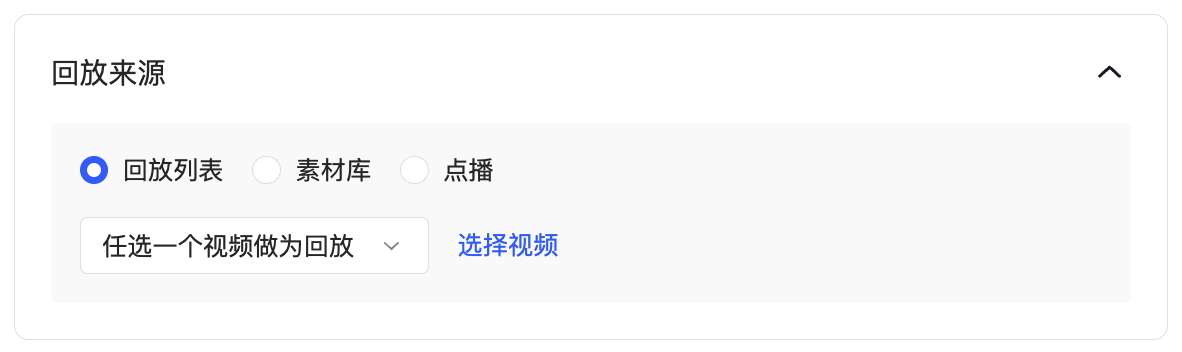
Select "Playback List" (supports 3 modes):
- Latest Video as Playback: The system automatically uses the newest video in the list as playback, no manual update needed.
- Entire List as Playback: Viewers can view all videos in the list, suitable for series live streams.
- Select Any Video as Playback: Manually specify a particular video from the list.
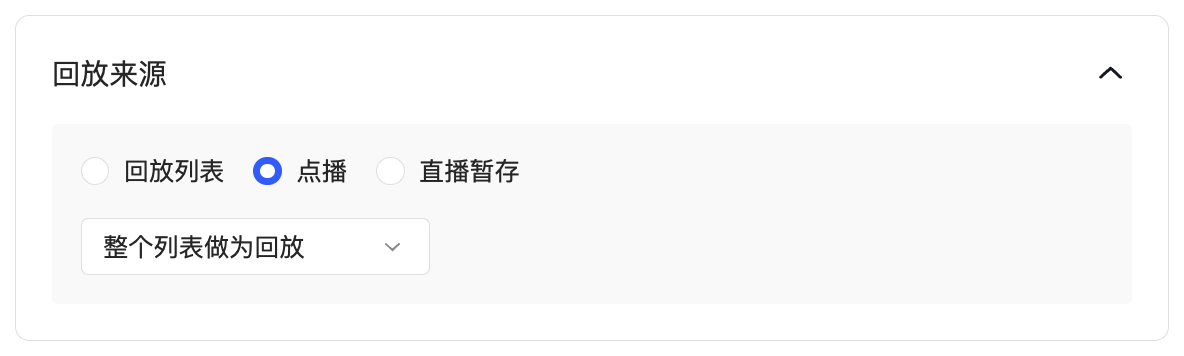
Select "VOD" (supports 2 modes):
- Entire List as Playback: References all content from the VOD list.
- Select Any Video as Playback: Select a single video from the VOD system.
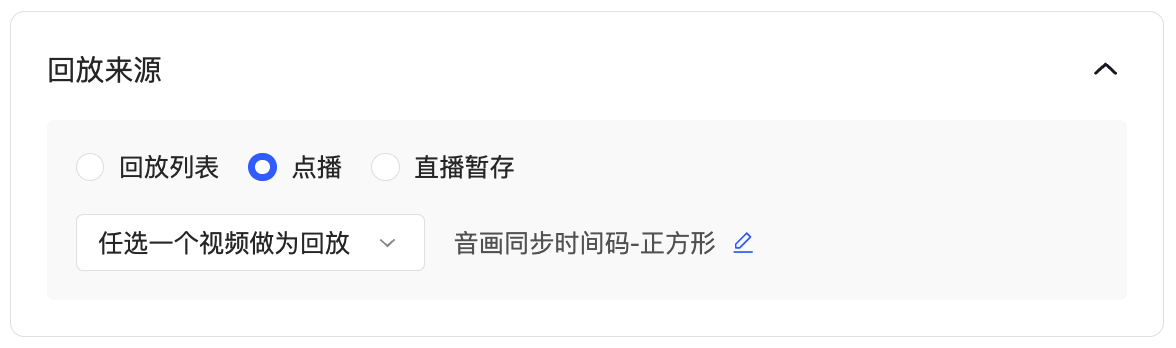
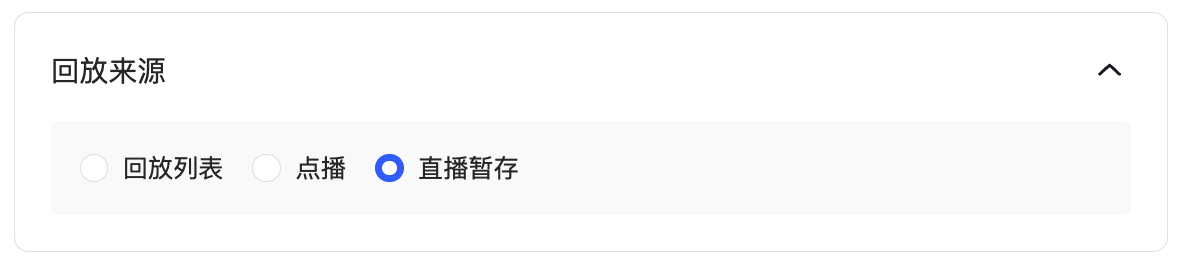
Select "Live Temp Storage":
Default Mode: The system automatically uses the latest video from the temp storage as playback, with no other secondary options.
Scenario B: Media Library Channel
The system provides two source options, each supporting different configuration methods:
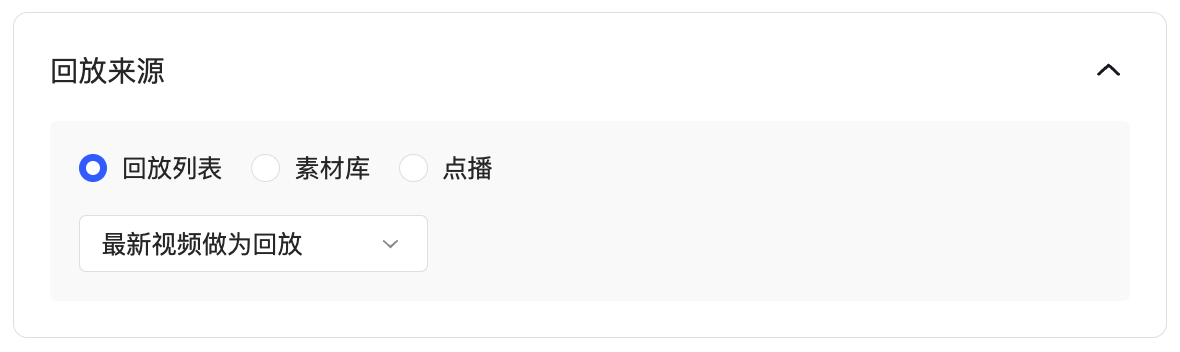
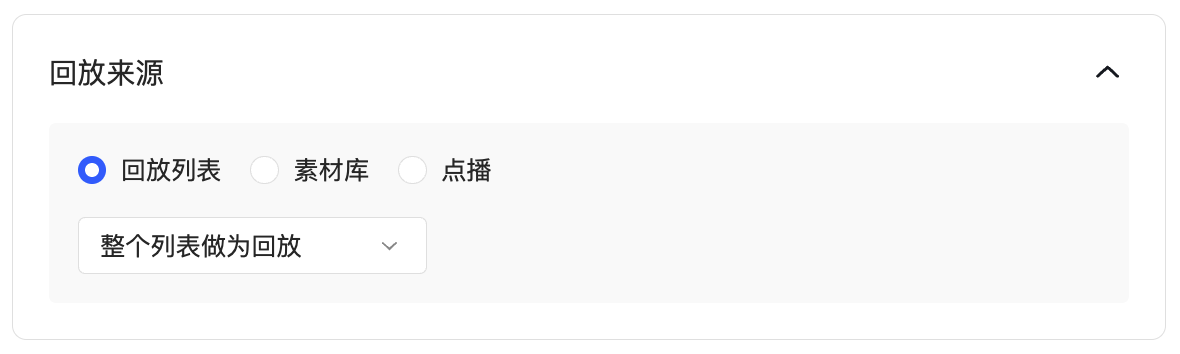
Select "Playback List" (supports 3 modes):
- Latest Video as Playback: Automatically fetches the newest resource.
- Entire List as Playback: Displays all content from the list.
- Select Any Video as Playback: Manually specify a particular video.
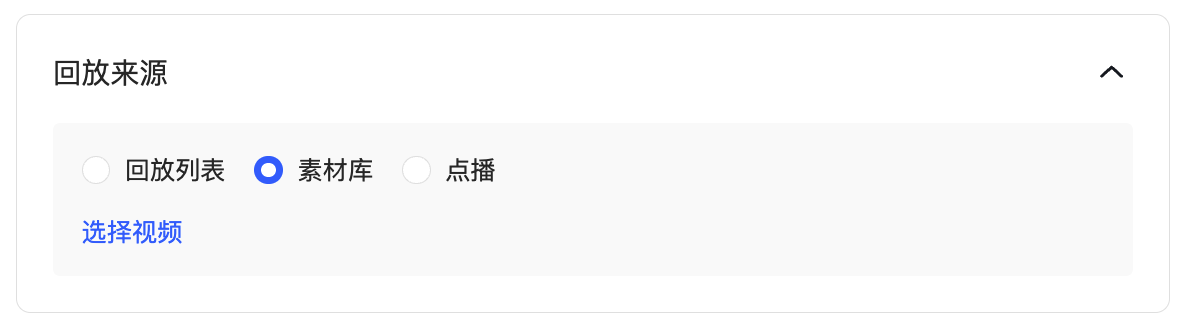
Select "Media Library":
Specify Mode: Supports directly selecting any video file from the Media Library as playback content.
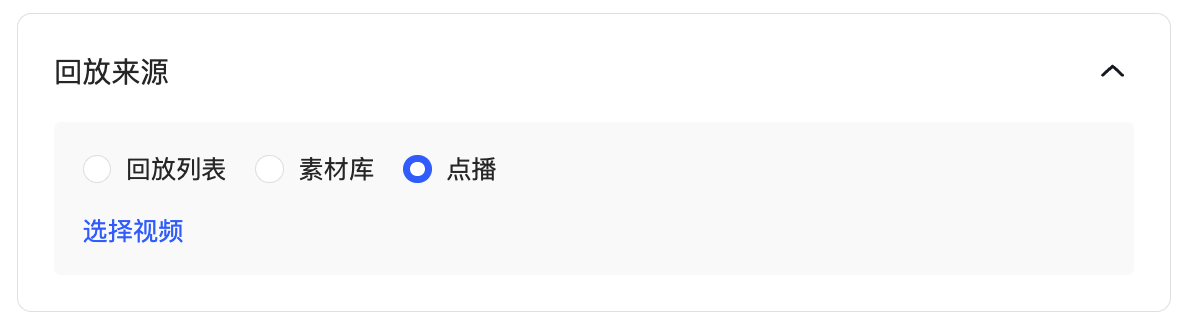
Select "VOD": (After 2026.01.15, accounts already using VOD, if they activate the Media Library, newly created channels will have this option)
Specify Mode: Supports directly selecting any video file from VOD as playback content.
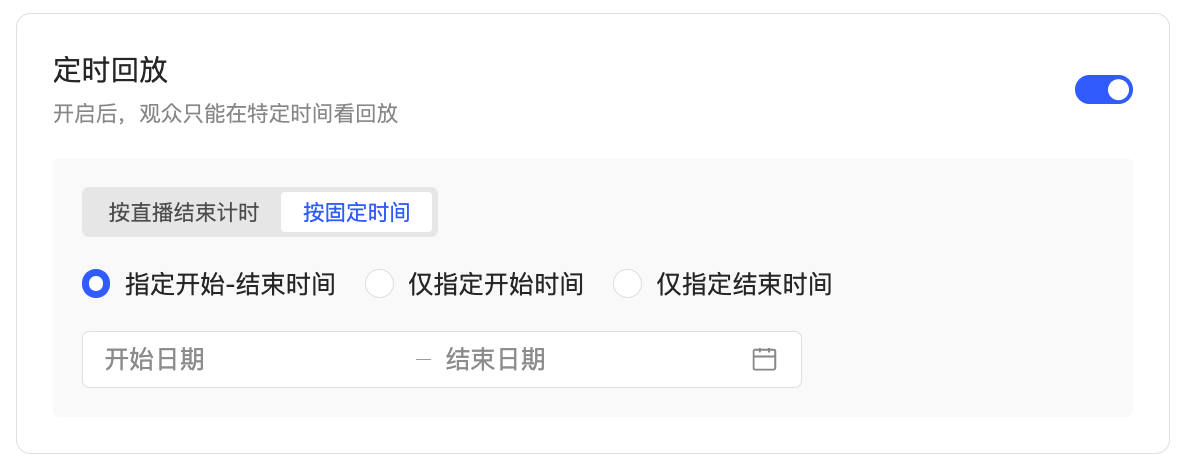
Step 5: Set Timed Playback (Optional)
If you wish to restrict the time viewers can watch the playback, enable the "Timed Playback" toggle. Supports two time control modes:
- Cumulative Time from Live End: Set the number of hours after the live stream ends during which viewing is allowed (e.g., within 24 hours after the stream ends).
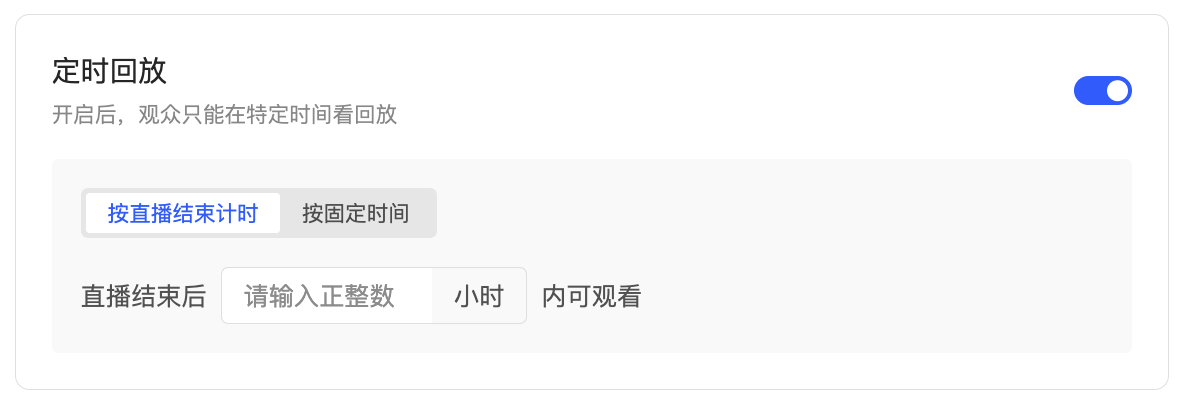
- Fixed Time: Precisely specify the date and time period for viewing.
Step 6: Configure Player Settings
Click to expand the "Player Settings" card to customize the viewer's player interaction permissions. All toggles are enabled by default. You can disable them as needed to adjust the viewing experience:
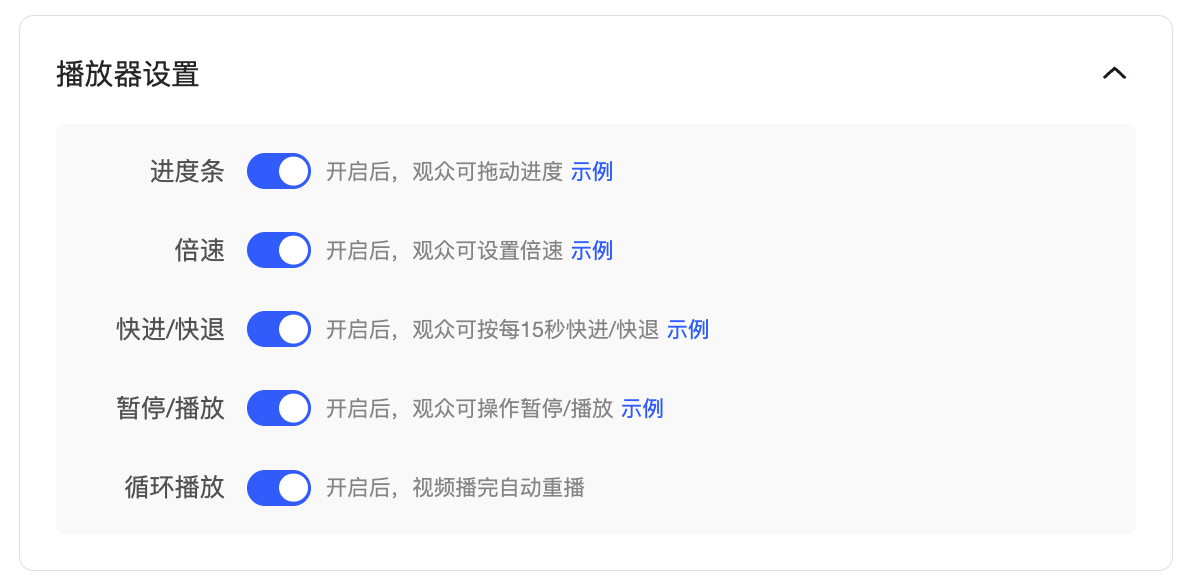
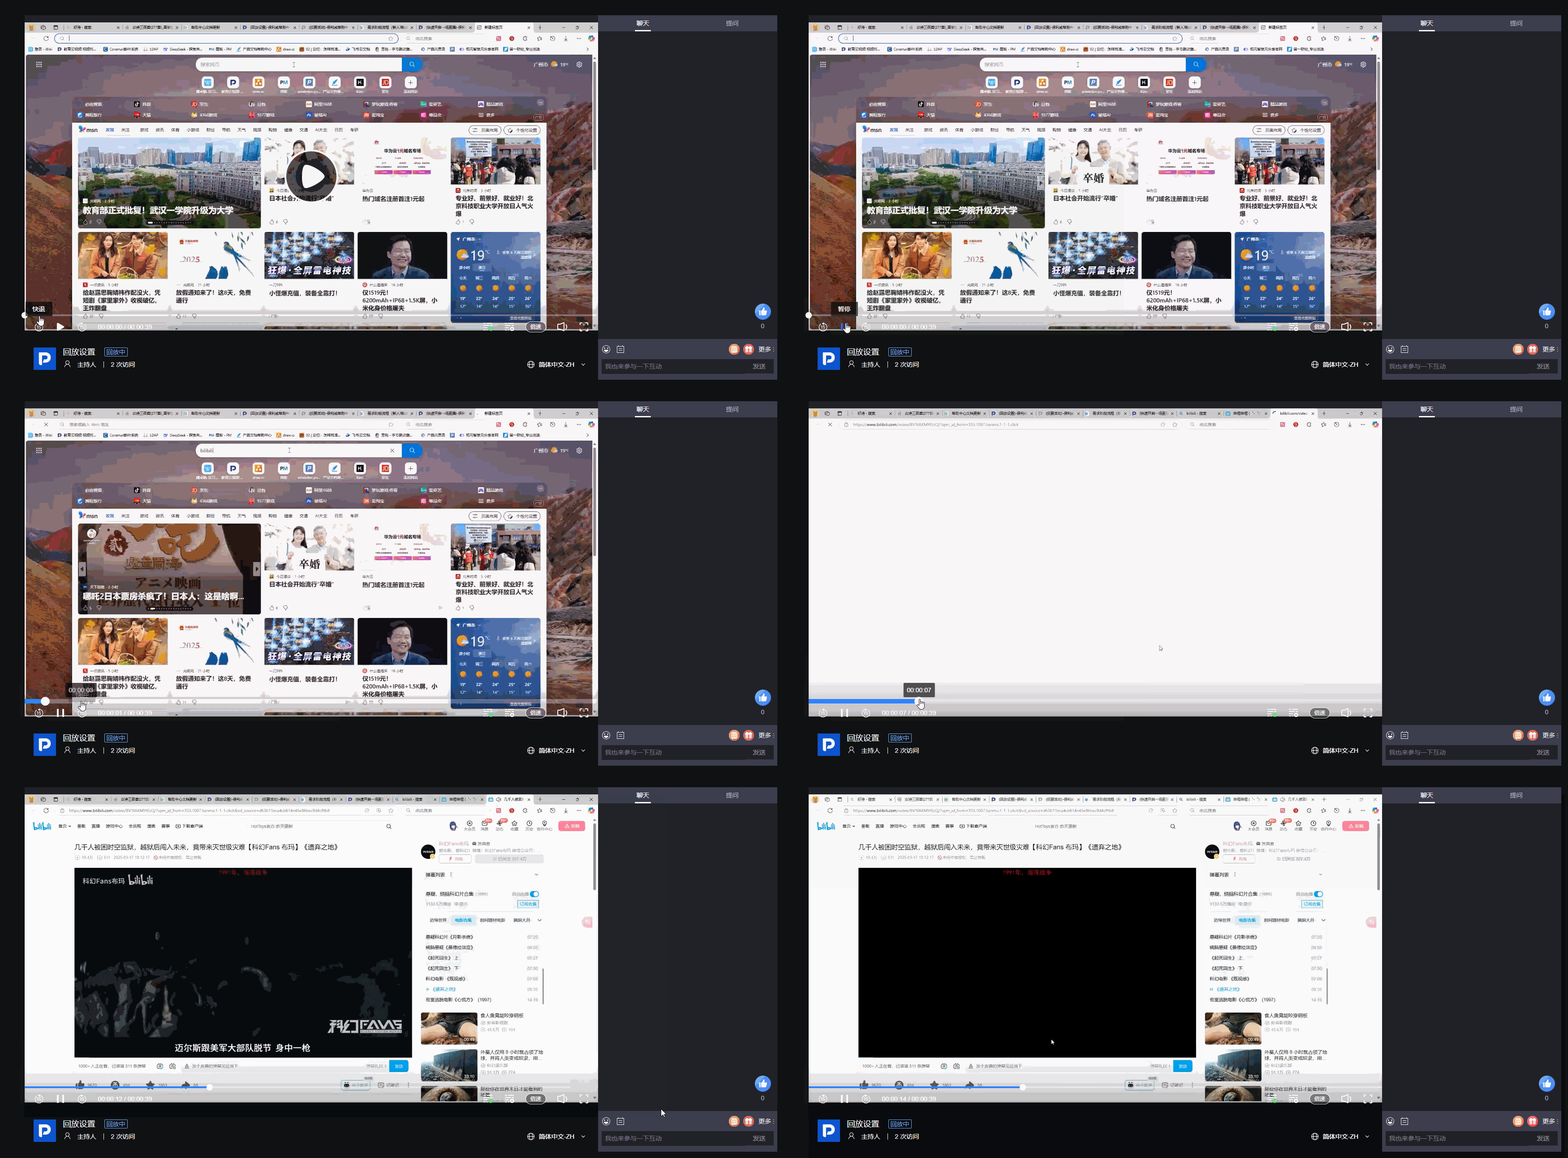
- Progress Bar: When enabled, viewers can freely drag the progress bar.
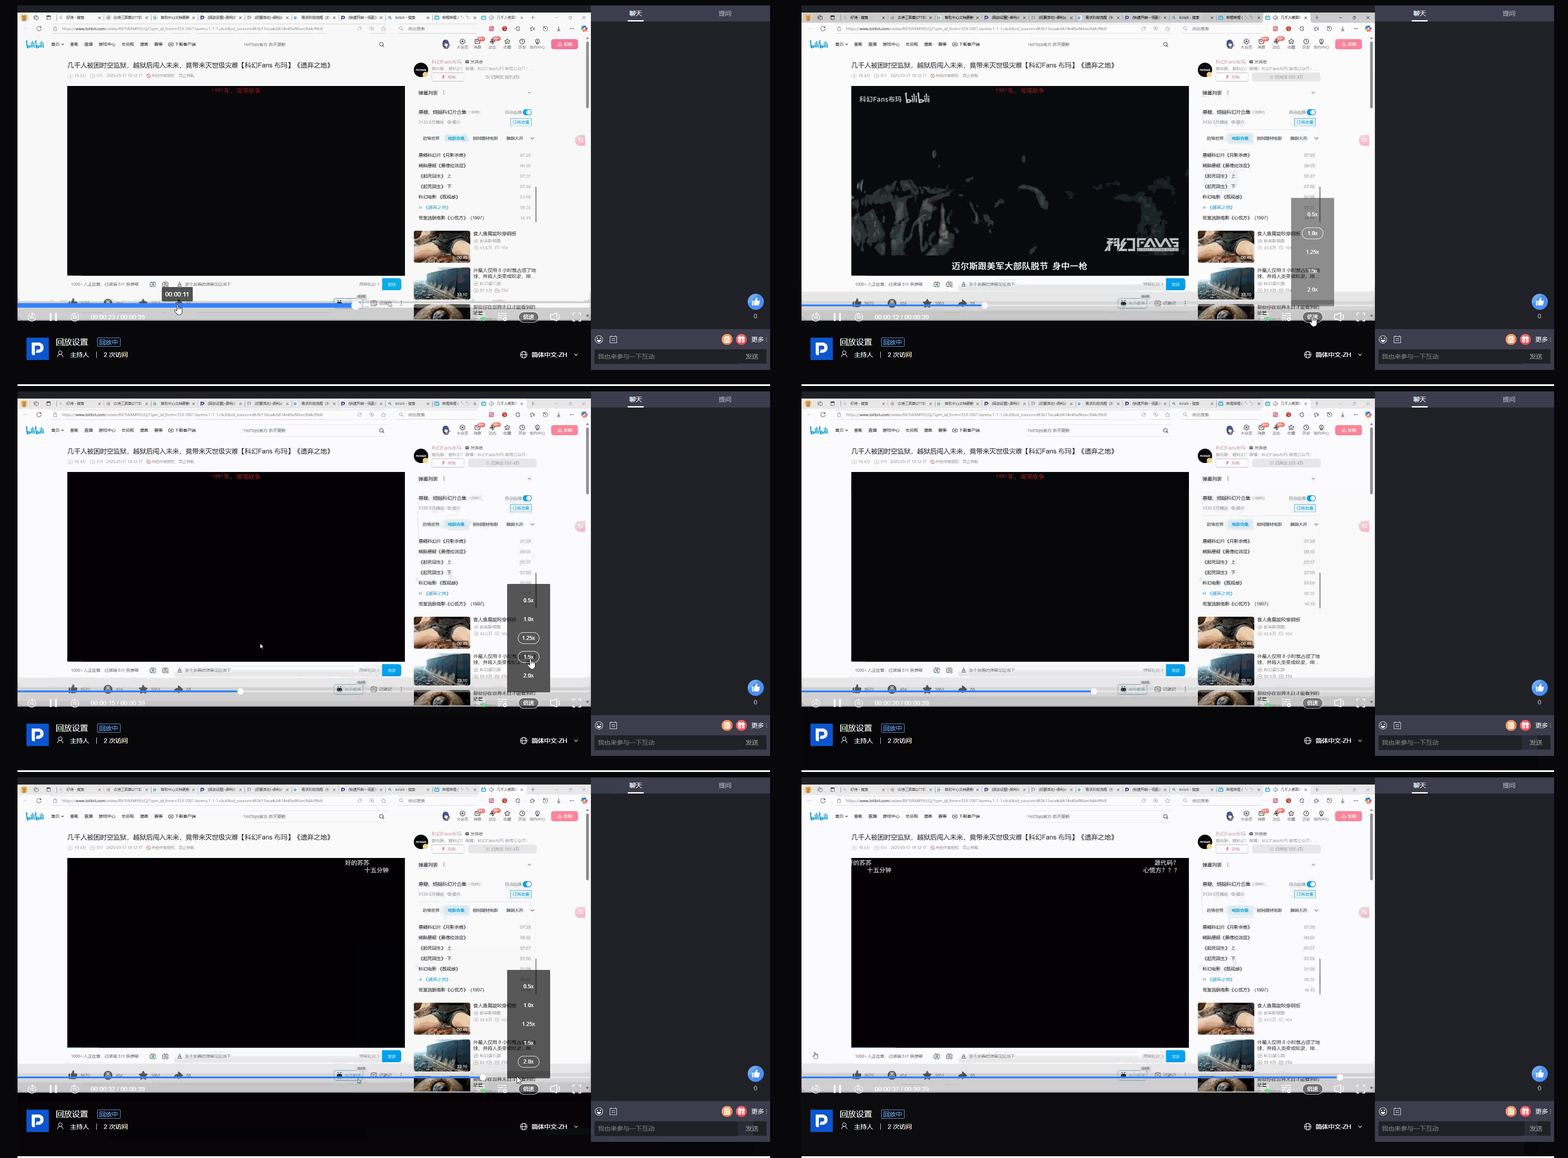
- Playback Speed: When enabled, viewers can adjust the playback speed (e.g., 1.5x, 2.0x).
- Fast Forward/Rewind: When enabled, viewers can fast forward or rewind in 15-second increments.
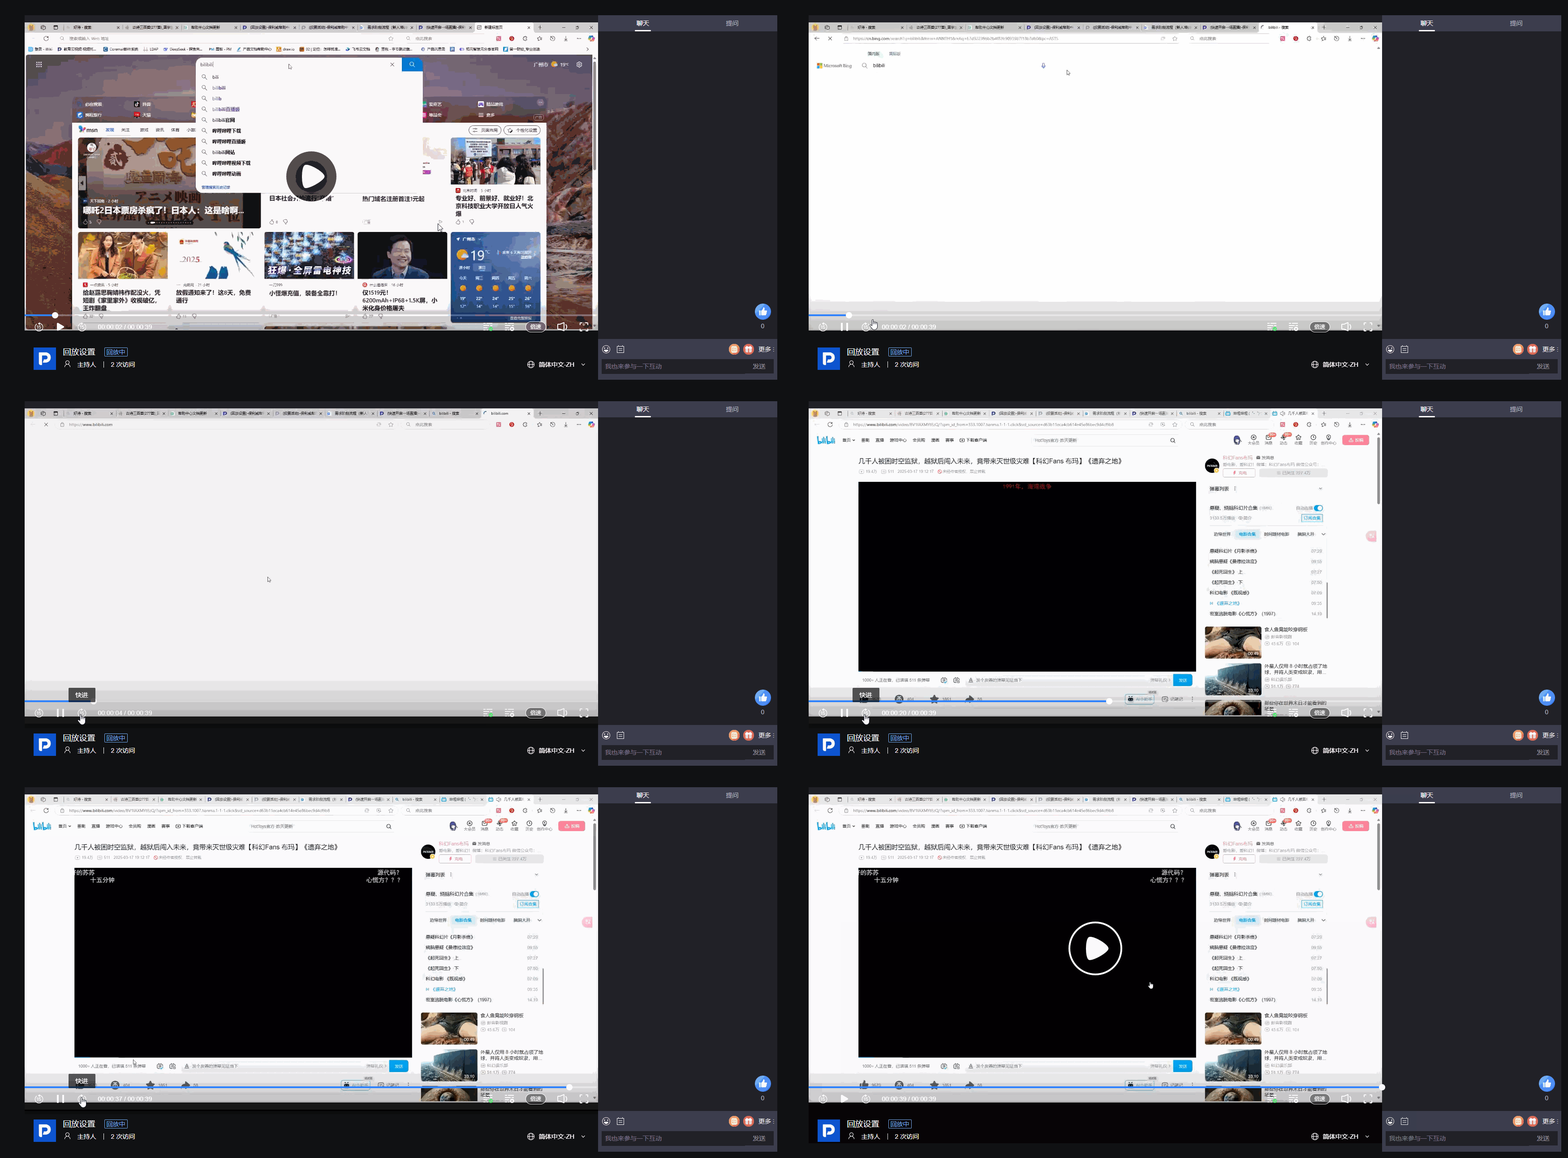
- Pause/Play: When enabled, viewers can pause or resume playing the video; when disabled, the video will play continuously without interruption.
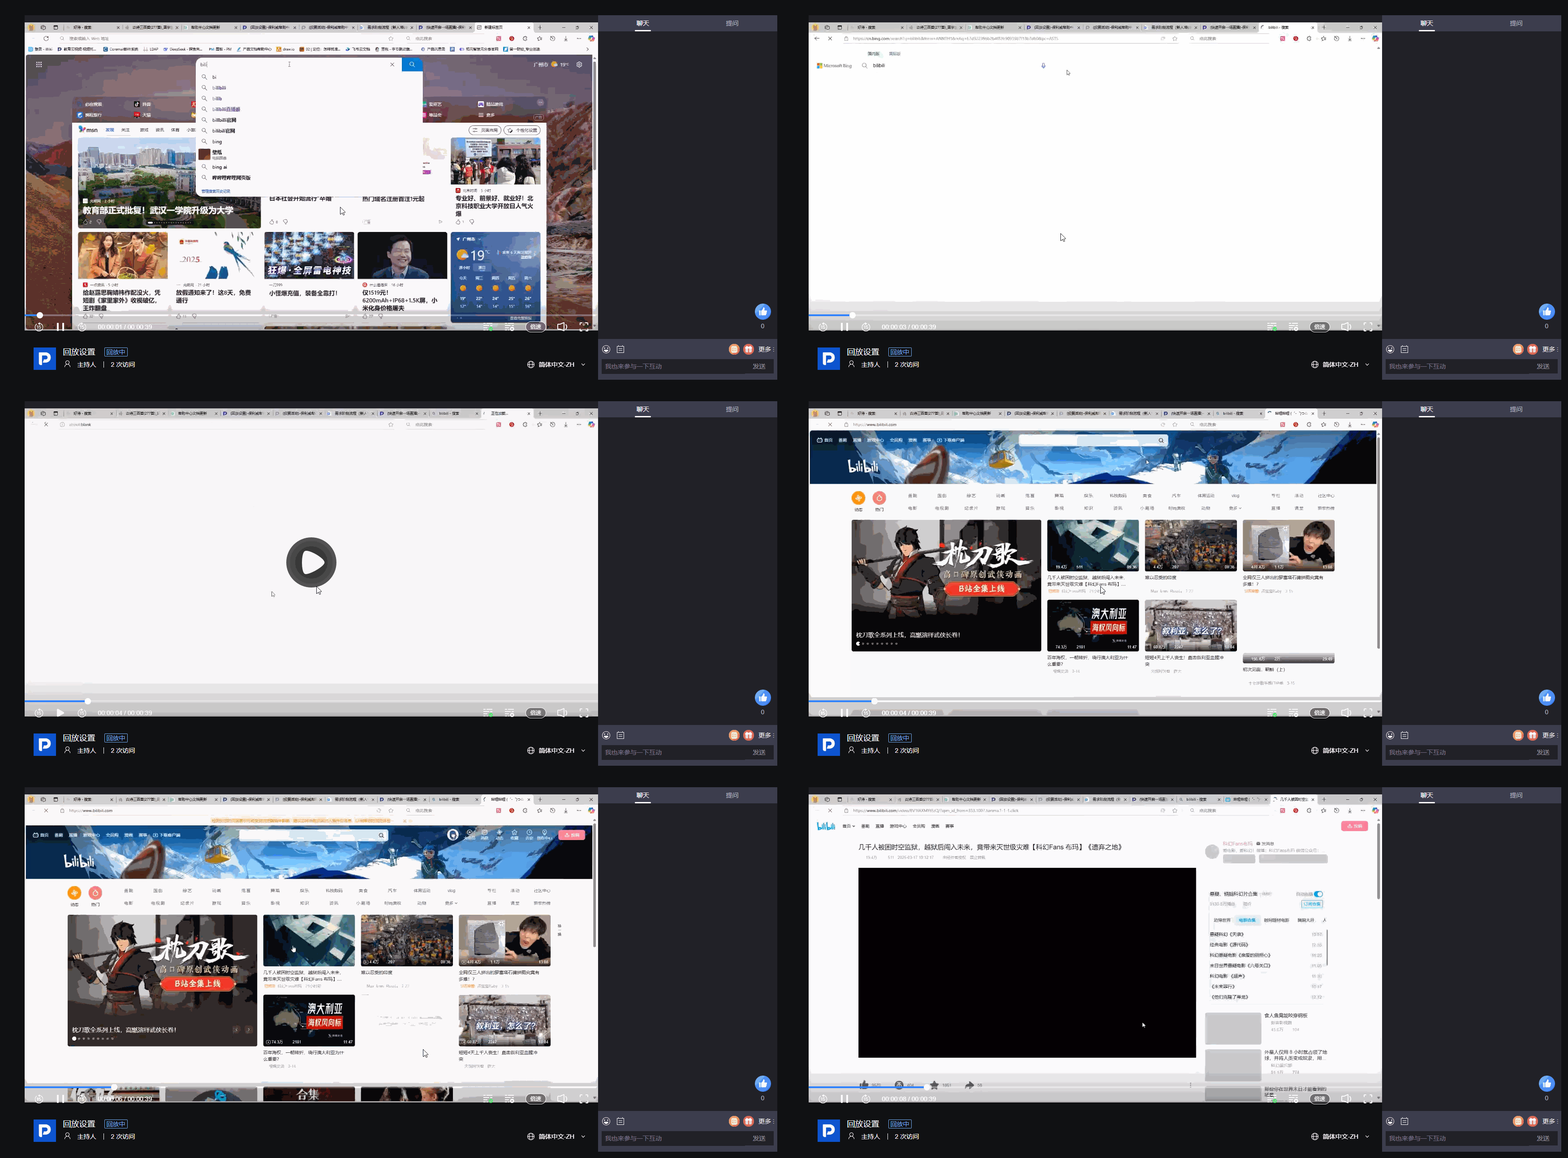
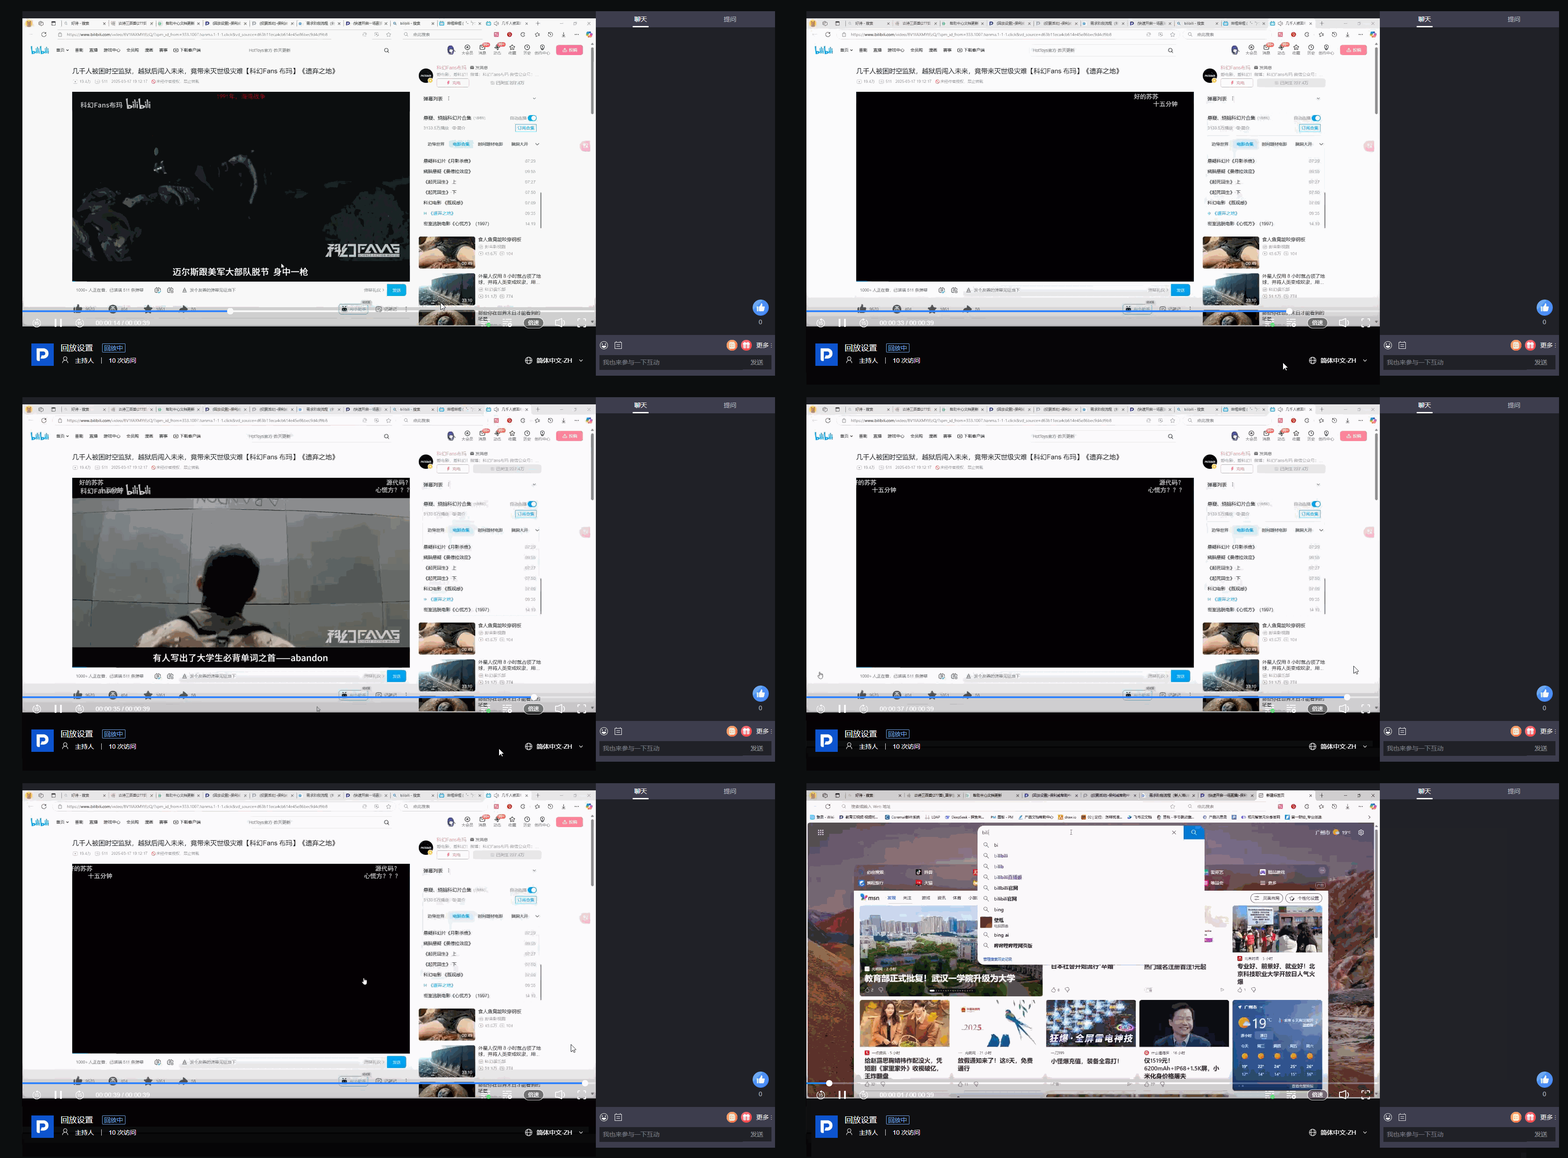
- Loop Playback: When enabled, the video will automatically restart after it finishes playing.
Step 7: Configure Interactive Restoration
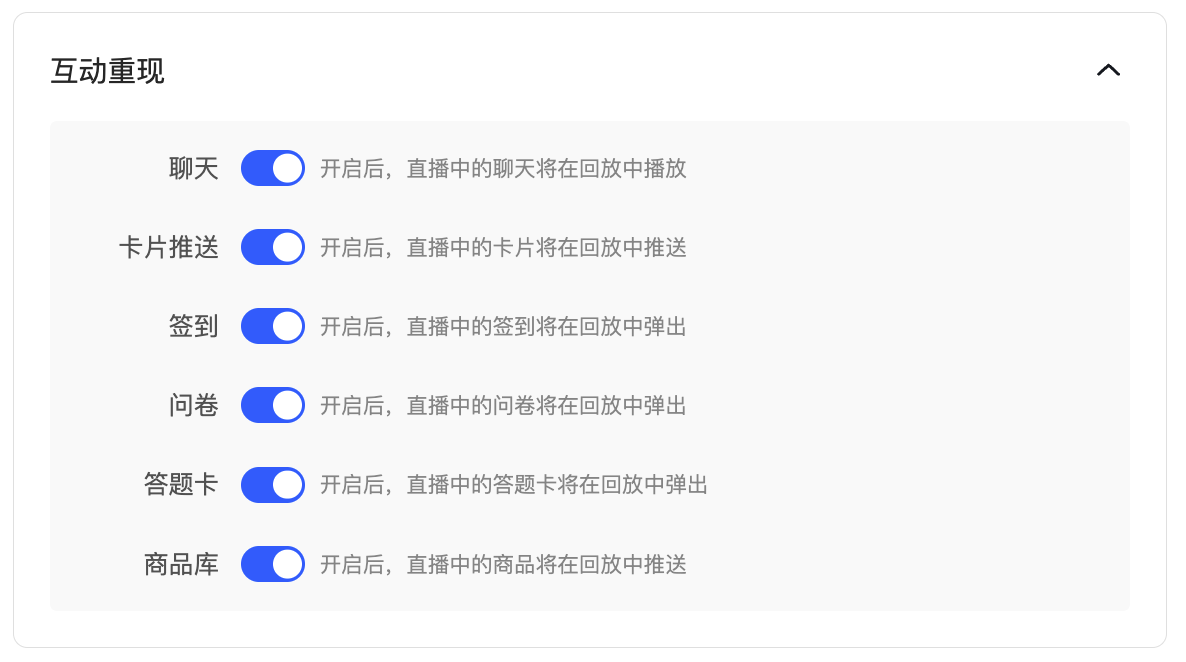
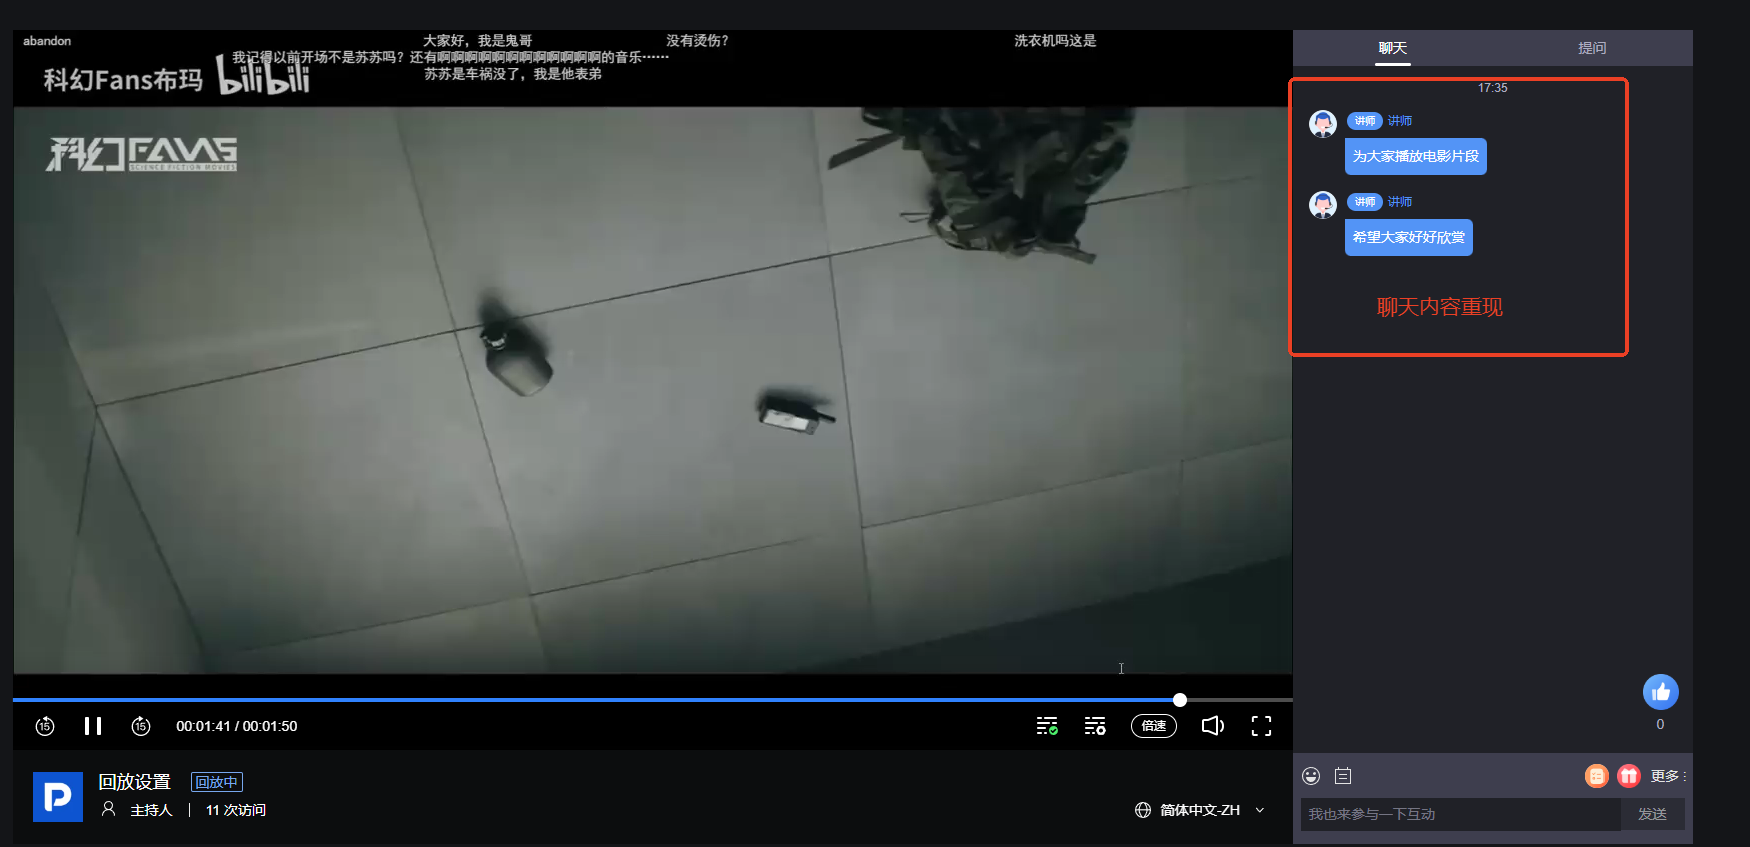
Click to expand the "Interactive Restoration" card to choose whether to restore interactive content from the live stream during playback (e.g., chat, card pushes, check-in, surveys, quizzes, product library).
Step 8: Configure Other Settings (Specific Features)
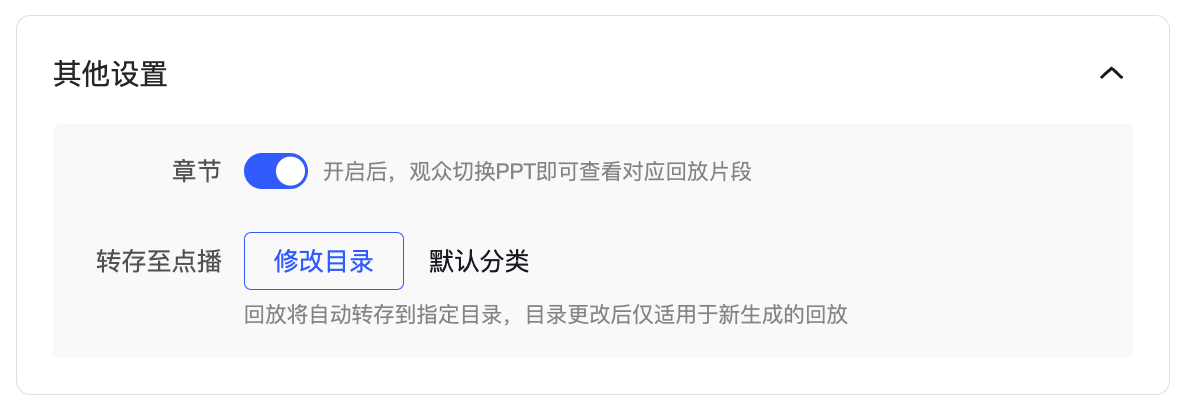
Click to expand the "Other Settings" card. This module is dynamic; the displayed options vary based on the channel attributes and account configuration.
- Chapter Feature (Three-Screen Channels Only) Feature Description: When enabled, viewers watching playback can click on document page turns to jump to the corresponding video segment.
- Transfer to VOD (Requires Specific Conditions)
Display Condition: This option appears when the account has disabled the Media Library feature, enabled "Playback - Auto Transfer" in the global [Settings - General Settings - Channel Settings], and has sufficient VOD storage space.
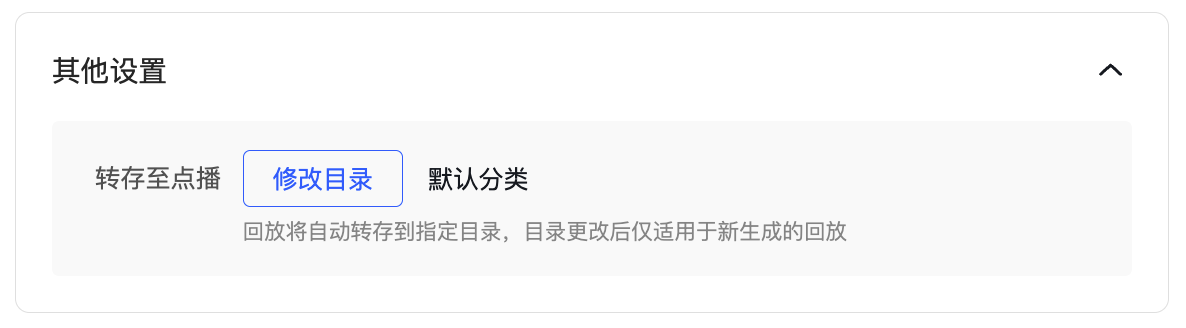
Operation Instructions: Enable it and click "Modify Directory" to specify the specific category under the VOD system where the channel's playback videos should be automatically stored.
Step 9: Save Settings
After completing all configurations, be sure to click the "Save" button at the bottom of the page to apply the settings.
III. Version Update Notes (Comparison of Old and New Versions)
To provide a clearer operational experience, we have upgraded the visual and interactive design of the "Playback Settings" interface. The new version was launched on 2026.01.15.
Old Interface: Used a tiled, long form design with all options listed directly, making functional divisions less intuitive.
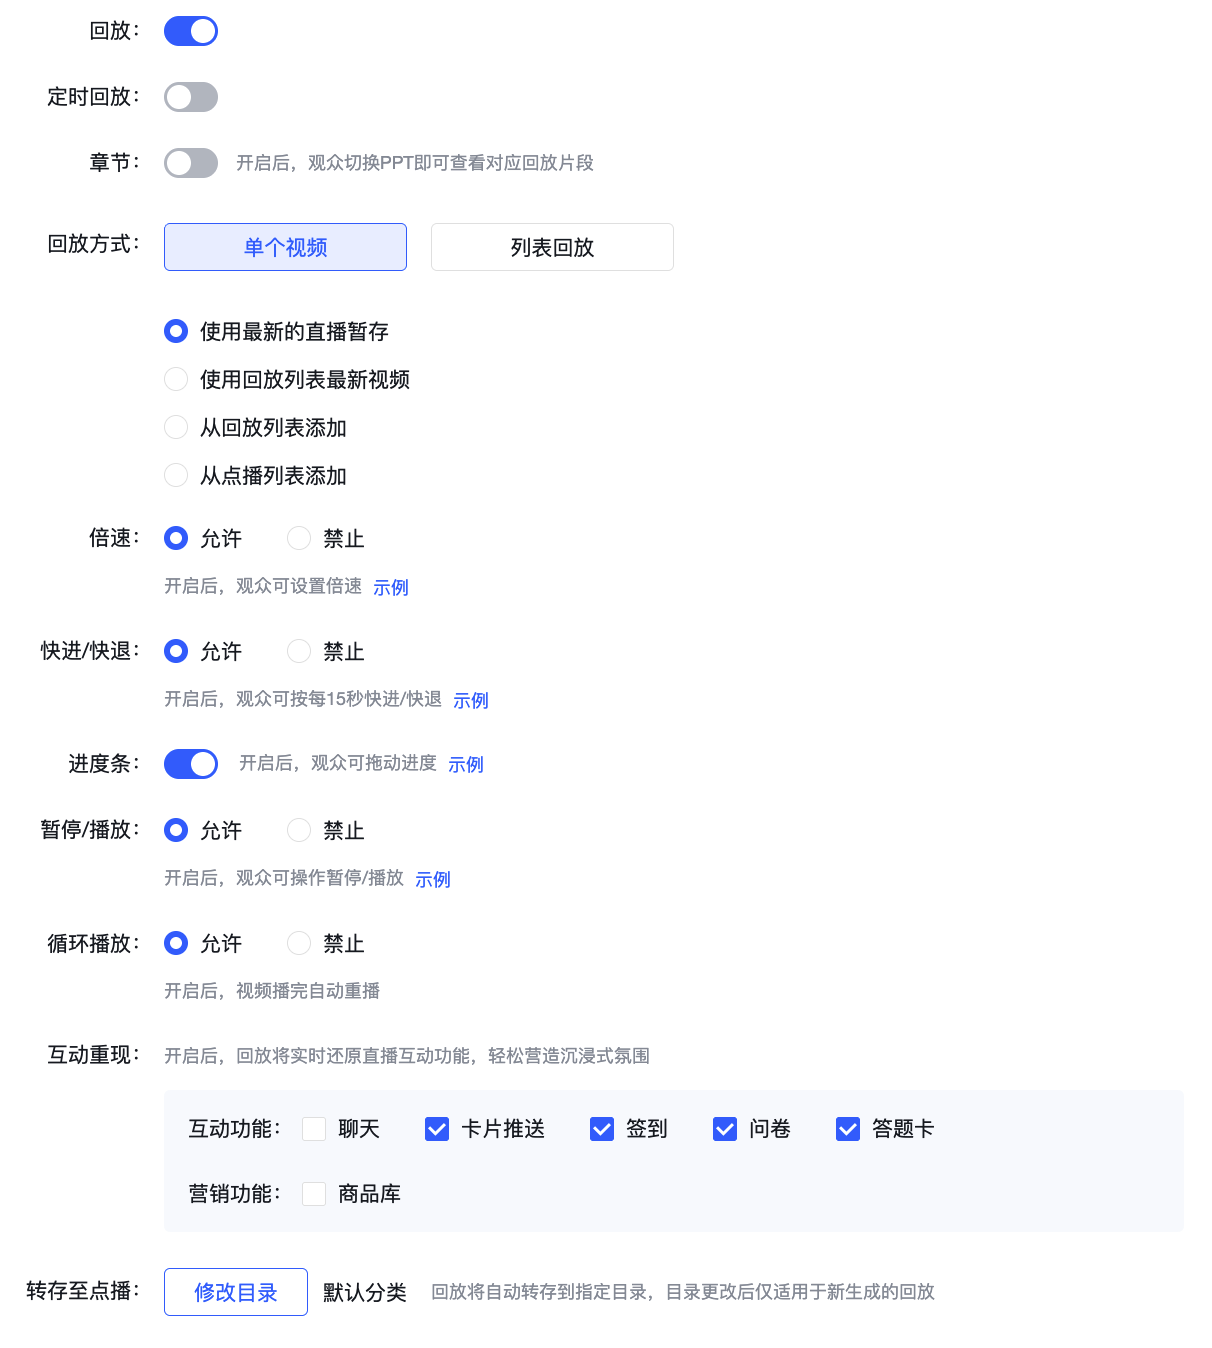
New Interface: Adopts a "Modular Card" design (Playback Source, Timed Playback, Player Settings, Interactive Restoration are all independent cards), supports collapsing and expanding, and highlights key areas more effectively.