


15 CocoaPods Usage Guide
CocoaPods is a dependency manager for Objective-C that automates and simplifies the process of using third-party libraries in projects.
15.1 Installing CocoaPods
You can install CocoaPods using the RubyGems toolkit with the following command:
$ sudo gem install cocoapods
However, sometimes this command may fail with an error:
$ ERROR: While executing gem ... (Gem::FilePermissionError) $ You don't have write permissions for the /usr/bin directory.
The reason is that "/usr/bin is protected by system integrity protection and is not writeable by anybody even root." Therefore, CocoaPods should be installed in the /usr/local/bin path using the following command:
$ sudo gem install -n /usr/local/bin cocoapods
The -n parameter in the install command indicates "Directory where executables are located." You can query the parameter's meaning using the command "gem help install" ".
15.2 Updating the Index
After installing CocoaPods, run pod setup to update all project Podspec files to the local ~/.cocoapods/ directory.
$ pod setup
All project Podspec files are hosted on https://github.com/CocoaPods/Specs.git. When CocoaPods executes pod install and pod update, it will first update the Podspec index by default. If the update is too slow, you can change the repo address to a domestic mirror, such as GitCafe's mirror, using the following command:
$ pod repo remove master $ pod repo add master https://gitcafe.com/akuandev/Specs.git $ pod repo update
You can also change it to the OSChina mirror: http://git.oschina.net/akuandev/Specs.git。
If the user cannot find the latest SDK version during pod operations, as shown in the screenshot below:
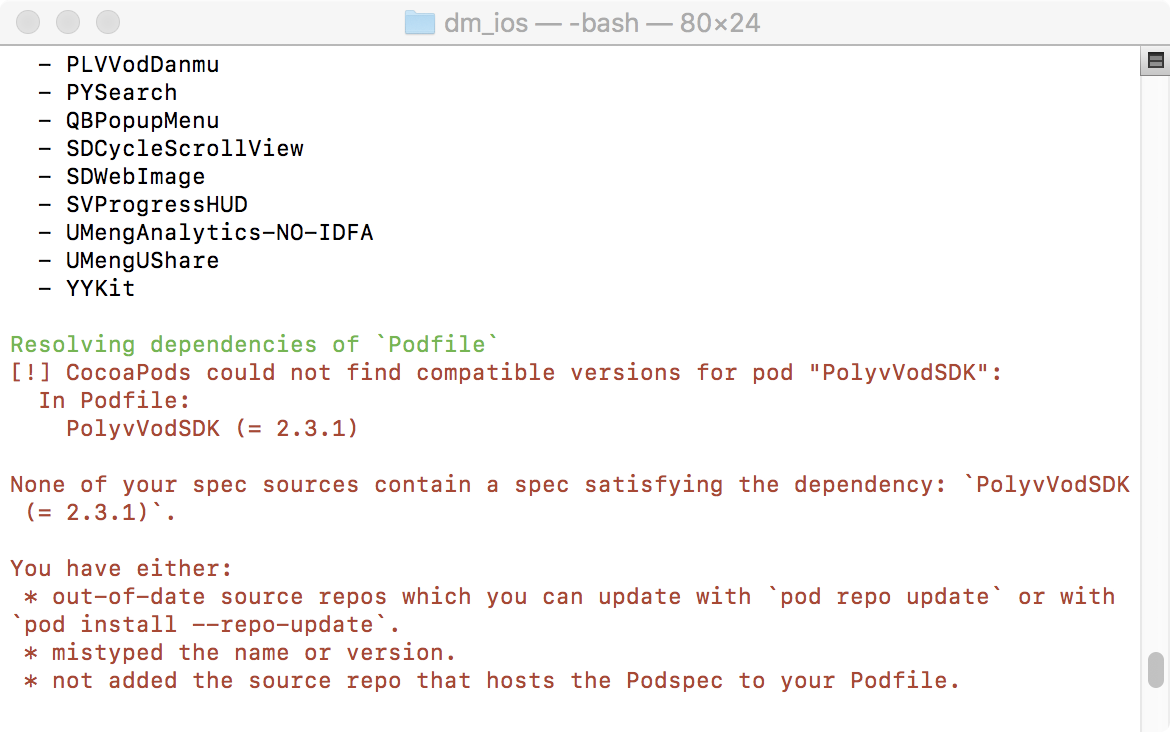
This situation indicates that the index is outdated and needs updating. Execute the command pod repo update, or include the parameter –-repo-update when running pod install.
15.3 Difference Between pod install and pod update
After executing pod install , CocoaPods generates a file named Podfile.lock. Podfile.lock locks the current versions of all dependency libraries. Subsequent executions of pod install will not change the versions; only pod update will modify Podfile.lock. This ensures that in collaborative environments, third-party library upgrades do not cause version inconsistencies among team members.
pod install only requests libraries according to the Podfile requirements. If the library version changes, the operation will fail. However, pod update updates all libraries to their latest versions. Every time you modify the Podfile, you need to re-execute the pod update command.
15.4 Checking the CocoaPods Version
$ pod --version
15.5 Homebrew & RubyGems
Homebrew is a package management tool for the Mac platform, providing many Linux tools that are not natively available on Mac. Official website: https://brew.sh. The installation command is available on the official website:
$ /usr/bin/ruby -e "$(curl -fsSL https://raw.githubusercontent.com/Homebrew/install/master/install)"
After installing Homebrew, you can use the Homebrew command brew to install RubyGems with the following command:
$ brew install ruby
RubyGems official website: https://rubygems.org.
